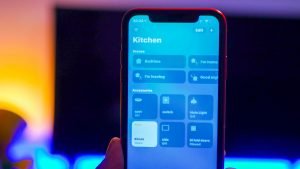
The HomeKit how-to guide is a series focused on smart home accessories, automation tips, tricks, and everything to do with Apple’s smart home app and HomeKit framework. In Episode 8, we will look at how to create scene’s in the Home App for HomeKit.
Scenes are useful to control multiple HomeKit accessories at once with just a single tap or by asking Siri. You can use senses to enable a movie night, or in my case, to turn on my lights in my YouTube studio room.
How to create a scene in the Home app.
Time needed: 2 minutes.
- Open the Home app.
- Press the + in the top right corner of the screen.
- Select Add Scene.
- Choose a name for your scene.
You can also assign a different icon for your scene. Do this by pressing the icon next to the name.
- Press add accessories.
- Tap on the accessories you wish to add to your scene.
- Then click done.
- Long press the Accessories in your scene to change additional settings such as brightness.
- Now edit the states of the accessories you have selected.
Change colours or brightness of bulbs, position of blinds ect.
- Additional options.
Pressing “Test This Scene” button will give show you what your scene will act like when activated.
You can also use the “Add Accessories” button to add further devices.
You can also add the scene to your favourites within the main home tab. - Then press done.
So now you know how to set up scenes in the Home App within Homekit. You can always take things a step forward with automations. You can run automations with no involvement, unlike senses. These can be activate based on conditions, like a time of day, motion detected and several others.


