The Onvis S3EU is another new device recently added to the ever-expanding list of devices compatible with Apple HomeKit. The S3EU we’ll be talking about today is a smart plug, but, if you’ve been following the site, you’ll know it’s not the first HomeKit device from Onvis. Prior to the S3, the company released the C3, their first HomeKit compatible camera, that also works with HomeKit Secure Video (HSV), along with the CS1, their take on a combined contact sensor and alarm, and the SMS1, a motion sensor, with built-in temperature and humidity sensors. But today we’re focussed on the S3EU; HomeKit offers us a large selection of smart plugs, but in the European market it has been a little threadbare, that is until this year, when it started to change, as more and more manufacturers started to finally introduce European versions of their original US counterparts.
First of all, here are some technical specifications for Onvis S3EU Smart Plug:
Power
- Input: 230V~, 50Hz
- Rated current : 10A (MAX)
- Rated Power: 2300W
Wireless Connection
- 2.4 GHz 802.11b/g/n Wifi
Compatibility
- Europe: Type E & F sockets
Safety
- Internal protector: 10A built-in type non-replaceable fuse
- Ambient temperature: 35℃ (MAX)
PACKAGING | DEVICE
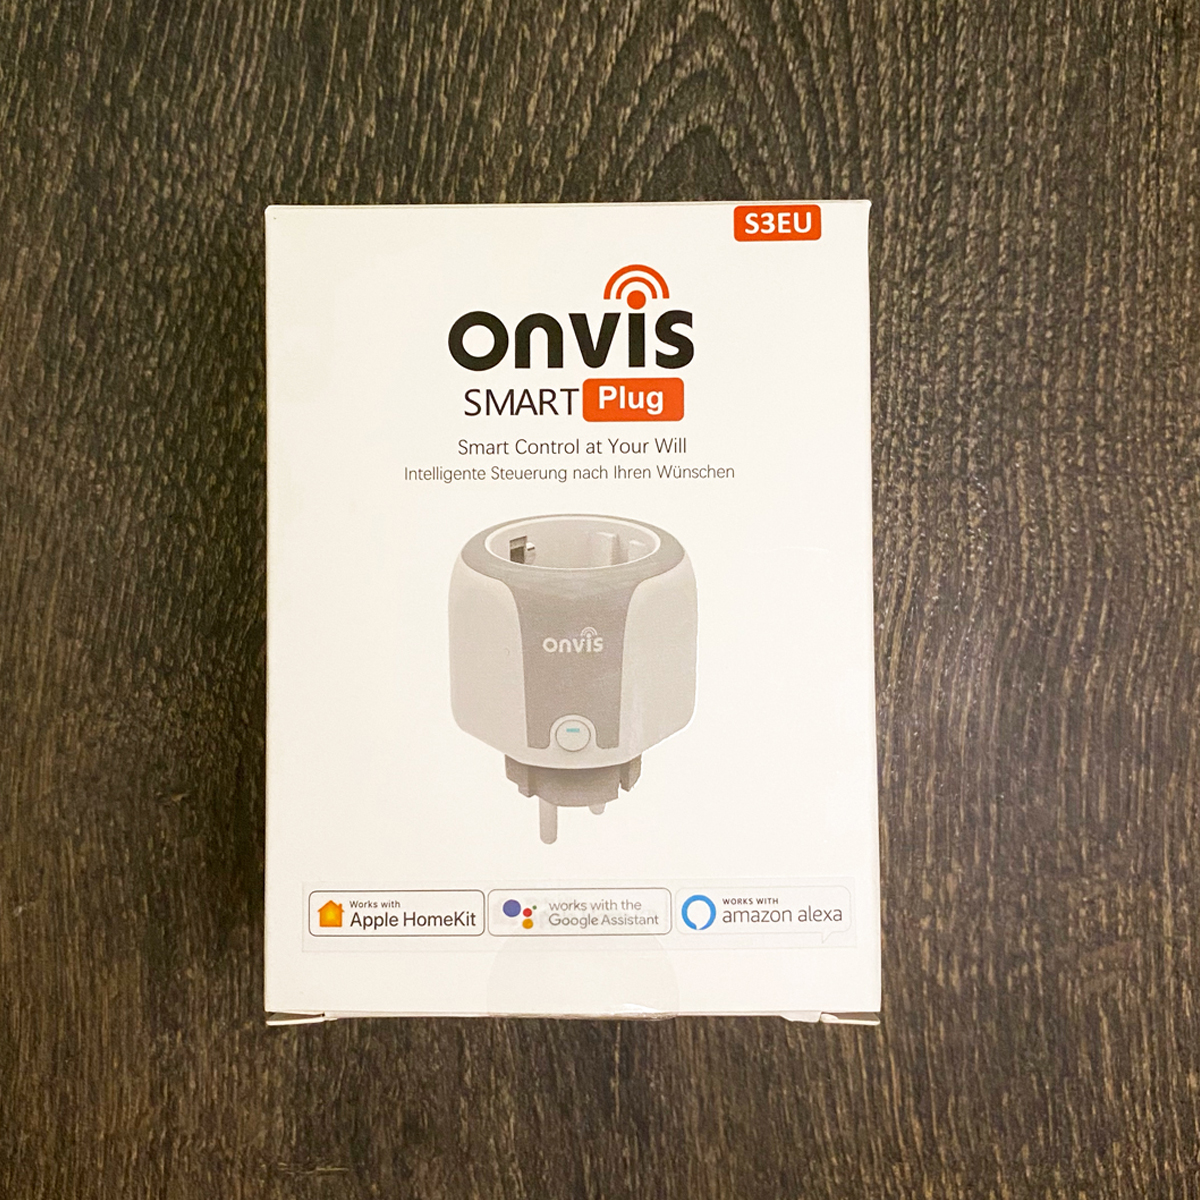
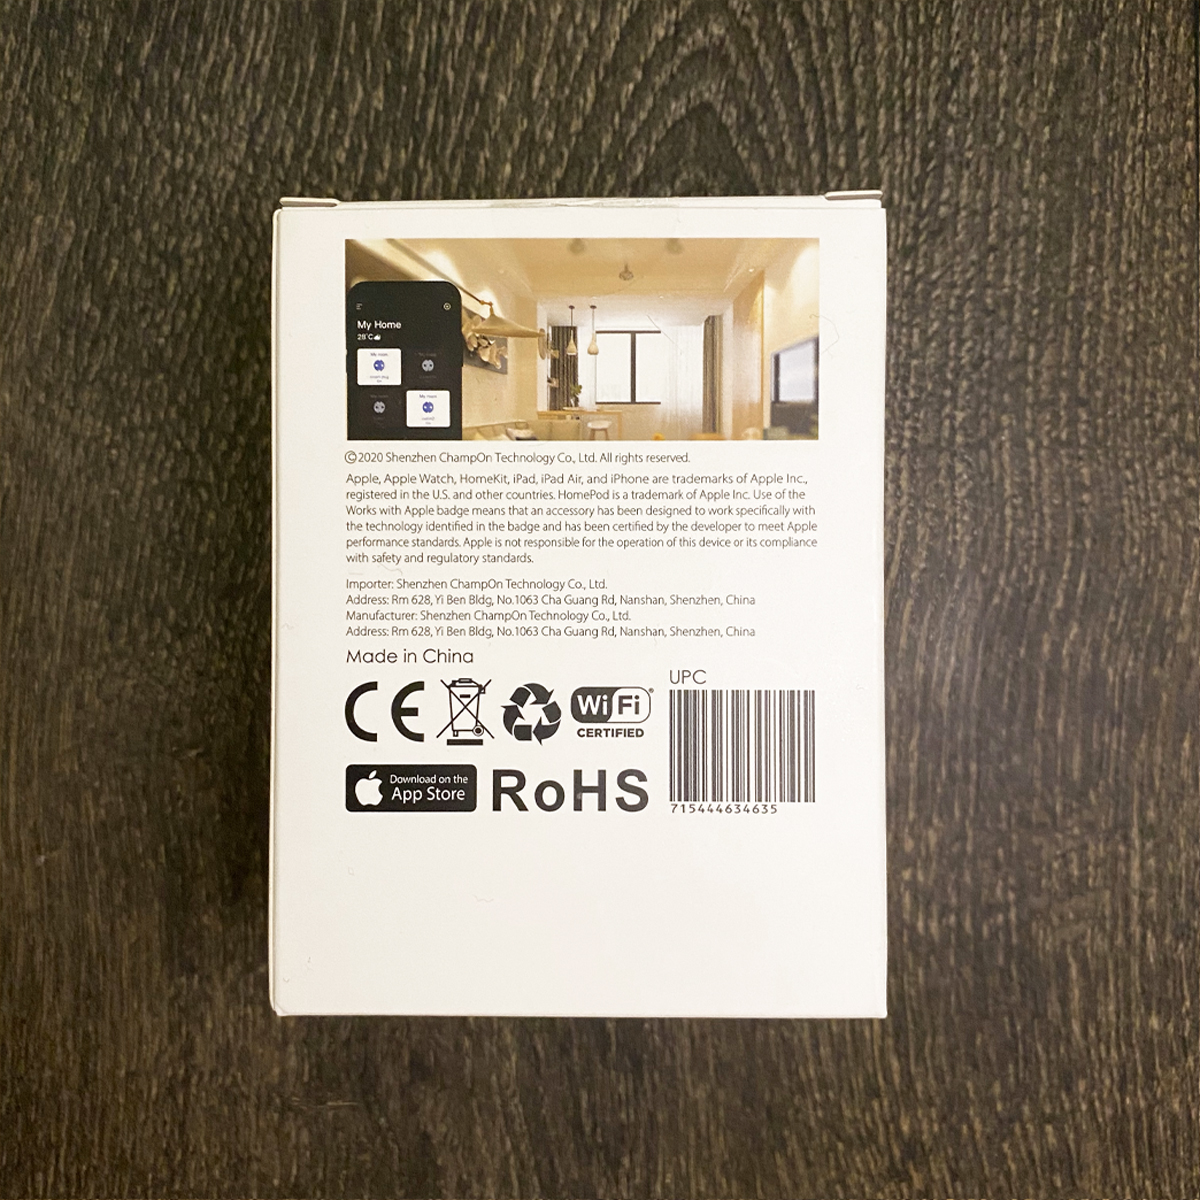
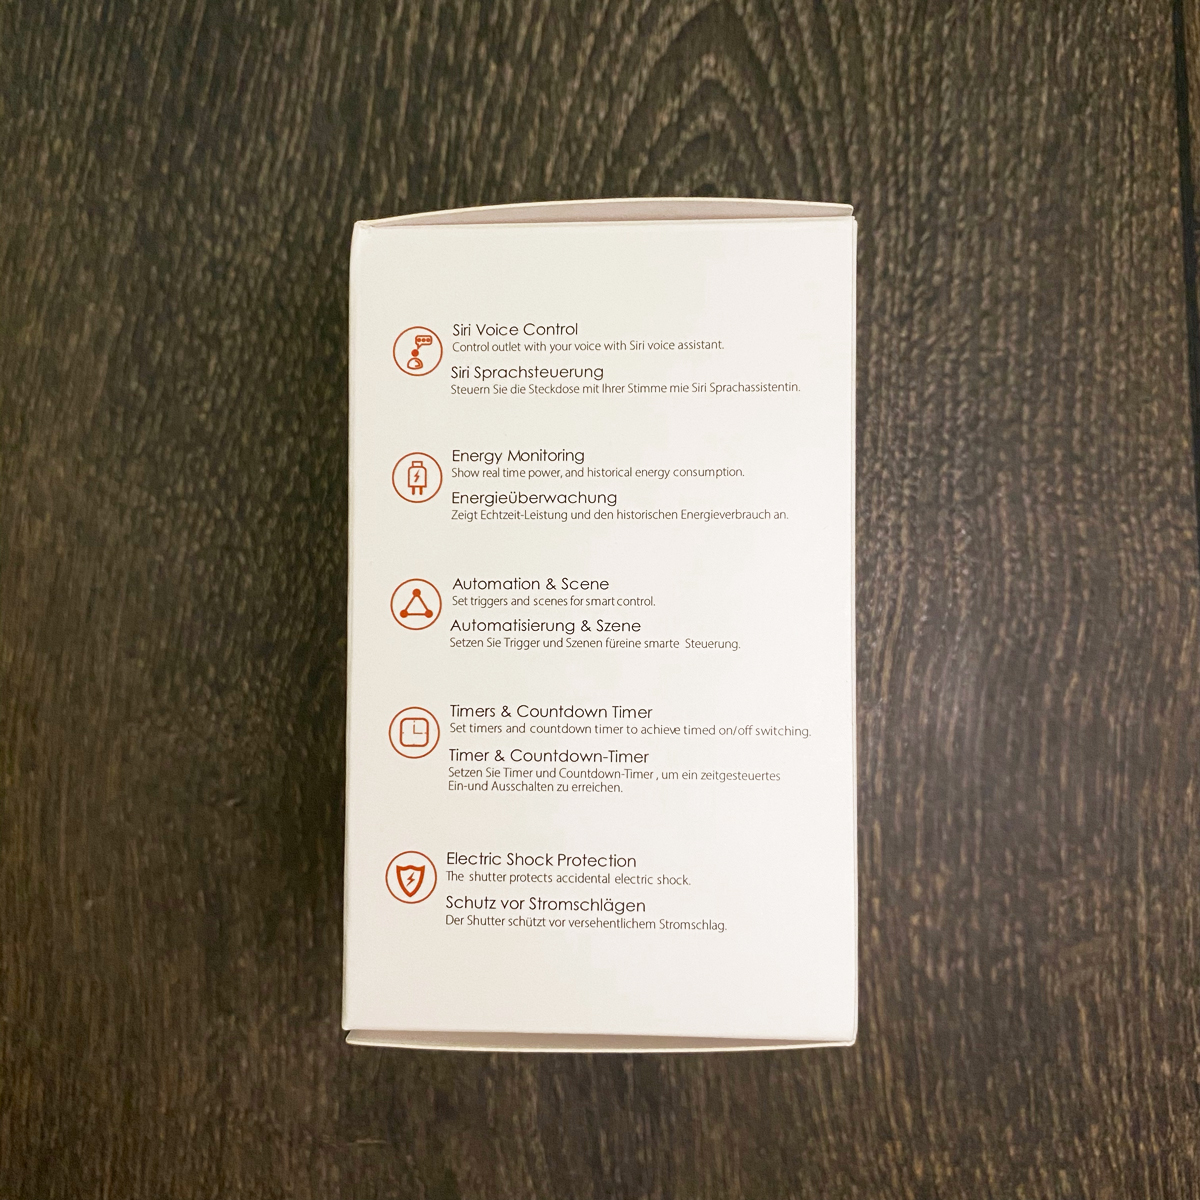
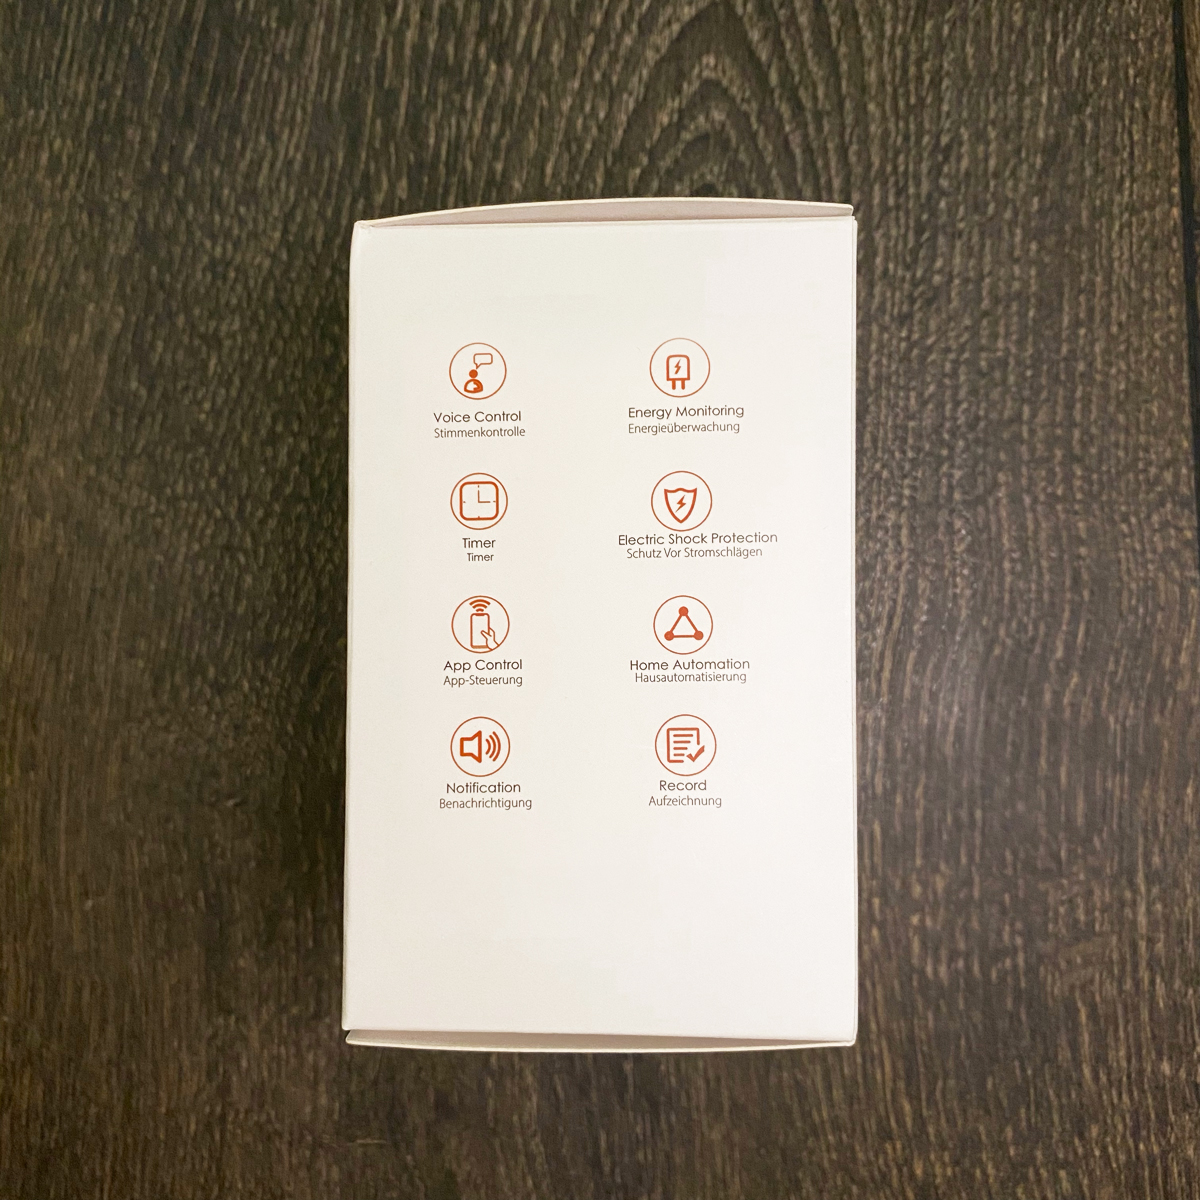
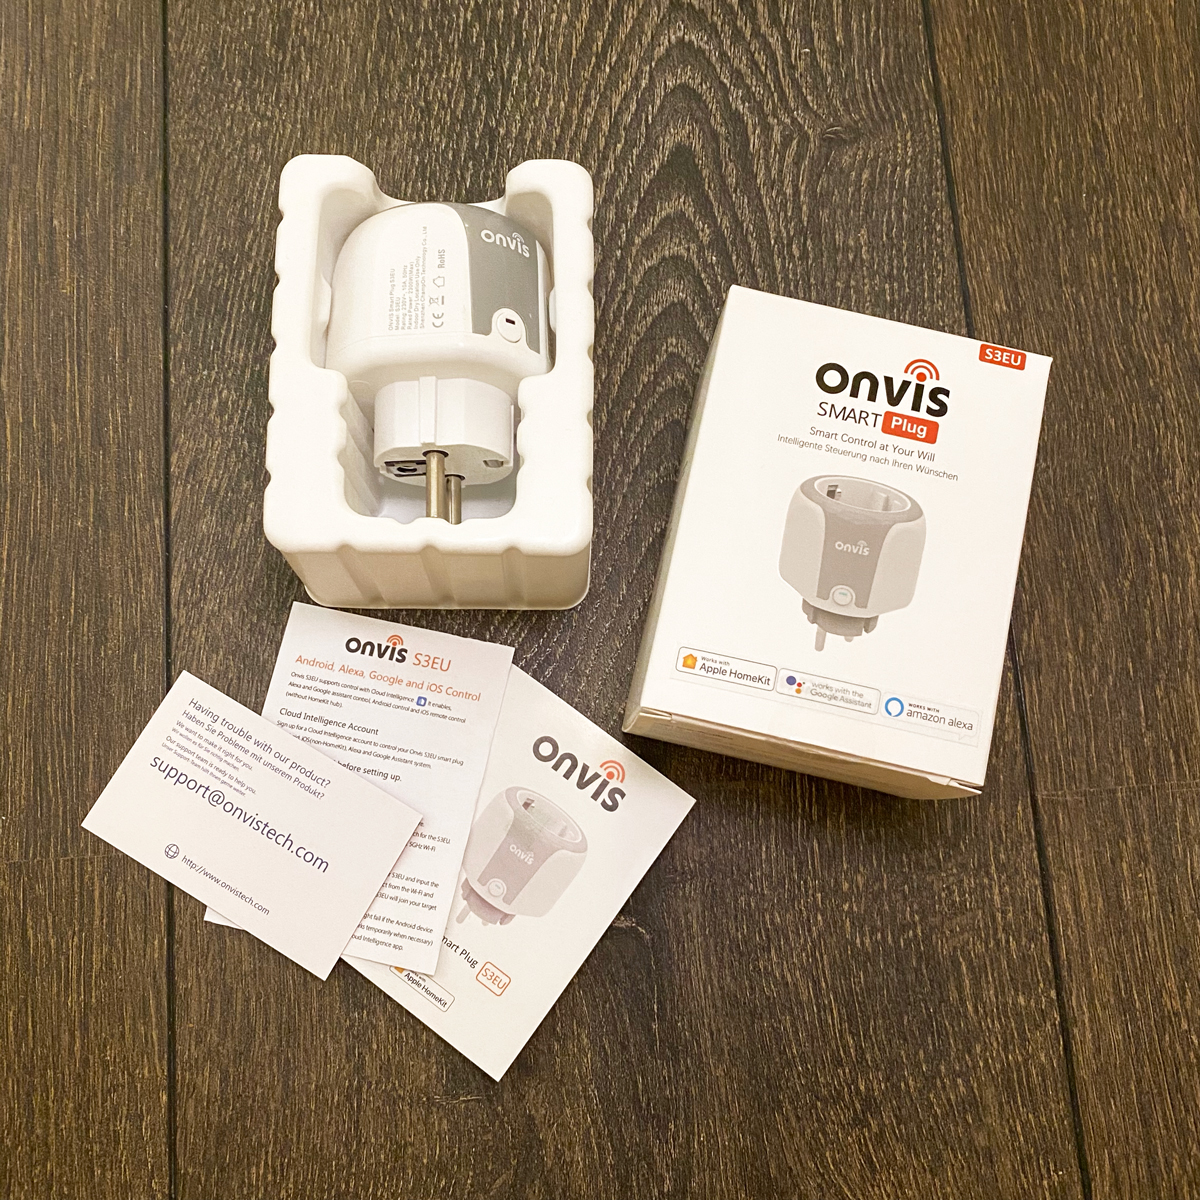
From the very first moment, from the packaging to the product itself, there’s a feeling of the high-quality materials used. The package contains details of all functions, so if you do happen to find this in a physical store, then you will be able to know if this is the right product for you immediately. Of course, on the front you can see that the S3 plug works not only with Apple HomeKit, but also Google Assistant and Amazon Alexa.
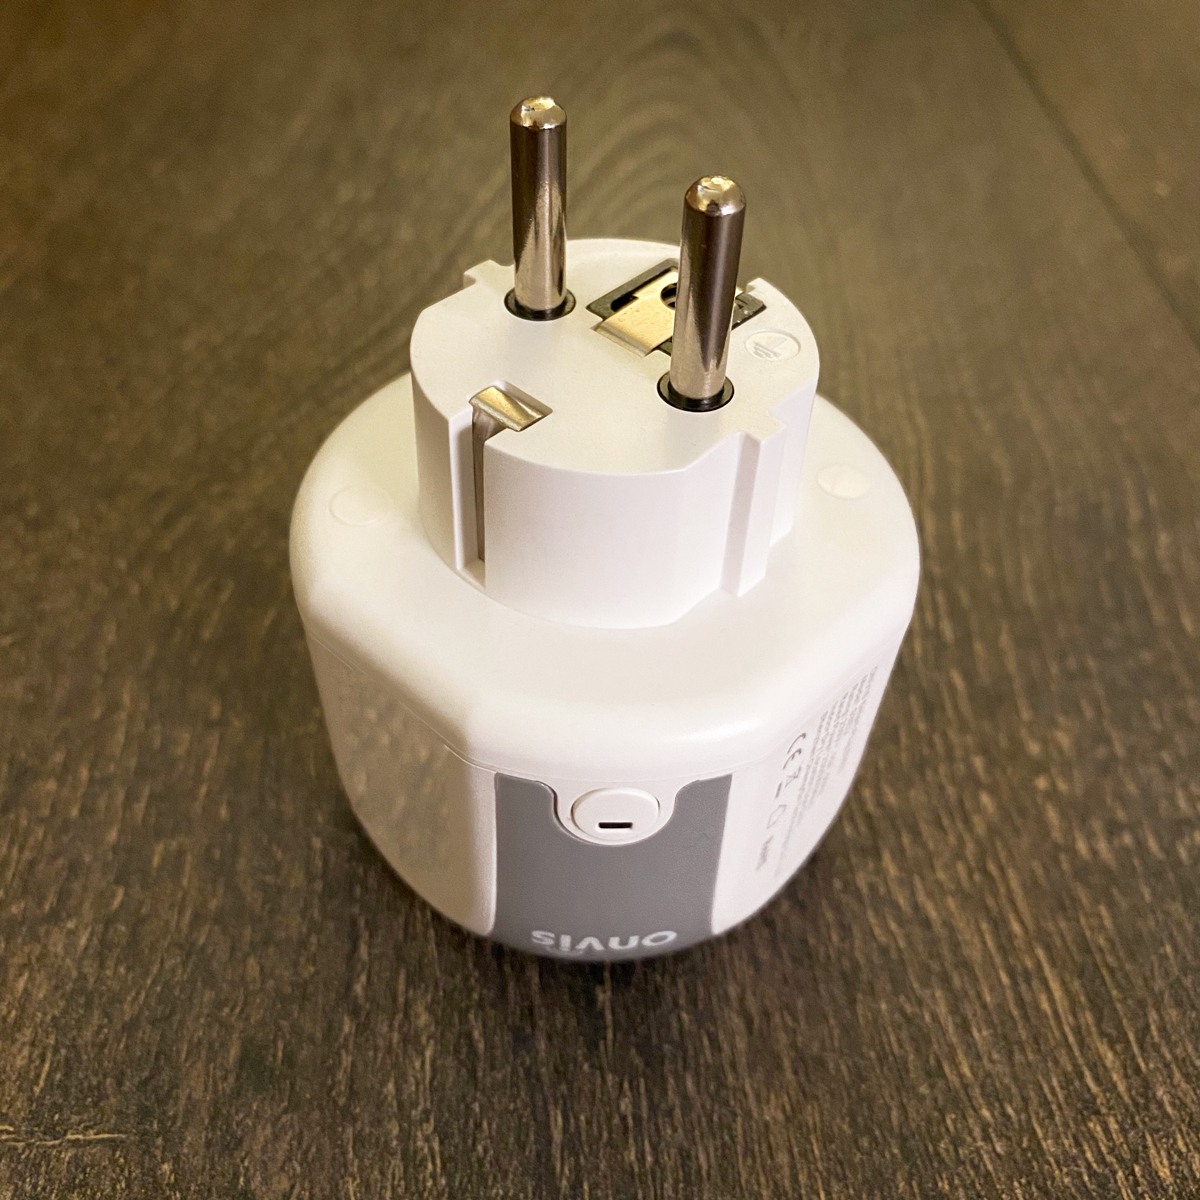
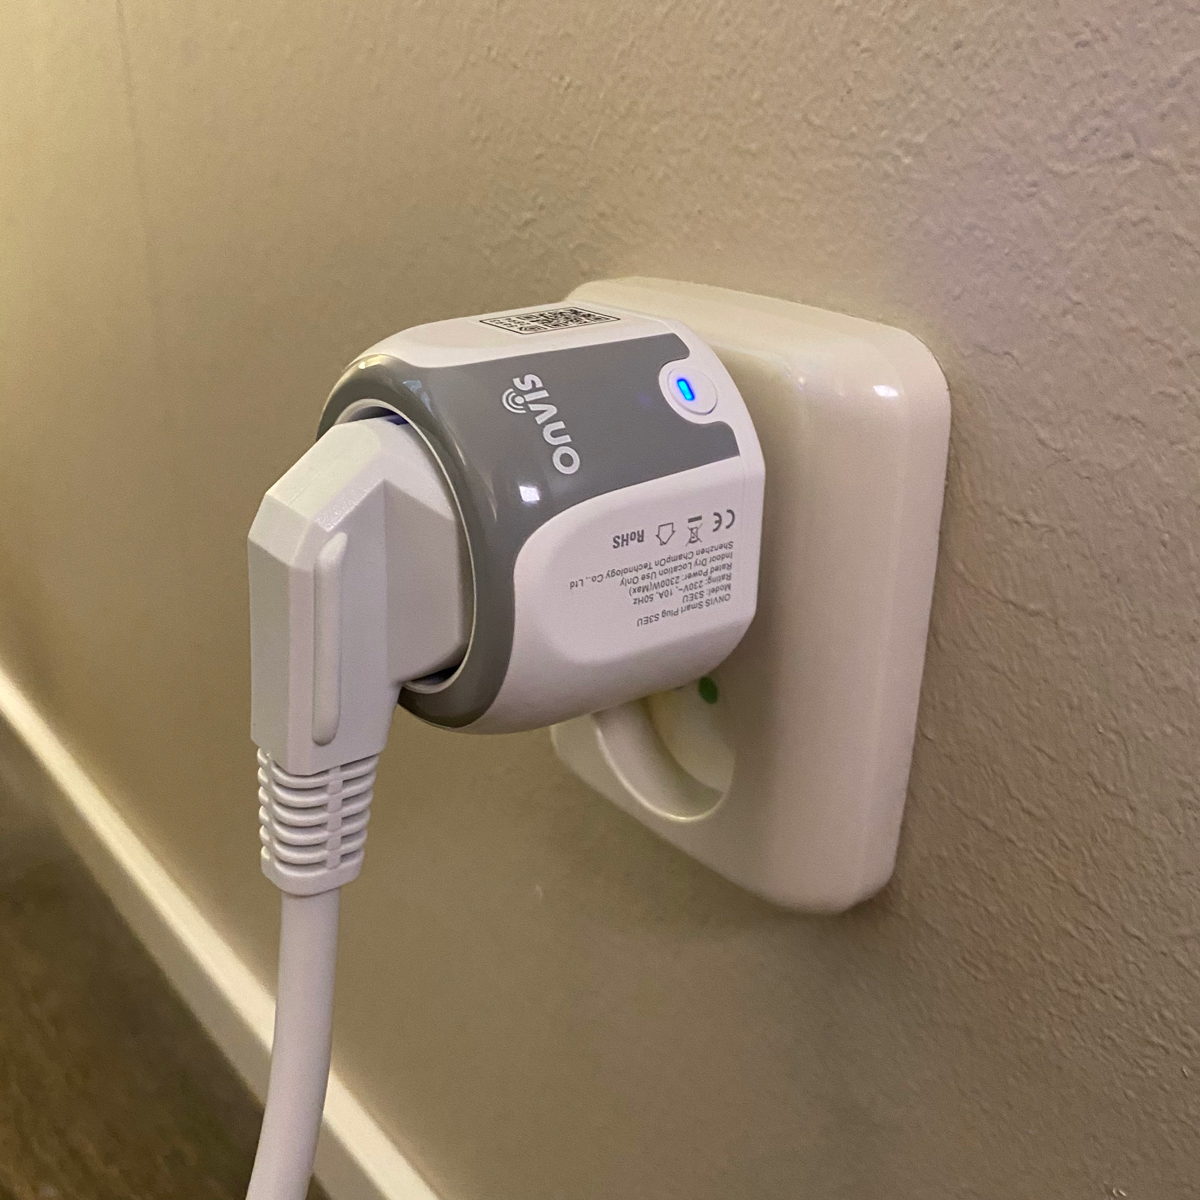
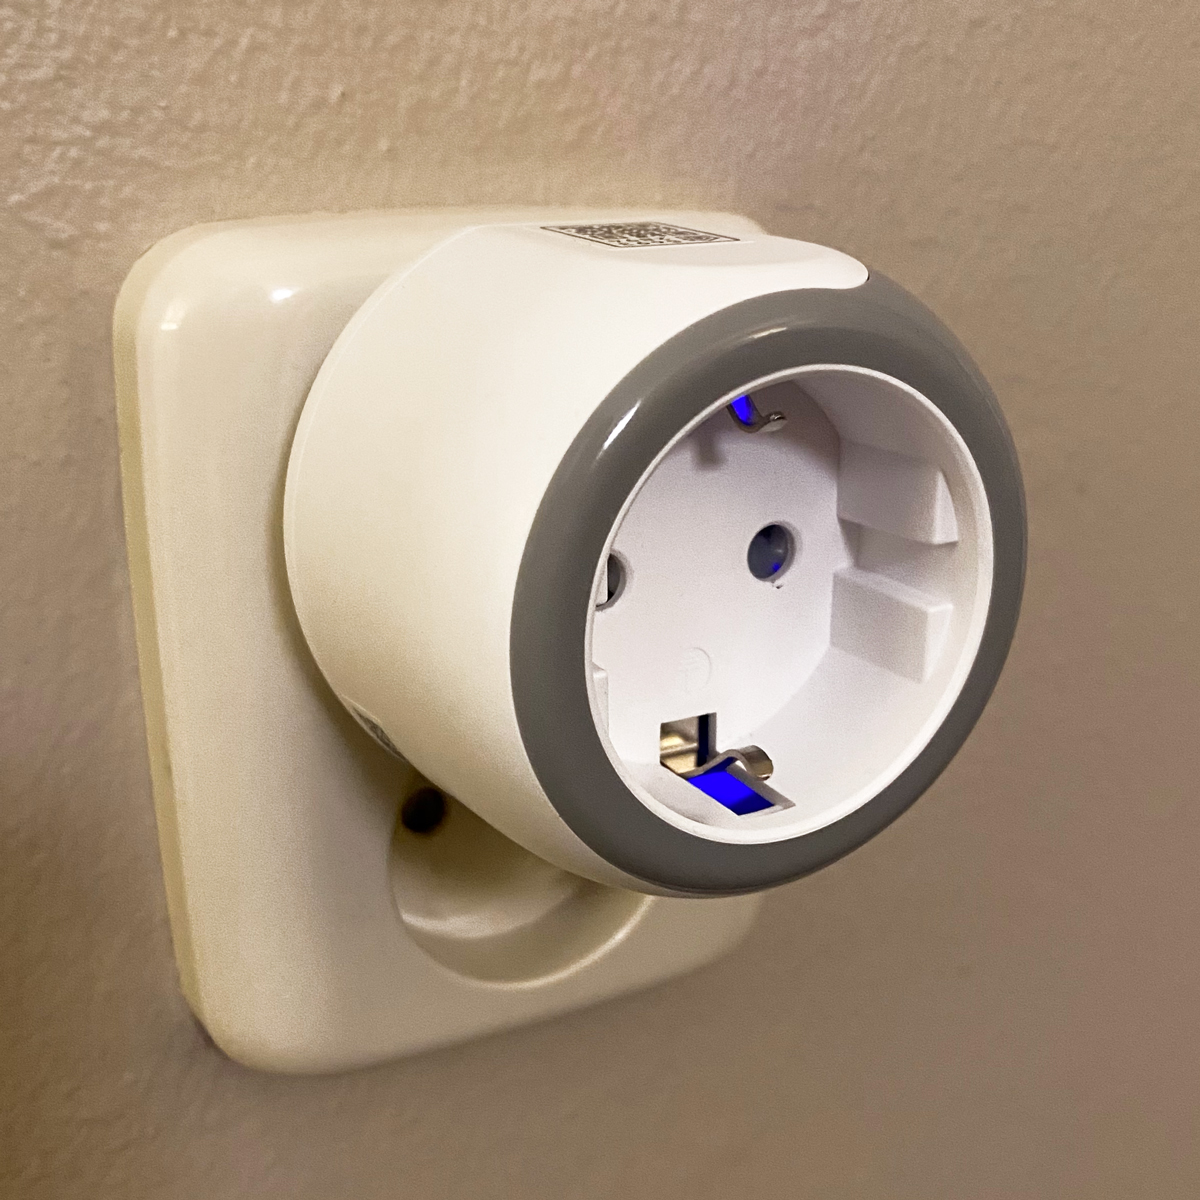
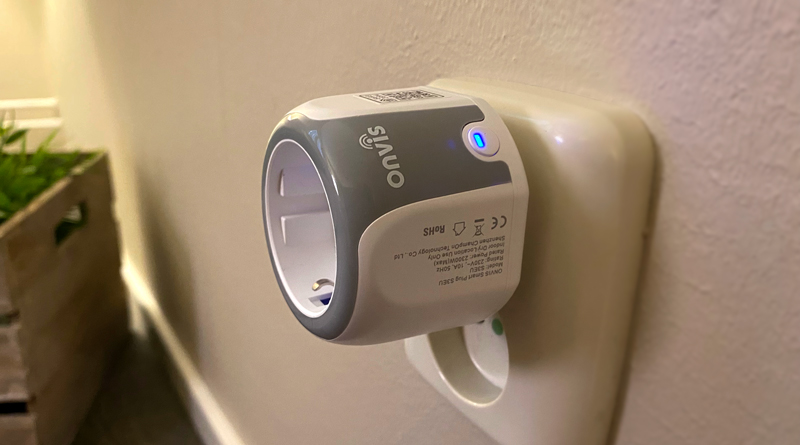
After opening the package, inside, apart from the socket itself, you will find the user manual in English, German, French and Spanish. Information on how to connect the socket to the aforementioned systems is included, as well as information on how to contact technical support in case of any problems. The S3 plug itself gives the impression of being very carefully made of matte plastic with grey accessories and quite discreet, inconspicuous, Onvis logo. It has one single button that is used for various functions that I will describe later.
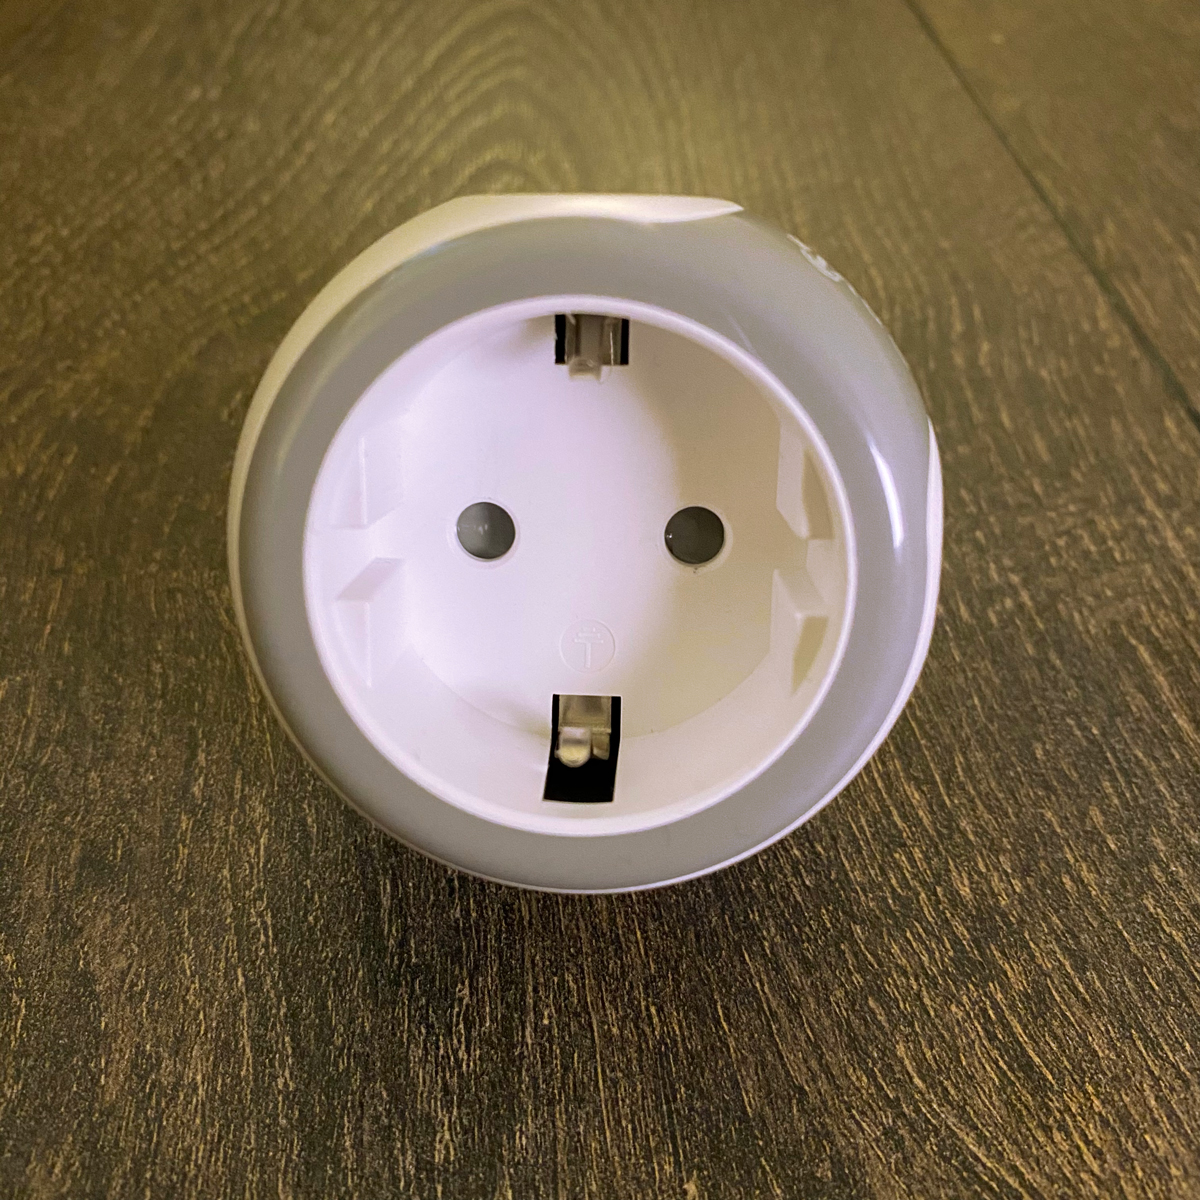
Its size does not differ from other sockets of this type available for the European market, but the rounded edges certainly make it visually appear a bit smaller than it really is. Unfortunately, as with most of these types of products, it is in fact, quite large. So, just like nearly all other EU smart plugs, it blocks the second outlet in standard double sockets, and you will not be able to connect two S3 plugs directly next to each other. The Onvis S3 plug also has built-in overload protection.
Overall, the device makes a very positive impression, but let’s see how everything works whilst it’s in use, and what additional functions – if any – there are.
S3 IN THE HOME APP
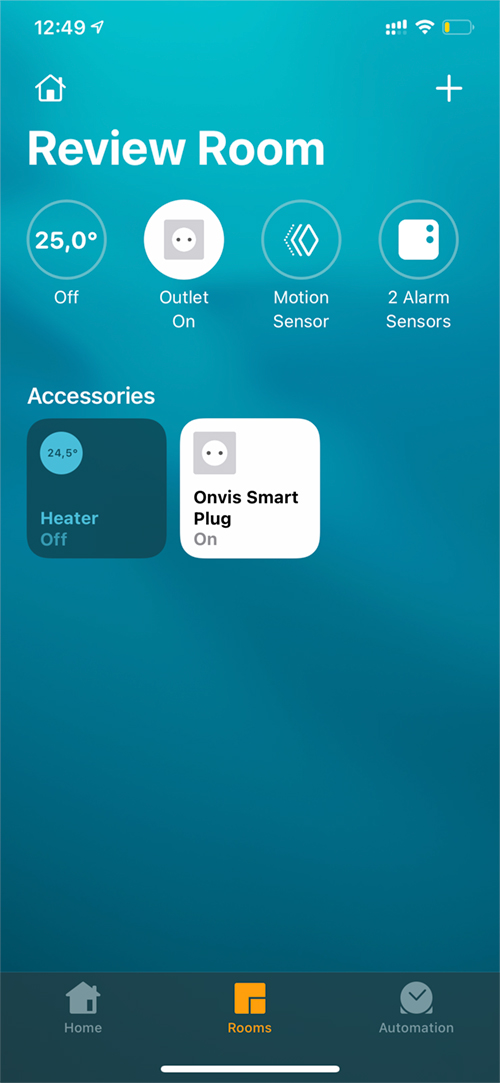
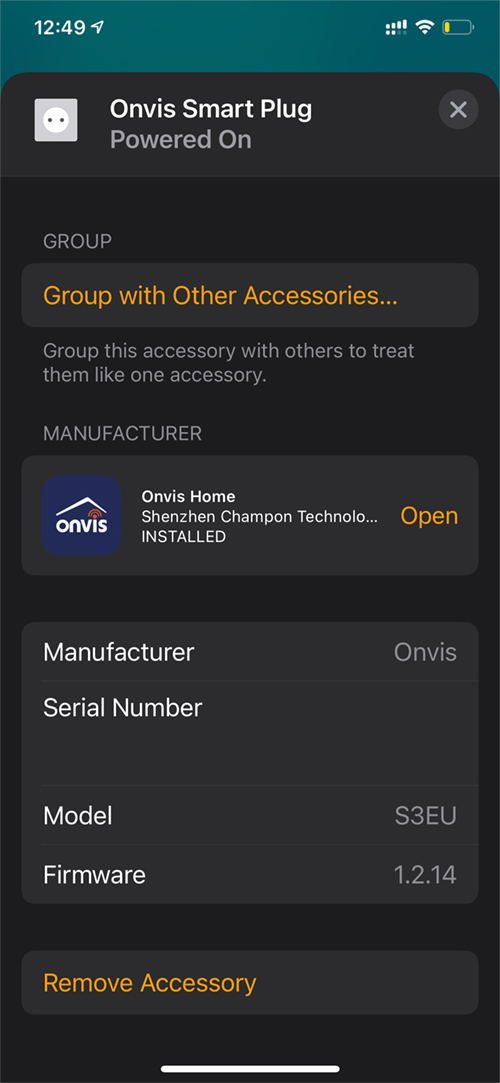
Since I’m describing products from the perspective of HomeKit users, I’ll start with the procedure of adding the S3 to the HomeKit system. You can use the Apple Home app itself for this purpose, which is available on iOS, iPadOS and also on macOS, but if you also want to have access to all additional functions not supported by the HomeKit framework, along with access to hardware updates for the plug itself, then you will also need to use the Onvis app, which is available for download from the Apple Store for iOS, iPadOS, and also for the Apple Watch.
The process of adding the S3 plug itself is no different from the standard procedure for adding new devices to the HomeKit system, regardless of whether we use the Apple Home or Onvis application.
You need to scan or manually enter the HomeKit code that is found on the plug itself, or in the user manual. After scanning the code, you’ll see the standard procedure for adding the device to HomeKit, where you can assign the device to the place in our home, where it will be used, and give it it’s own name. You also have the option of specifying the plug’s operating mode; There are three standard HomeKit options to choose from: outlet, light, or fan. It’s most useful when you want to control the plug using voice and Siri, with the plug receiving an appropriate icon depending on the selected operating mode. It’s also worth mentioning that if you use the Apple Home app to add the plug to HomeKit, then you can always install the Onvis application and everything will work without the need to reconnect or re-add the device, so the order and method do not matter here.
The S3 uses a 2.4 GHz WiFi connection to communicate with HomeKit. I’ve been using this plug for a few weeks and at the very beginning of using the early firmware version of the plug, when programming, I had a few command response issues. However, Onvis took care of this issue quickly and fixed all these bugs very quickly. Since then, I’m happy to say the S3 works and reacts very quickly and reliably to any commands. I also didn’t notice any problems with the WiFi connection itself. It is important to note that if you get this smart plug with earlier firmware than version 1.2.13, then you will need to make sure to upgrade it to a newer version before using it.
In the HomeKit system itself, you have access to basic functions such as turning the plug on and off using the application, via your voice, or programmed scenes and automation, regardless of whether you are at home or not. To use these functions when we are outside our local WiFi network, you’re required to have an active internet connection and a HomeKit hub, which is responsible for all automation and remote connections from outside our local network. For this purpose, you can use devices such as an Apple TV (4th gen or above), HomePod, or suitable iPad.
From the Apple Home app, the only available parameters to use when creating an automation are the plug, in on or off status. Unfortunately, the Apple Home app does not show and does not support all the functions available in HomeKit’s framework itself for this, which is the same for other smart plugs, so if you want to use functions such as reporting the current power consumption, creating an automation based on it or displaying the status of something that is currently connected to the plug, then you need to use a separate HomeKit application from third parties. In addition to using the app, you can, as with any HomeKit device, also control it using Siri voice control.
S3 IN THE ONVIS HOME APP
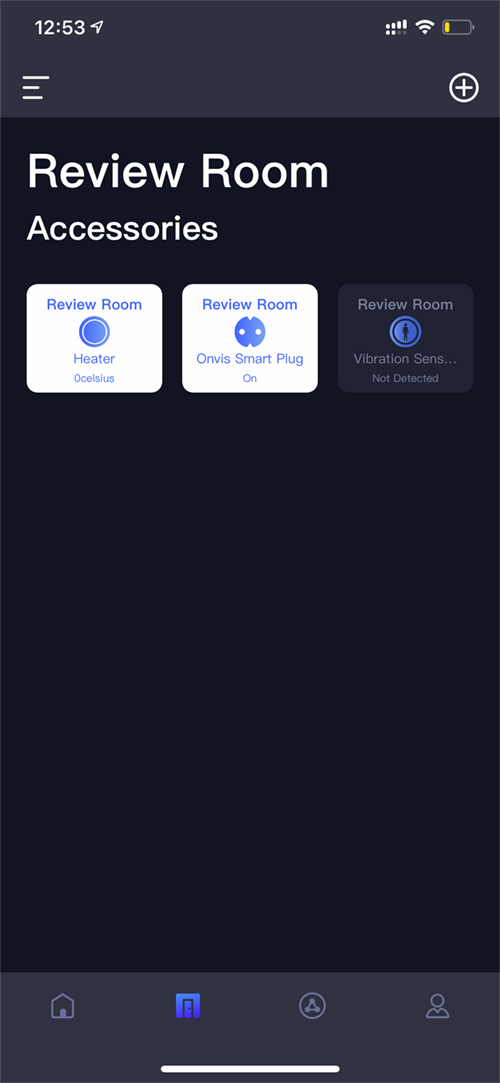
Regardless of the functions available via HomeKit, the Onvis application also gives you simultaneous access to all additional functions, such as a timer, countdown timer, firmware update and various power consumption graphs.
On the main page, the plug is represented with a tile showing us the current state of the plug, and whether it’s enabled or disabled. By briefly pressing the tile, you can quickly and easily turn on or off the plug, as expected.
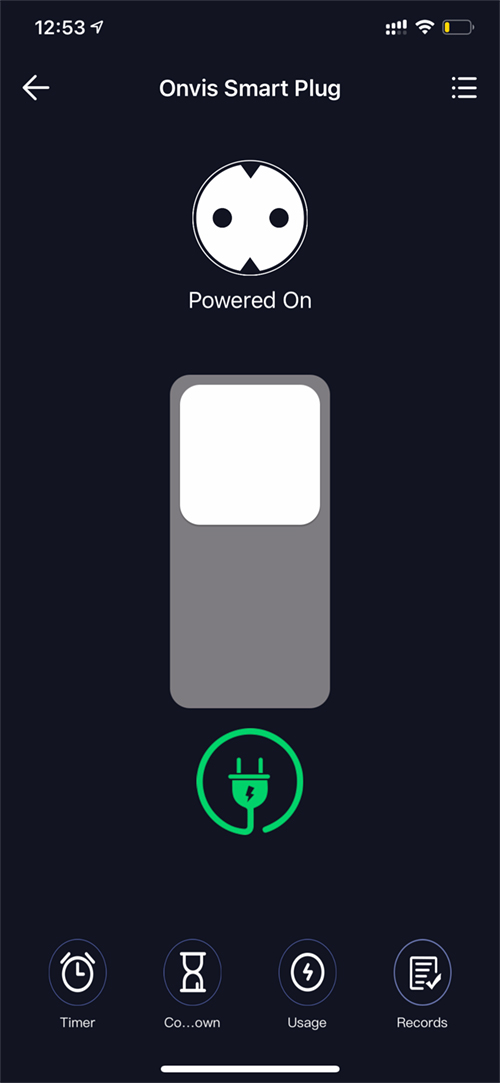
All these additional functions have been placed in the plugin options, which you can open by long pressing on the plug symbol.
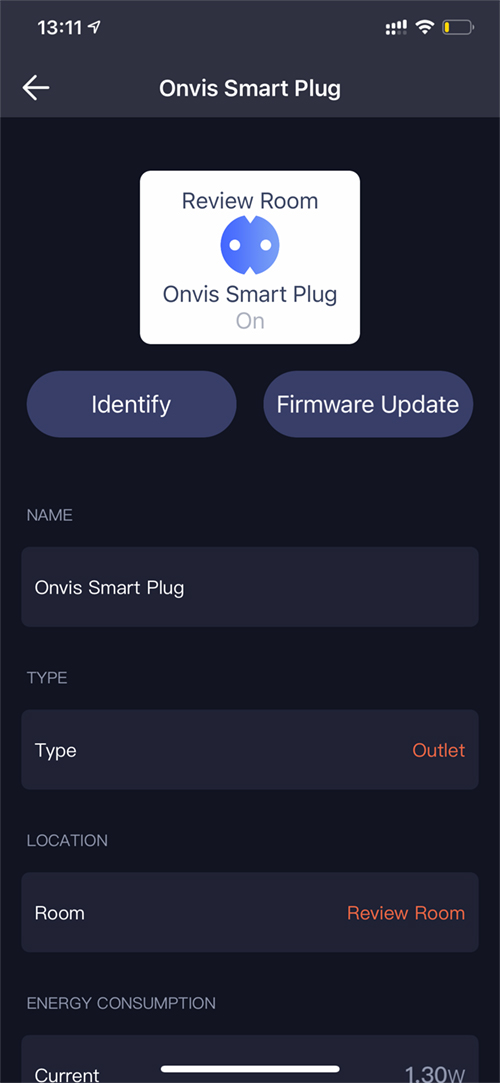
On the options page, starting from the top, you’ll see a symbol that informs you as to whether the plug is turned on or off by means of a backlight effect. Then you get a toggle switch with which you can disable or enable the plug. The next symbol informs you as to whether a device is connected to the plug or not. A green symbol means that a device is currently connected to the plug. If nothing is connected then this symbol will be displayed in grey.
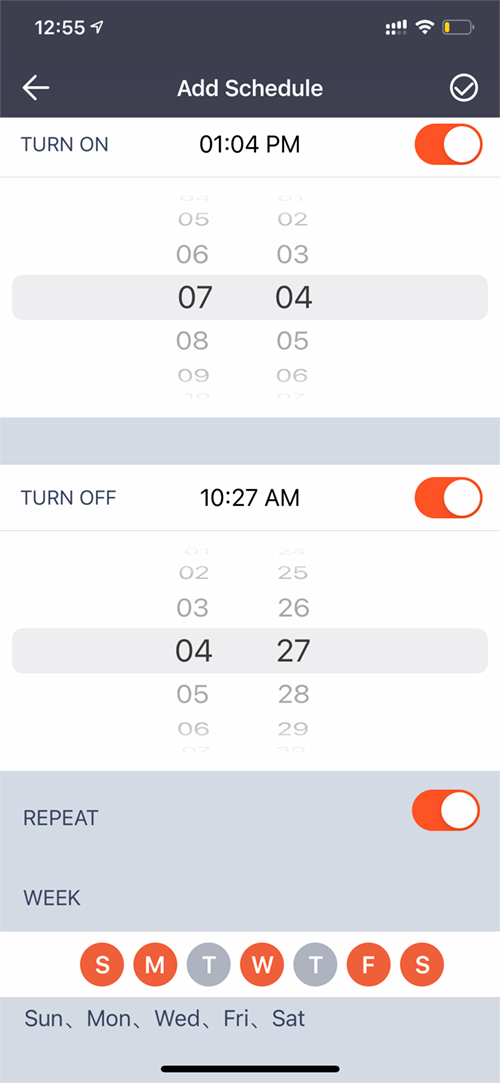
Additional functions have been placed at the very bottom of the options page. These are a Timer with which you can program a day and time period for when you want the plug to be turned on and off. You can create any number of independent programs there.
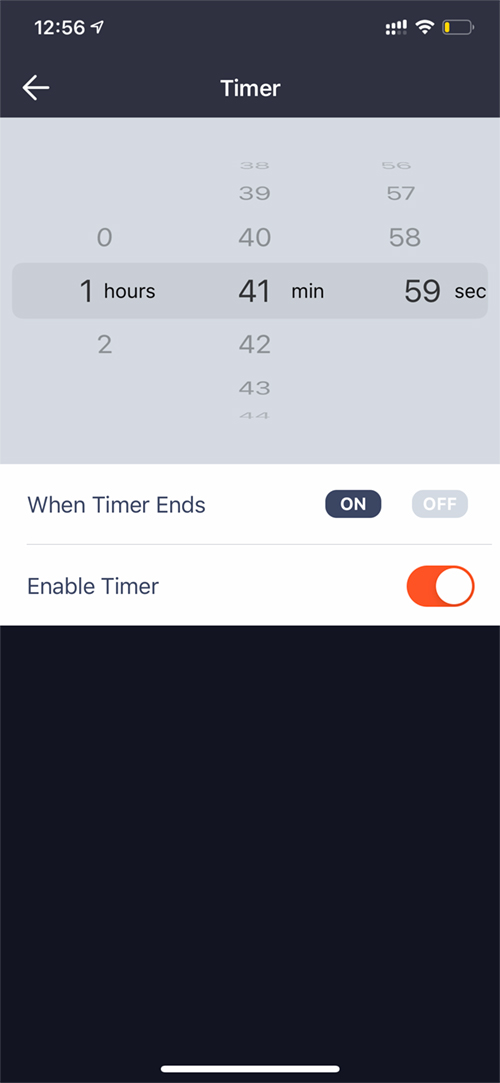
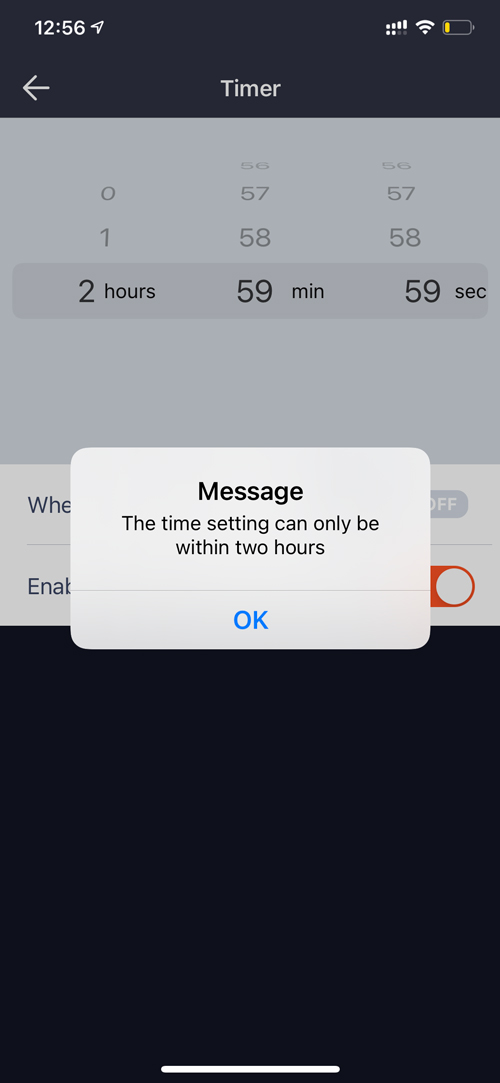
The next feature is Countdown. This function is to turn the plug on or off after a specific amount of time. Timer settings from 1 second to 2 hours is possible, although when attempting to set the timer, the clock allows you to go up to 2 hours and 59 minutes, but will throw up an error when you try to save the timer.
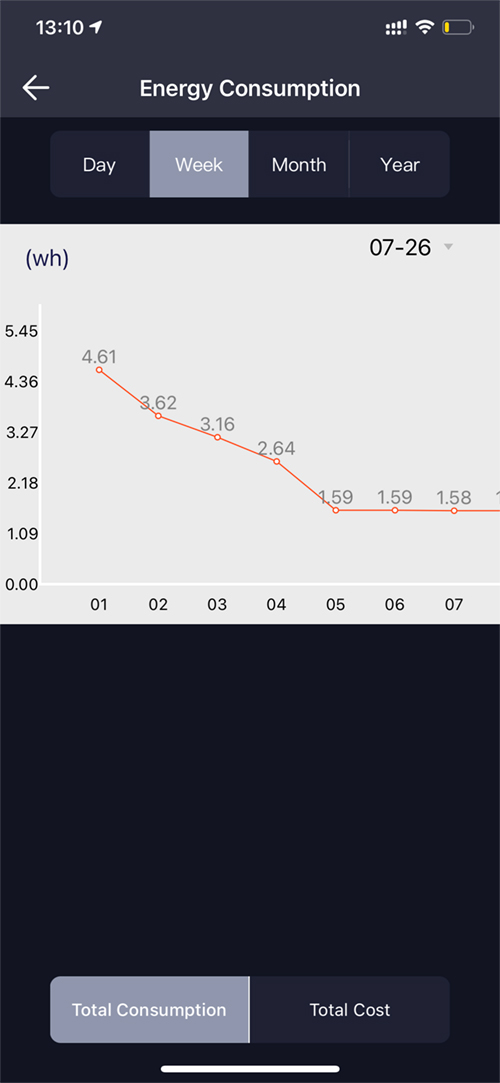
Another function is Usage, i.e. saved data on power consumption by the device connected to the plug. This data is saved locally in the Onvis App and displayed in graphs. You can choose from daily, weekly, monthly or yearly reports. In addition, you can choose whether you want to see a summary of electricity consumption or the total cost of electricity consumption. In the Onvis app settings, you can set any rate of electricity costs.
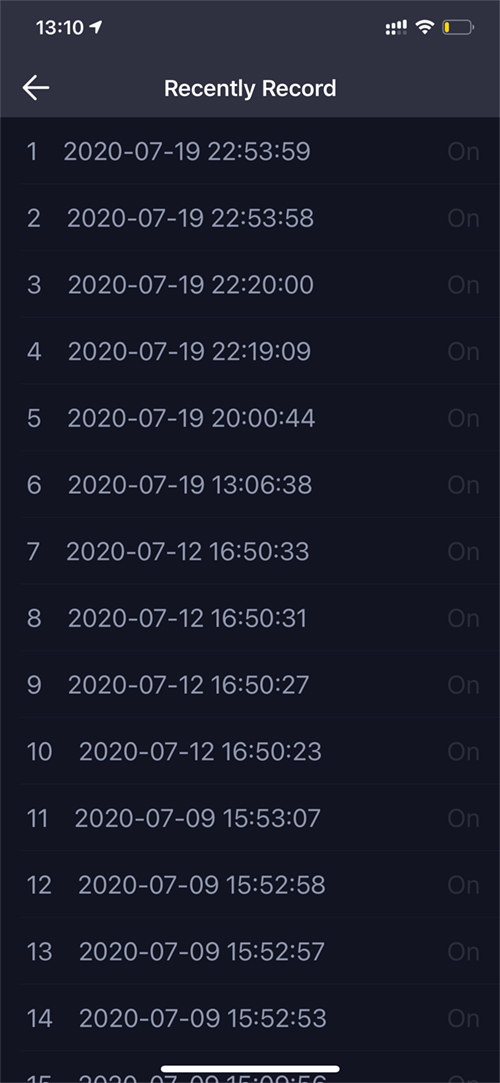
At the very end You will find Records, a record of the time and time when the plugin was turned on and off.
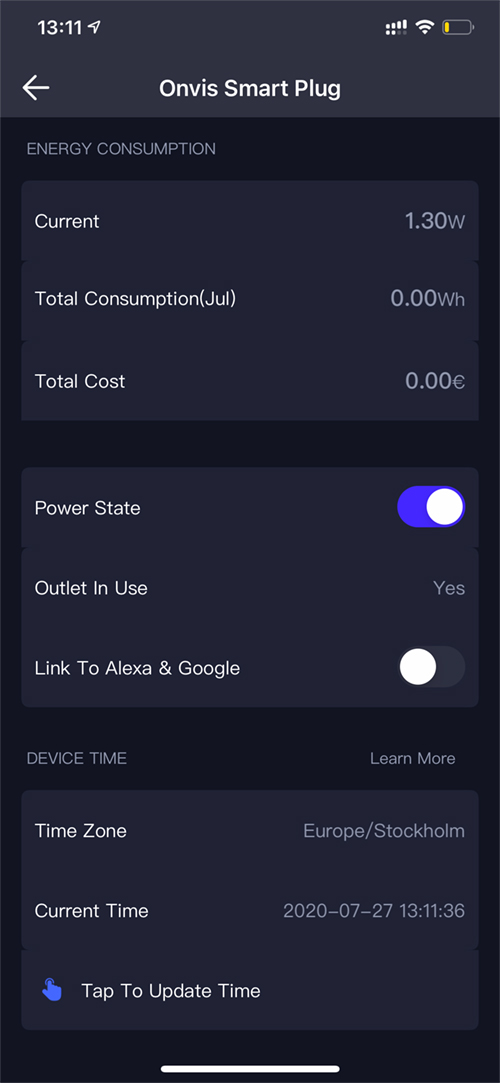
There is also an extra options page accessible with the checkbox symbol in the upper right corner. There, additional information about the current state of power consumption is displayed. There, you can check the version and update the plug-in firmware, as well as options for connecting the plug to Amazon Alexa and Google Home systems.
A CLOSER LOOK AT THE S3
The Onvis S3 plug also has one physical button located on the housing and a LED diode. By pressing the button shortly, you can simply turn the plug on or off, and by holding the button for a longer time, you can reset the plug to its factory state. A continuous blue LED light means that the plug is on and connected to the Wifi network, while the blinking blue light informs you that there no connection to the Wifi network. Under normal working conditions, if the LED is not showing, it simply means the plug is not on and not powering any device, although it could also be that if it’s not receiving power you would also notice a ‘no response’ issue in HomeKit.
The Onvis S3 is also designed to work with Amazon Alexa and Google Home, however despite the markings on the box itself and in the Onvis app, support for Amazon Alexa and Google Home was not at the time of writing and when we tested this product, and as such, we couldn’t see how the S3 works with these systems.
SUMMING UP
Overall, despite some initial firmware issues with the Onvis S3 plug, which were quickly fixed by Onvis, it quickly became one of my favourite smart plugs for Apple HomeKit thanks to its connection stability and quick response to commands. Each additional feature certainly adds even more value to it. Certainly, a very welcome function is the measurement of power consumption and historical data related to the device. Unfortunately, not every smart plug has this feature and I believe it should be standard as it’s a very useful feature. If I miss something with this plug, it is certainly the ability to export power data from the Onvis application, along with a child lock function, which often turns out to be useful, especially when there are very young children at home. In the Onvis application itself, it’s clear there’s a lot of room for fixes in its operation and general UI improvements. For example, I would like to see easier access to information about the current power consumption and which today is hidden at the bottom, but these are mostly just cosmetic changes and generally do not affect the operation of this plug. As for ‘cosmetics’, it’s certainly not one to blend into the background, with the grey accents as part of the bodywork, which look a bit dated, but if this is going to be hidden from view, it’s not a big deal ultimately.
If you are looking for a European version of a smart plug that works with Apple HomeKit and you can rely on, I can definitely recommend Onvis S3EU to you.
Full disclosure: Onvis provided HomeKit News with the Onvis S3EU Smart Plug for the purpose of this review. No other compensation was made or requested and has in no way influenced our opinion of this product.







Leave a Reply