VOCOlinc has been a mainstay of the HomeKit world for many users over the last few years, and have been gradually moving beyond smart plugs and bulbs, with the introduction of the Flowerbud Smart Diffuser in 2018 (still the only HomeKit compatible one at the time of writing), the T-Guard Smart Lock in 2019, the PureFlow Air Purifier in 2020, and now in 2021, alongside the recently released MistFlow Humidifier, the company’s third product that comes under the ‘Security’ range* – the Opto Smart Indoor Camera – is now available.
Whilst more HomeKit compatible devices are always welcome, the HomeKit market saw a massive expansion of cameras becoming available, once companies have managed to include HomeKit Secure Video (HSV) into their functionality. So with the Opto making its debut, is there much room on the bus for another camera? Read on to make up your own mind.
* the T-Guard Smart Lock and the VS1 smart contact sensor being the other two security devices
PACKAGING
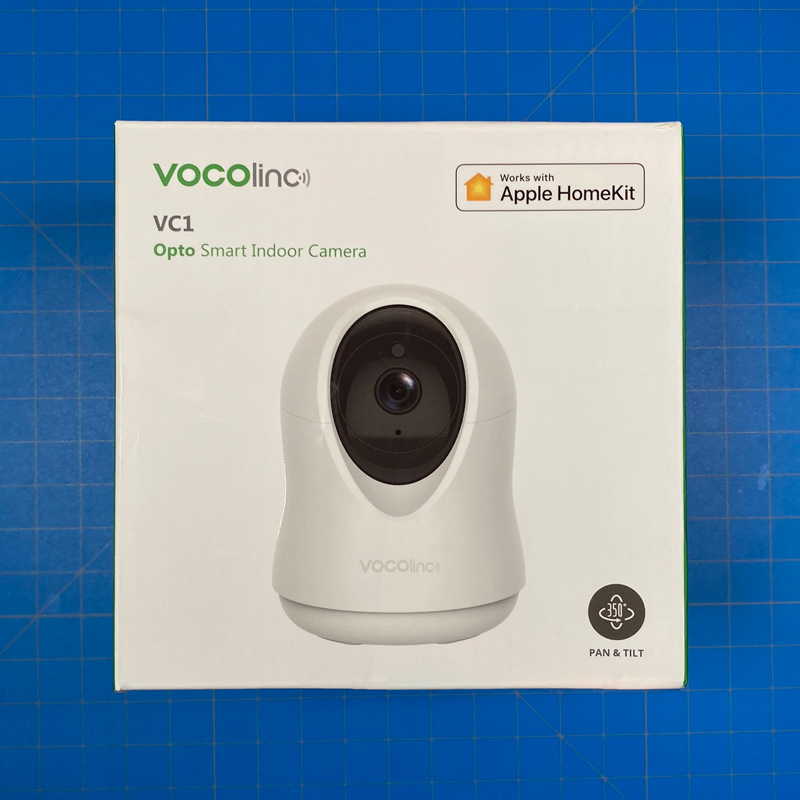
Many HomeKit accessory manufacturers have taken on the Apple mantra of less is more to a large degree, and Vocolinc is one such company, with the product being pretty much the only feature on the front of the box. You’ll also note that only the HomeKit logo is present, as this is an Apple HomeKit only product, so there’s no compatibility with Google Assistant or Amazon Alexa, unlike many of their products. The only other Vocolinc devices that aren’t compatible with these other platforms are the T-Guard Smart Lock, and the VS1 contact sensor, both of which use Bluetooth. the Opto is a WiFi device, but it’s still a HomeKit exclusive.
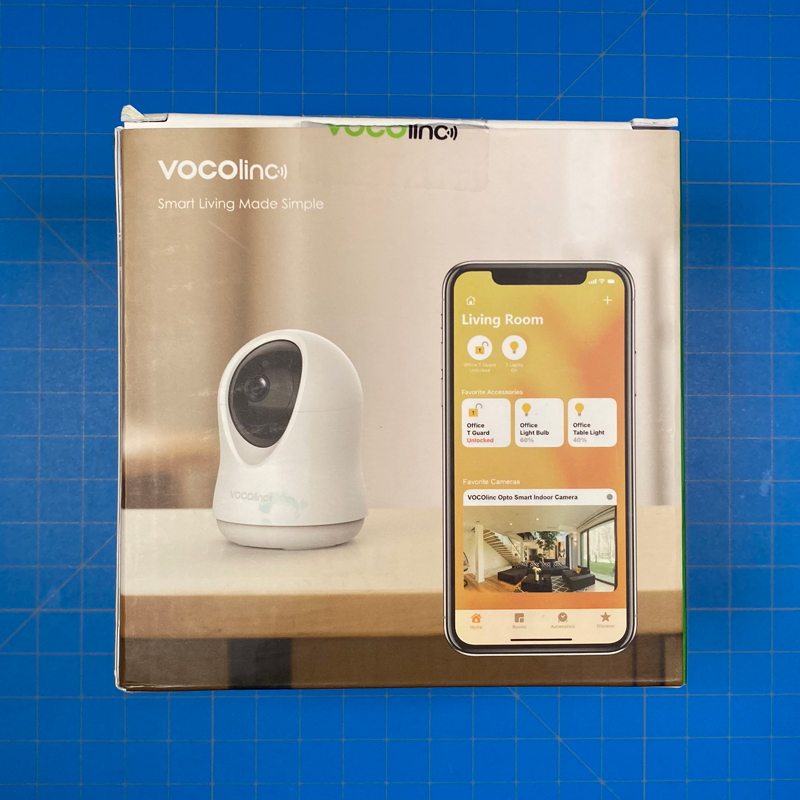
the rear of the box has the obligatory ‘in-situ’ image, and the top of the box has the HomeKit logo along with a ‘Privacy Matters’ badge. This has started to make its appearance on Vocolinc products since the introduction of their updated app, which has a HomeKit only mode, and a ‘full experience’ mode, with the latter allowing Google and Alexa integrations, but does require a Vocolinc account to achieve this. So, with HomeKit mode, you’re not required to set up an account, although only Vocolinc’s devices will show up, not all of your HomeKit devices (with the exception of within automations).
The sides of the box feature details of requirements as well as features of the Opto, many of which reflect the fact that it’s compatible with HSV out of the box. I’ve marked where these HSV features are in the list below;
- 1080P recording at 30fps
- 3-megapixel camera
- End-to-end encrypted video (HSV)
- 10-day, motion-based recording history (HSV)
- Smart Detection – people, pets, vehicles (HSV)
- Notifications with snapshots (HSV)
- 2-way audio
- Night vision up to 19.7ft / 6m
- Pan, tilt and zoom: 350º (H), 117º (V), up to 3 x zoom
- Privacy mode
- 107º field of view
- Uses WiFi 2.4GHz for connection
- 80 x 80 x 110mm / 3.15 x 3.15 x 4.33in (W,D, H)
- Weighs 280g / 9.88oz
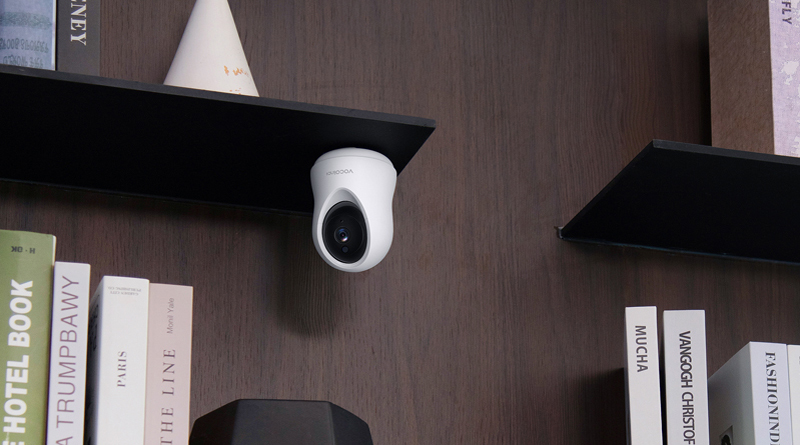
The camera can also be mounted upside down from a ceiling, or on the underside of a shelf for example. the Opto comes with a circular attachment that screws into a surface using the included screws and rawl plugs, with the base of the camera screwing into the circular attachment. Handily enough, you also get a small sticker to guide you into making sure you screw the holes at the right distance when preparing to mount the camera. The Vocolinc app allows for the camera’s view to be ‘flipped’ so that you don’t have to look at the live stream upside down if ceiling mounted.
PACKAGE CONTENTS
Aside from the camera and the aforementioned mounting parts, you get a manual with one of two instances of the HomeKit code, a USB power supply, and a 2-metre / 6.56ft USB-A to USB-C power cable…yes USB-C! Apart from the Onvis C3, the Opto is the only other camera I’m aware of so far that uses a USB-C power supply. It’s a small detail, and in reality, doesn’t matter so much, but it makes plugging the cable in just that little bit easier.
THE CAMERA
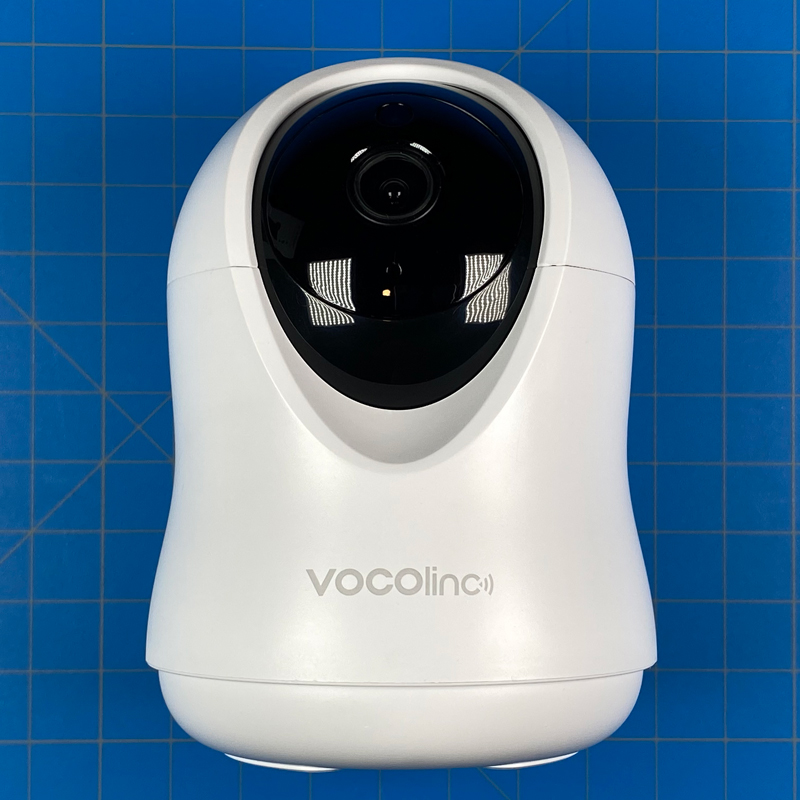
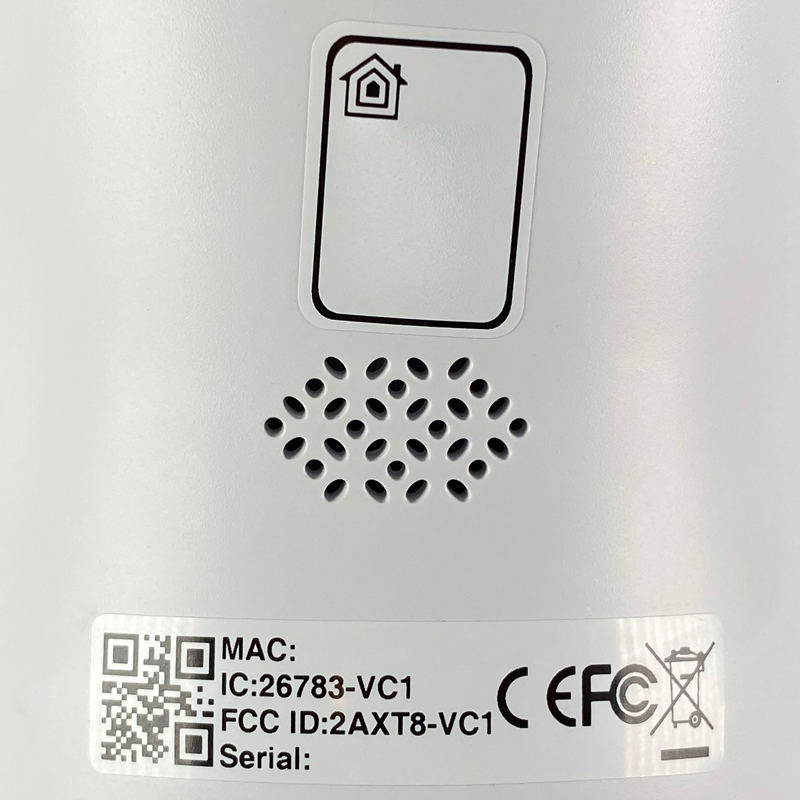
Onto the camera itself, and the comparisons to the Eufy pan and tilt camera are going to be inevitable, mostly due to the similar overall design, and the fact that both cameras have motorised pan and tilt functionality. Whilst they may look similar, it would be unfair to say they’ve copied the Eufy, as there have been many cameras that are part of the Xiaomi/Mi Home ecosystem that look similar to this (out of necessity you could say) that came out long before the Eufy. It does remind me a little of the Snapchat logo though! The rear of the camera is home to the second of the two instances of the HomeKit code and also houses the speaker and USB-C power connection.
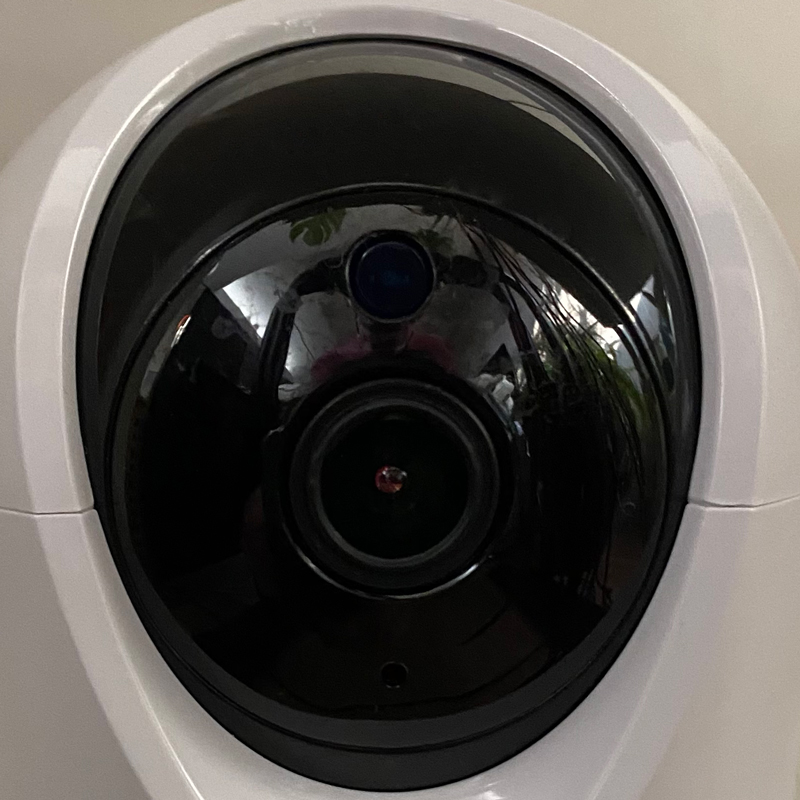
The camera section sports a large light sensor at the top, above the lens, which is central, and a microphone, immediately below the lens. The light sensor is to help the camera switch between night vision and standard colour vision, although, unlike the Logitech Circle View, it’s not exposed to HomeKit.
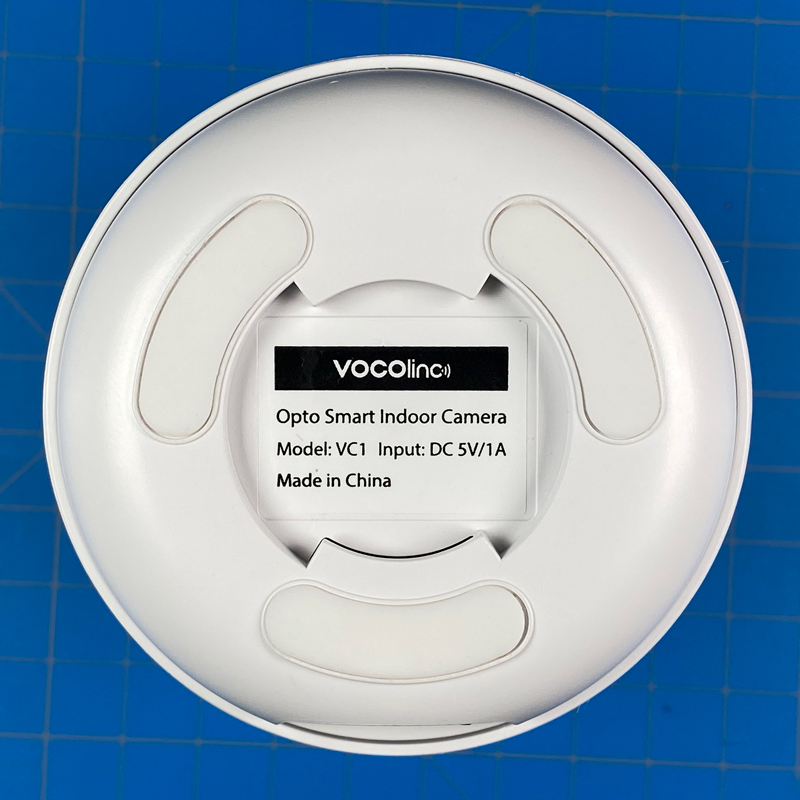
On the rear of the camera you have the aforementioned speaker, and on the base is a small reset button (labelled RST), with the UB-C power port next to that, and finally, what at first glance appears to be another reset option, of the type that you would stick a SIM pin inside, but actually it houses a small LED (even though the manual does in fact erroneously state that this is the reset button). Now regarding this section, full marks for putting in a USB-C connection, but when it comes to resetting the device, which I did for the purposes of testing the device, there’s very little room to fit your finger in just enough to press this button, so in effect, your finger has to squeeze between the end section of the power cable and the side of the cutout section, which isn’t very comfortable. They could definitely have done with making the cutout at least another 25% wider in my opinion, although hopefully resetting the device is going to be a rare occurrence. The LED will show blue or red, depending on the state of the camera – red for recording and streaming, or blue for just streaming.
This leads us to the placement of the LED indicator. Pretty much all other HomeKit and HSV capable cameras have the indicator LED on the front, so it begs the question as to why Vocolinc decided to put it on the back. Whatever the reasoning, I’m going to offer a suggestion that this is in fact a good place to have the LED; Most people, if they think or know they’re being watched, could be disconcerted by an always-on, visible LED, and so placing it at the back makes sense. Sure, if you’re in charge of the camera, then it would nice to be able to see this LED without having to look behind it, but then the Home app is going to tell you what state it’s in, and given that you can only have a maximum of five cameras recording with a 2TB iCloud account, I think it’s fair to say you’ll probably know which cameras are set to record and/or stream.
When it comes to the panning option, the camera is listed as being able to pan 350º, although due to the 107º field of view, you essentially cover everything around the camera, as there’s a field of view ‘overlap’ from one end of the position of the camera in the horizontal, to the other. I’ve explained it better in the video! the 117º tilt option is decent enough, and if you have the Opto mounted upside down, you get to see the benefit of this, with the camera able to view more from a high position. Operating the pan and tilt is pretty much as you’d expect of a budget camera, with potentially budget parts to make this function work. The pan and tilt can initially be slightly jerky on occasion, but generally, if you’re panning or tilting in one continuous movement, it’s reasonably smooth. If there’s any stutter, it’s more than likely the WiFi connection.
Night vision seemed fine, and nothing out of the ordinary, so there’s nothing special to note in this regard, but it works well. It’s also interesting that while the camera uses four IR LEDs, they don’t seem to be visible, which makes it more subtle than some cameras in this regard.
IN THE HOME APP
Due to the way HomeKit works, many of today’s cameras work in the same way and have much the same features for the most part, so it’ll come as no surprise that this is also the case with the Opto, which toes the line in conformity, due to its exclusivity with HomeKit. In the Home app, you get all the usual options when HSV is activated, and as with pretty much all cameras now, it comes with a pixel-based motion sensor that is listed as an ‘accessory’ in the settings section. Even though it only connects to 2.4GHz (I really hoped for 5GHz), it loads up snappily and does what’s expected of it.
As with any camera capable of pan/tilt in HomeKit, these controls are not available in the Home app or any third-party app, except for the app from the relevant company, which in this case would be the Vocolinc app for the Opto, and the Eufy Security app for the Eufy pan and tilt.
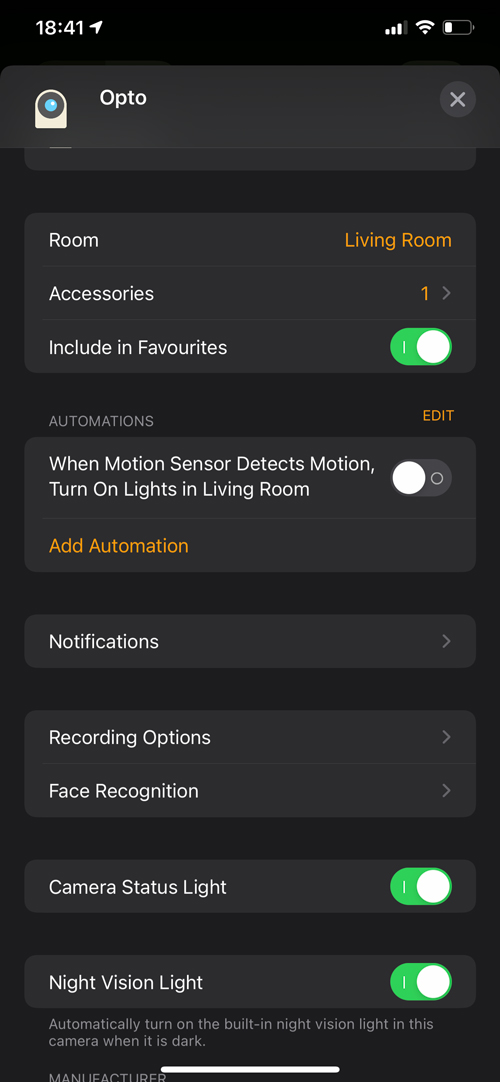
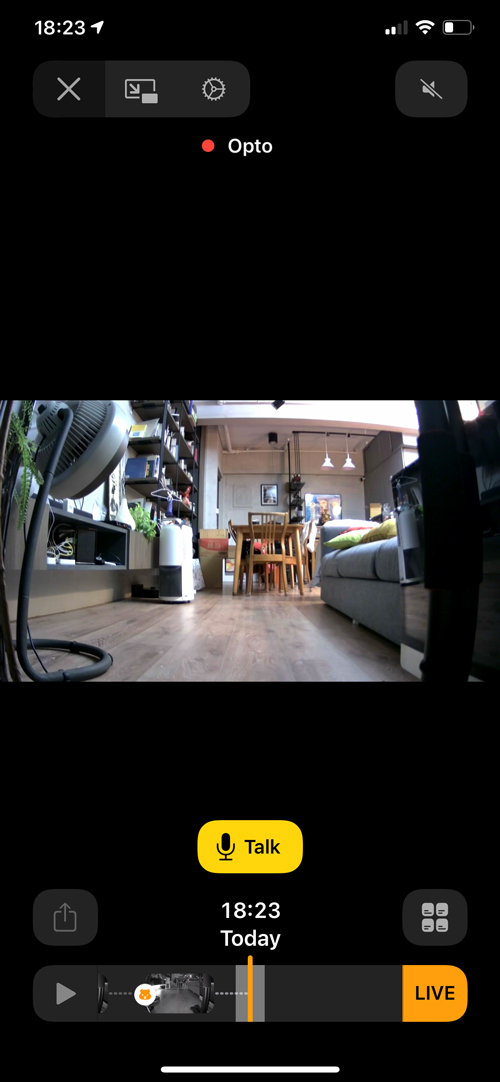
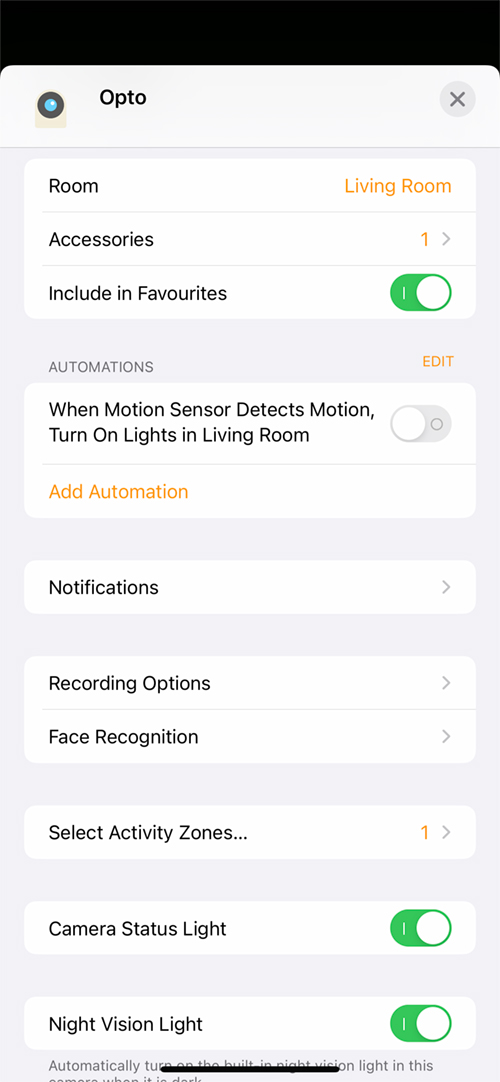
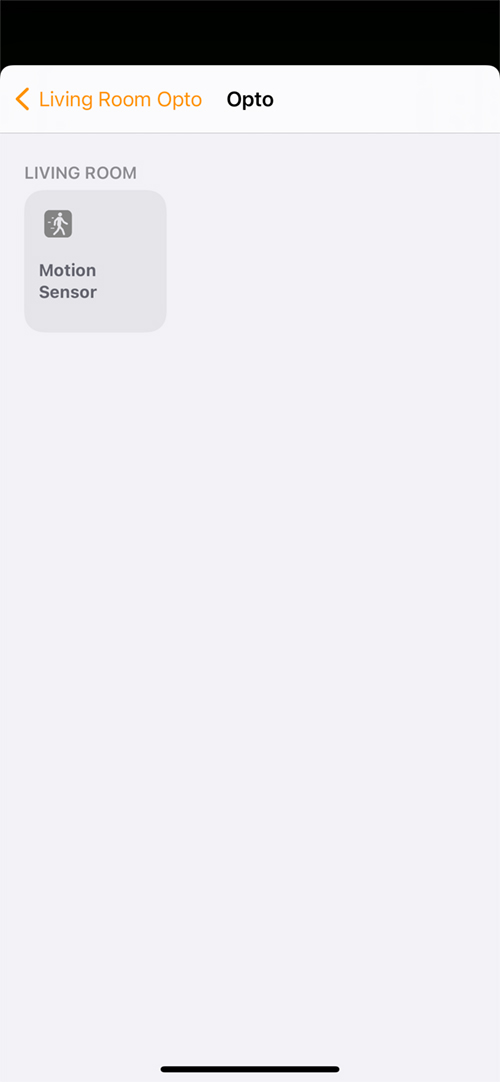
In the settings within the Home app, depending on what recording or streaming options you have set for the Opto, you get a variety of extra options. As I have the Opto set to Stream and Allow Recording, I get further options in terms of motion detection, for example. As with many HomeKit cameras, the Opto has a motion sensor built-in, although it’s based on pixels, so it’s not a PIR sensor as such. You can still use this motion sensor in automations though.
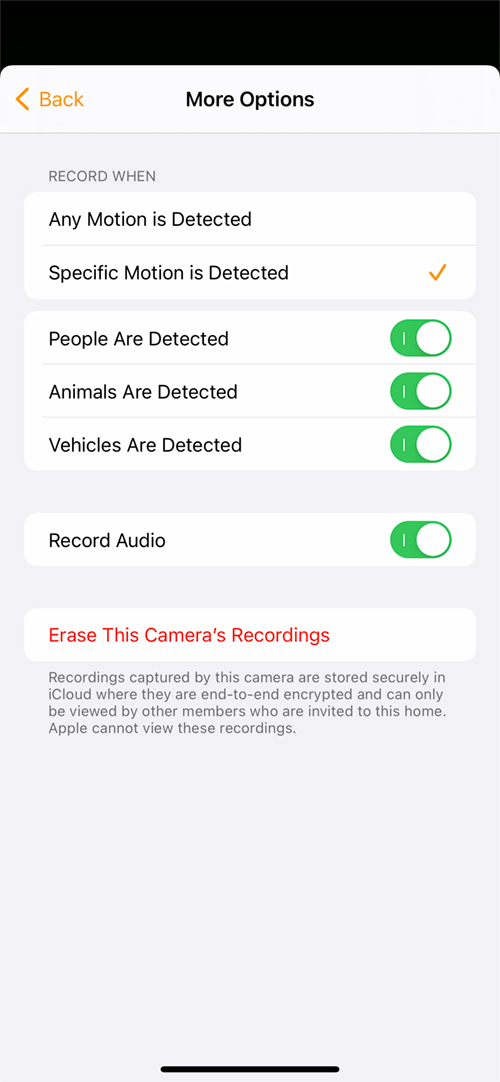
Within HSV, you get options to detect any movement, or specific movement, when either people, animals, or vehicles are detected. As this is an Indoor camera, vehicle detection would normally only be relevant if the camera was either aimed outside from a window, or if it was used outdoors, (which is probably not recommended in most circumstances) under some form of cover, like a porch. You also get to choose whether to record audio as well as video.
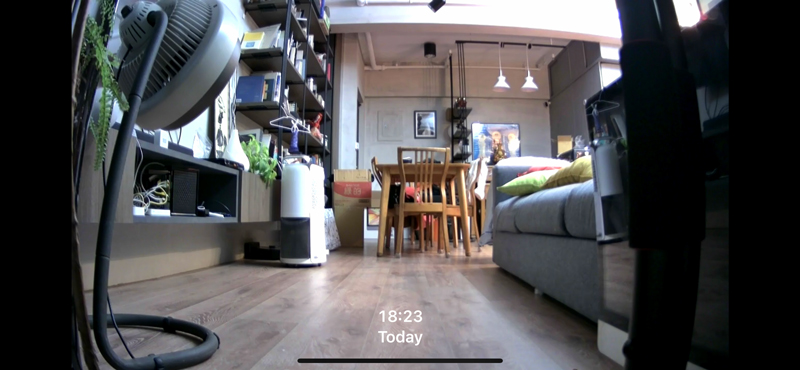
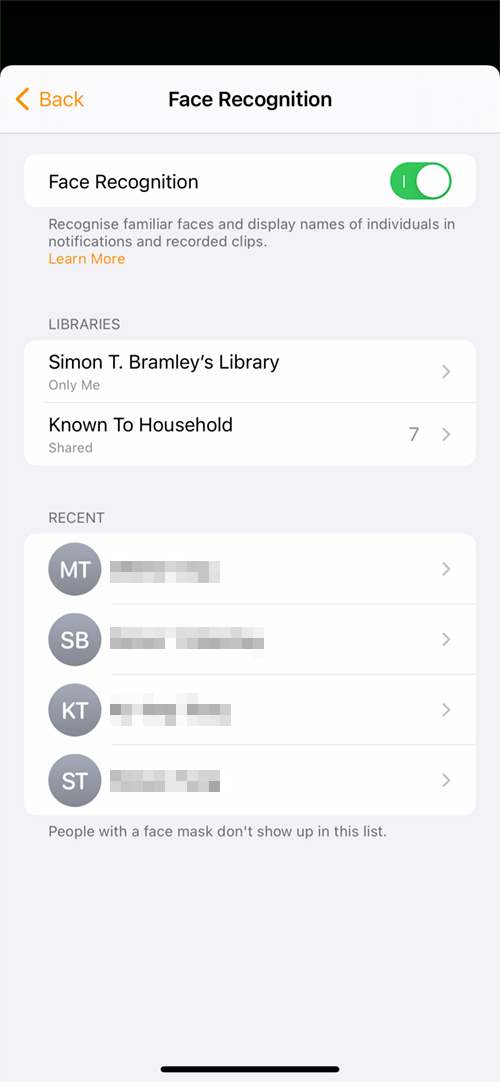
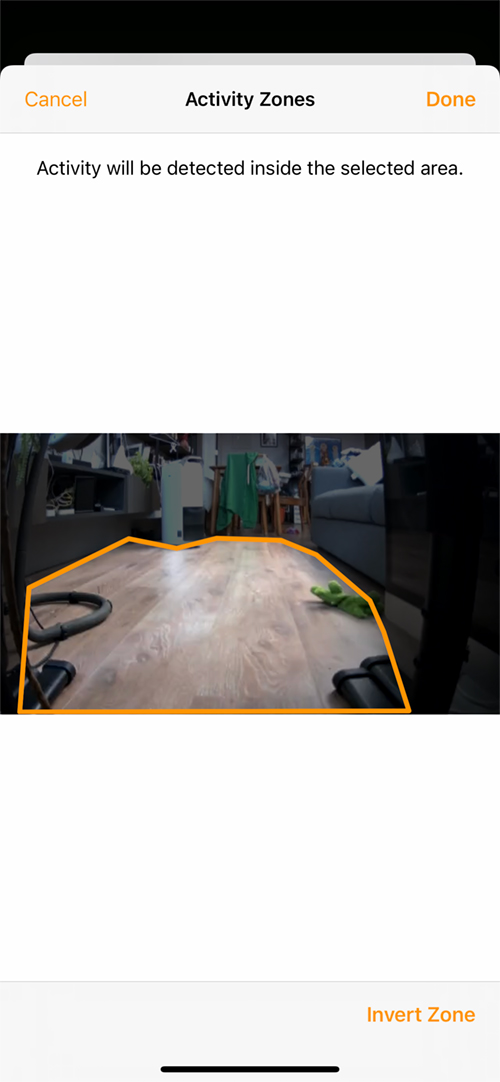
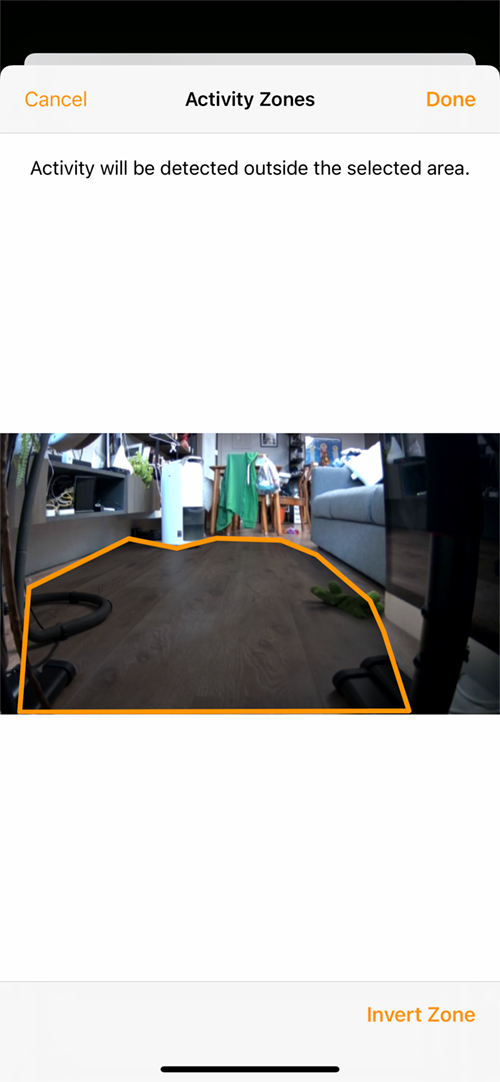
As part of the suite of functions within HSV, you also have facial recognition, which can be turned on or off. You can also tie it to your Photos app, in order to link detected faces to people already tagged in your photo library. This is optional. Finally, you can create zones for motion to be detected or excluded. In the second image above, I’ve created one motion zone, so anything in that zone will trigger recording, whilst anything outside of that zone is ignored. You can add more than one zone to the camera’s field of vision, and you also have the option to invert the zones, so they act in the opposite manner. It’s worth noting that with the Opto being a pan and tilt camera, any zones you create may not be relevant if the camera has been moved to look at a different areas, via pan and tilt operation.
IN THE VOCOLINC APP
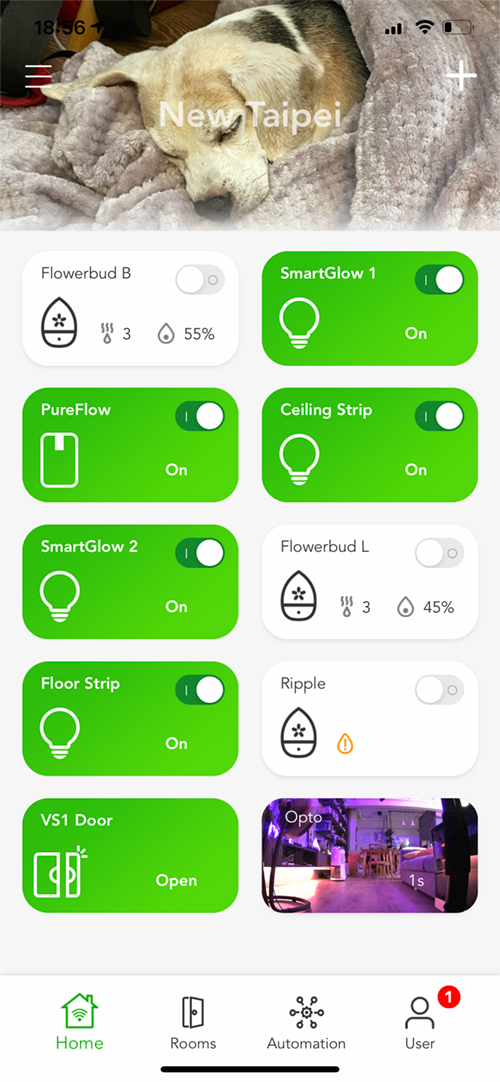
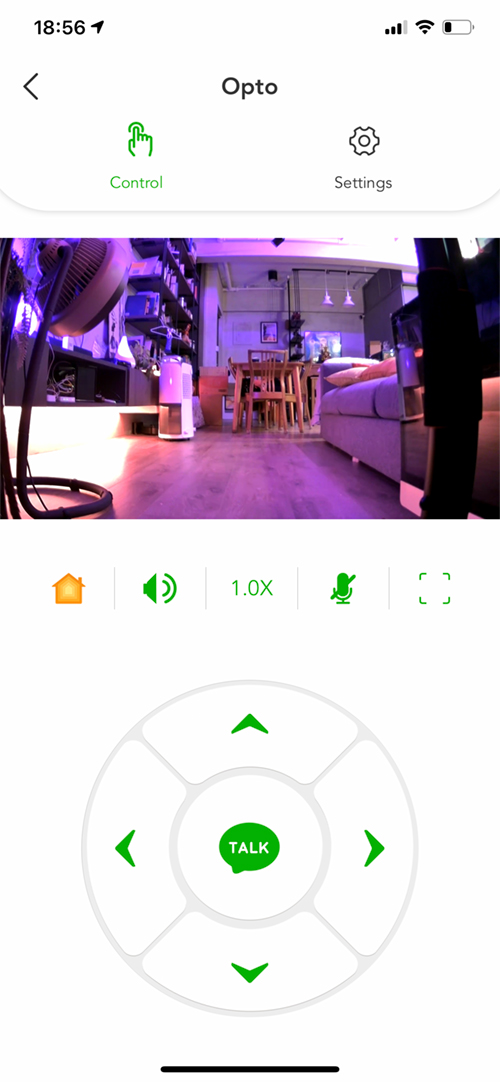
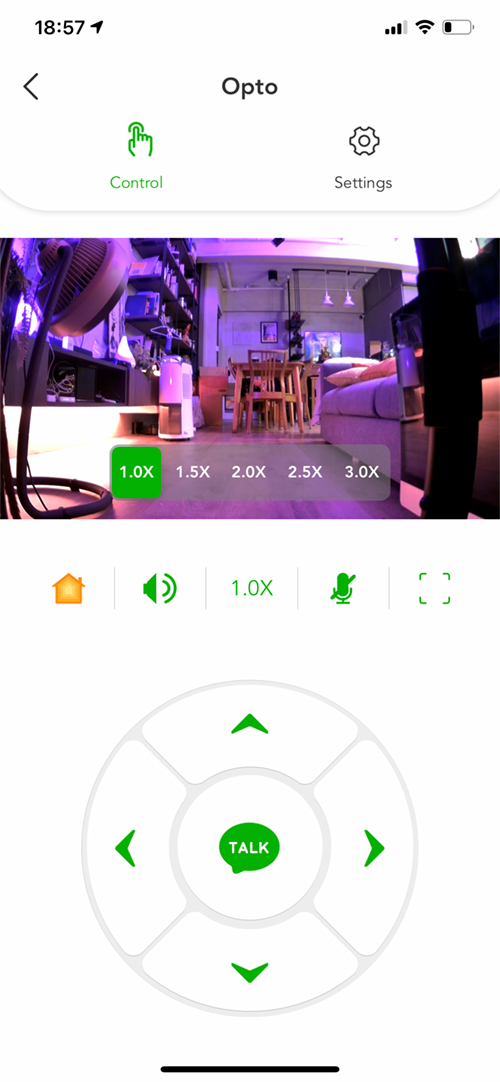
As expected, you get a few extras with the Vocolinc app, the most obvious one being control over the pan, tilt and zoom features. These pan and tilt are controlled with the onscreen circular control on the bottom half of the screen. In my tests, which have been ongoing since late December, I initially found the response when tapping these controls, a bit sluggish, but I’m happy to say that they’re much more responsive now, and on a par, if not marginally better than the response time of the equivalent Eufy controls.
- The first of the five icons, using the HomeKit logo, simply takes you to the live stream in the Home app, so you can watch recordings as well as watch the live stream. You can of course watch the live stream in the Vocolinc app, just not the recordings, which is the same for any camera regarding HSV recordings.
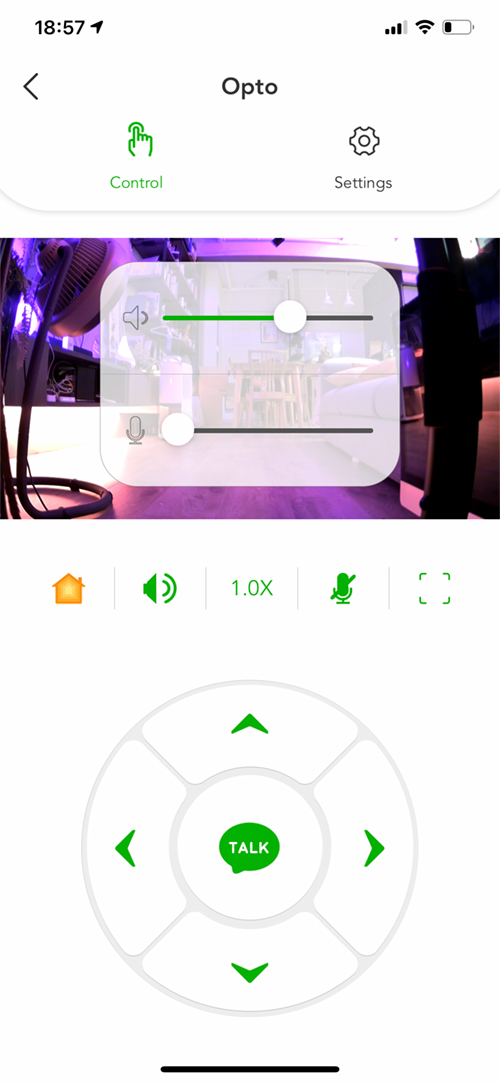
- The second icon allows for control over the mic and speaker.
- The third button allows for control over the zoom level – which can give you from 1.0x up to 3.0x zoom in specific 0.5x stages. This option is a bit odd, as most other cameras allow you to simply use the ‘pinch-to-zoom’ action, much like you’d do with a photo. This isn’t possible in the Vocolinc app, so you have to use the zoom controls for this, but is available in the Home app as standard.
- The fourth icon simply controls the mic status.
- The last icon takes you into full-screen mode
- The controls on the bottom, for pan and tilt, are pretty self-explanatory, with left, right up, and down controls controlling where the camera looks.
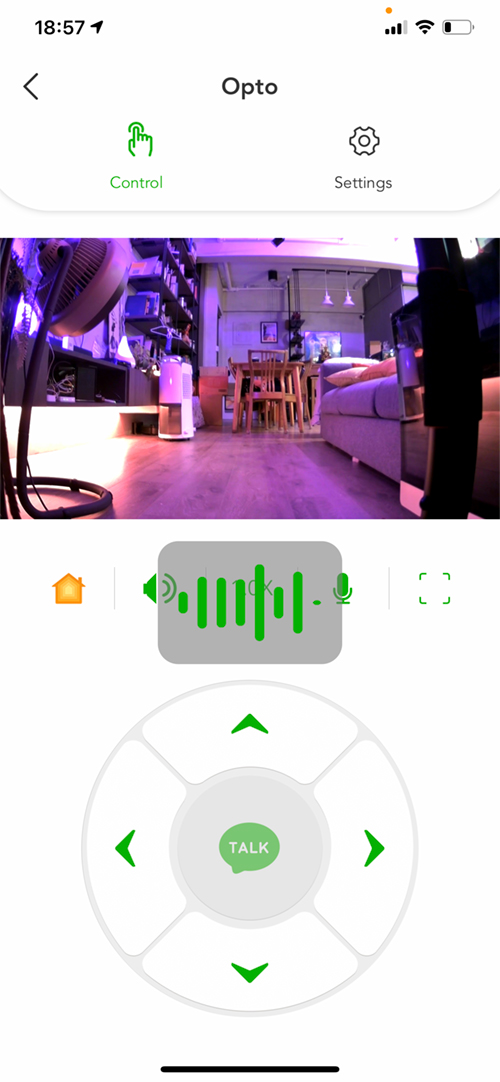
- Pressing the ‘talk’ button in the centre elicits an animated graphic to show you the mic on your phone is broadcasting your voice to the camera.
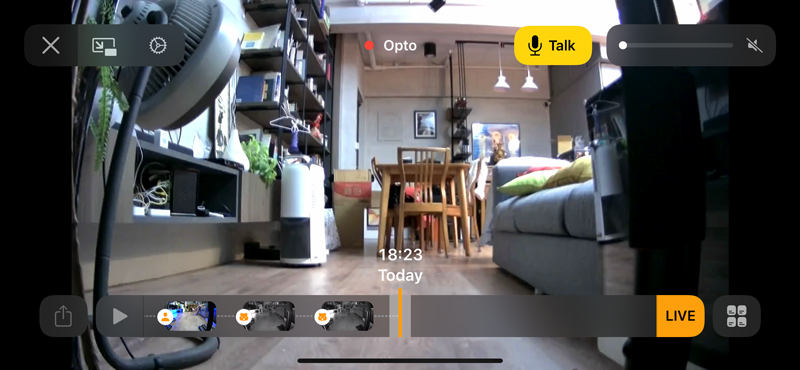
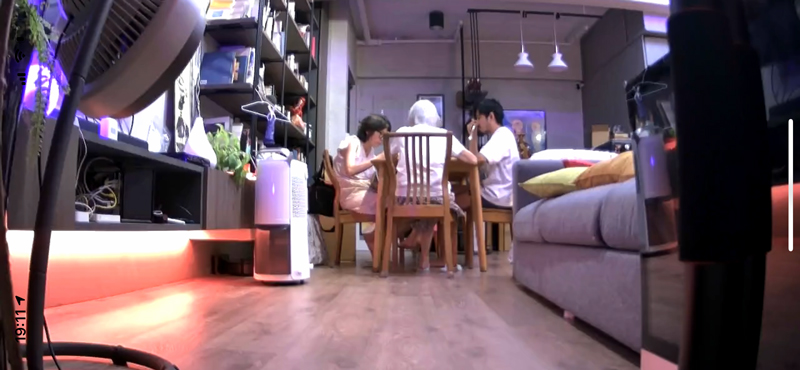
All of the same controls are available in full-screen mode, with a translucent overlay.
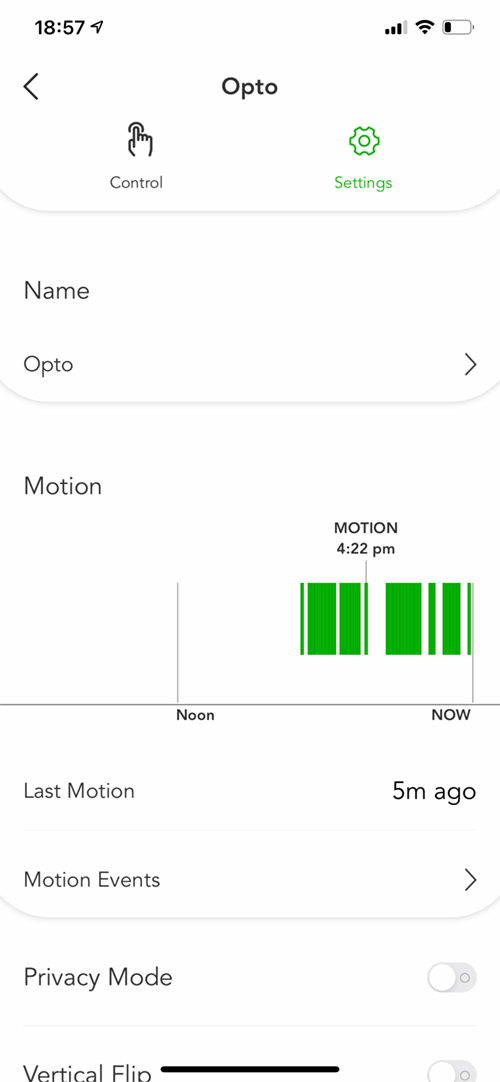
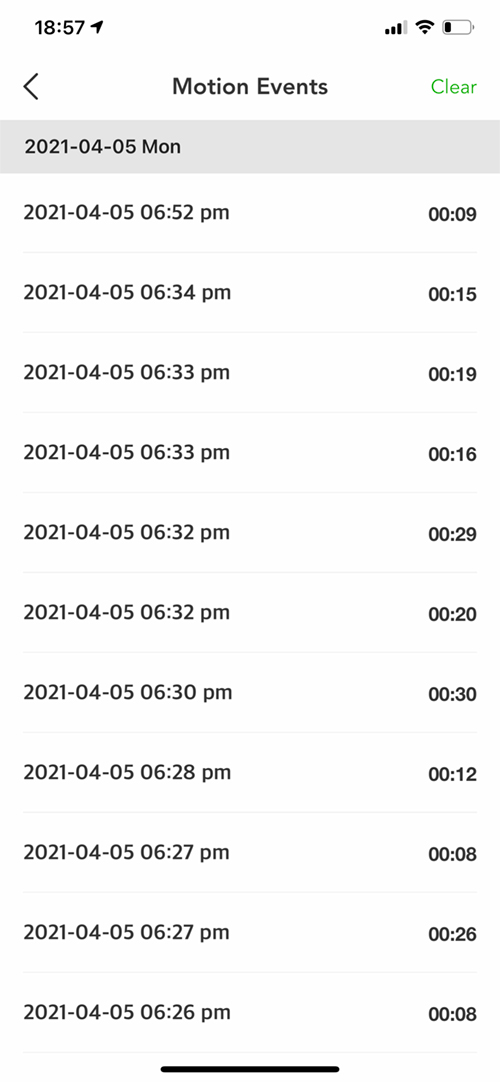
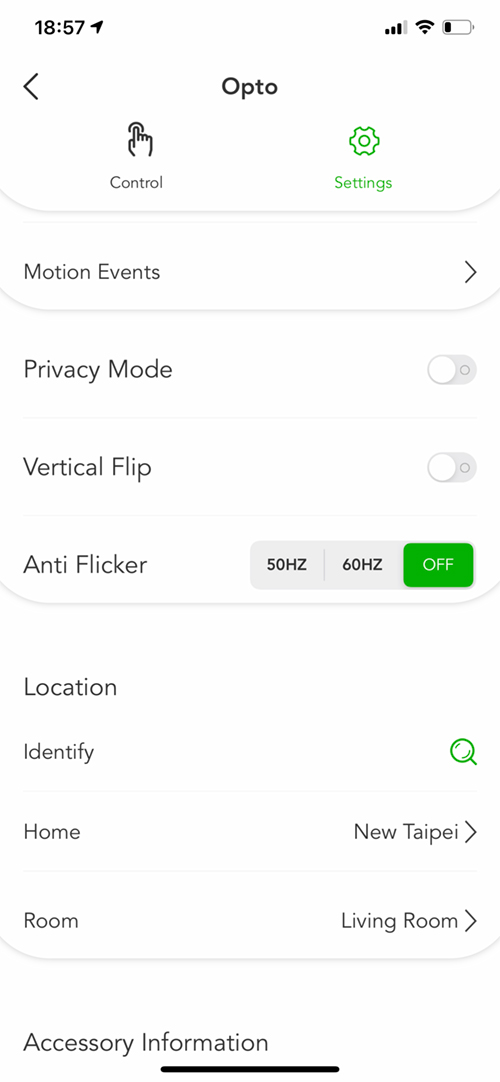
In the settings for the Opto, you get a visual timeline of motion events, a line to let you know how long ago the last motion occurred, and a button to reveal a list of motion events. This list will reveal the time and date of the motion event, as well as the duration of the motion event, which should correspond with any recordings via HSV, assuming the camera is using HSV for recording.
As you can mount the camera to a ceiling, you have the simple option to flip the image, but only in the vertical, which is fine as it would look odd to mount such a camera on a wall at 90º. There is one option that I’ve found little use for, although some may need it, and that is the Anti-Flicker option, which allows the camera to operate at 50 or 60Hz. This is designed so that you don’t get a mismatch with lights that can cause flicker or subtle strobing. So if your lights are at 50Hz and the camera is at 60Hz, you may notice these types of artefacts. I’ve got it turned off, as I didn’t notice any issues.
In addition to that, we have what I’d consider a very useful tool that could set Opto apart, which is Privacy mode. This simply recesses the camera lens into the body of the camera, so it’s unable to see anything, and by extension not able to record anything or make a note of any motion events. However, the microphone is still active, but while that may allow you to eavesdrop (‘why’ is your business…) none of the conversations can be recorded, as HSV compatible cameras will only record based on motion events. What makes the Privacy mode possibly more useful is that it can be used in scenes and automations. Now whilst it’s true that you can change the state of a camera on any HSV compatible camera based on someone’s location to one of four options – Off, Detect Activity, Stream, or Stream and Allow Recording (assuming they’ve been added to your ‘Home’), the privacy mode can be used in automations based on a whole variety of factors, in addition to manually turning the privacy mode on and off.
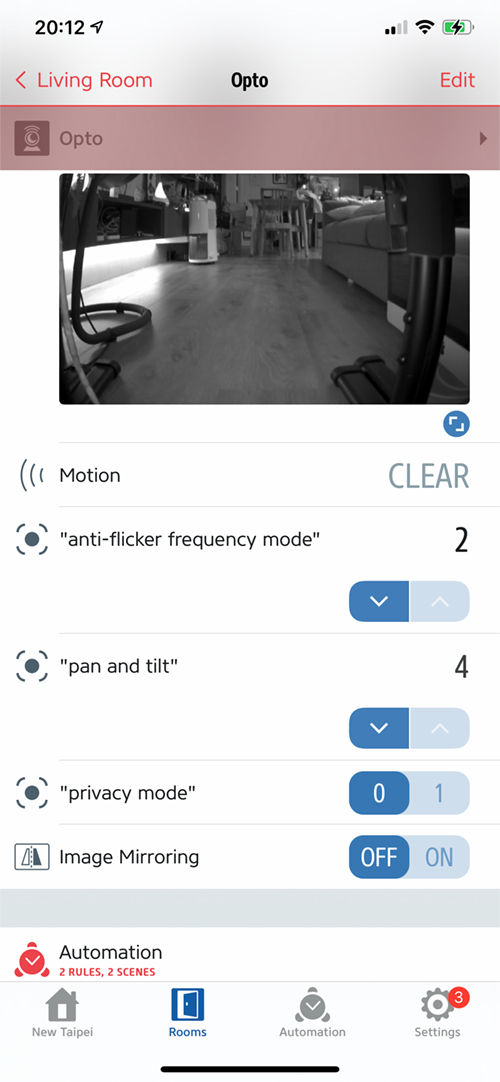
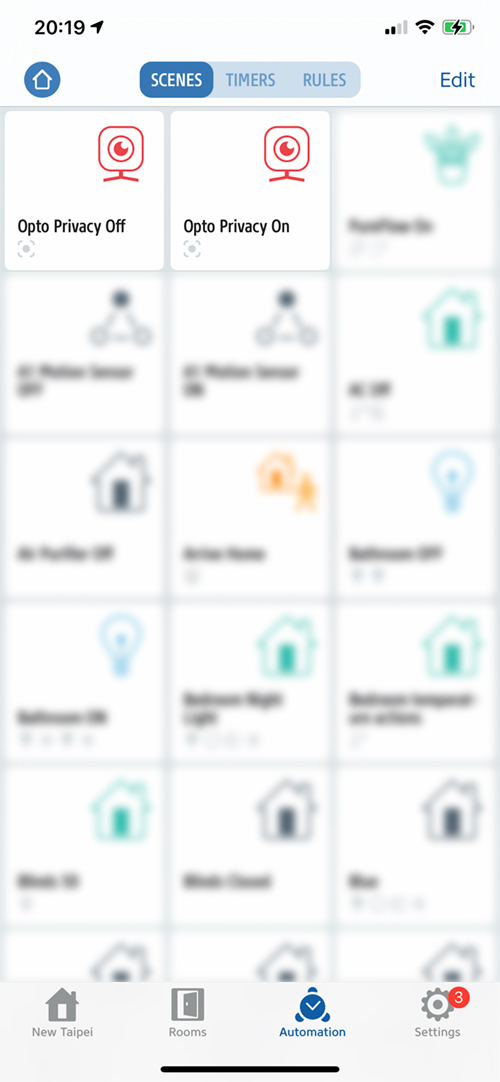
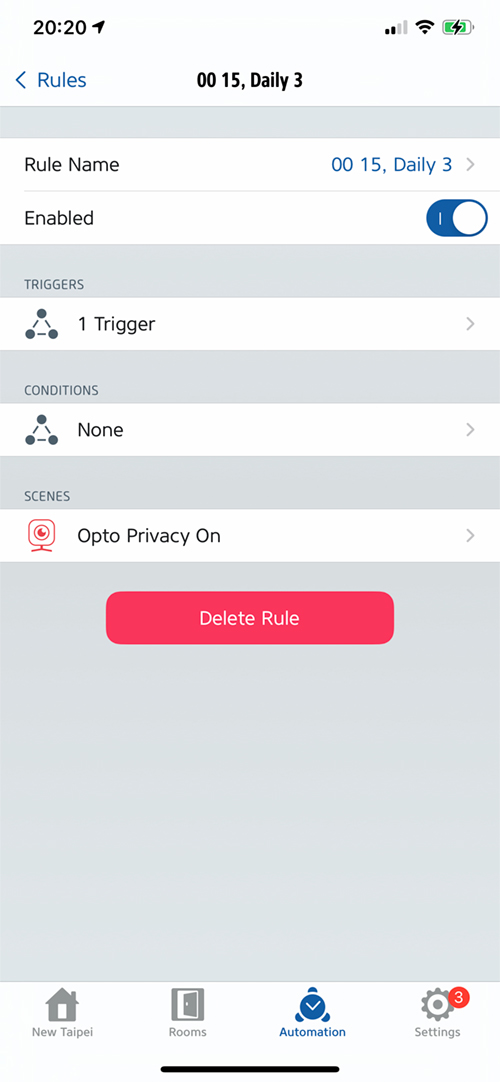
The unfortunate thing is, that all this was possible whilst testing the camera earlier this year. The latest beta update has somehow disabled the Privacy feature in the Vocolinc, so currently, I’m unable to replicate these automations there. However, the good news is that Privacy mode is exposed to most third-party HomeKit apps, including the excellent Eve for HomeKit. The basis of this type of automation is quite easy to achieve as in the Eve app, Privacy mode is exposed as a 0 or 1 option, with 0 being privacy mode off, and 1 being privacy mode on.
You can see in the screenshots above, I’m able to create two individual scenes that have the camera set to privacy mode on, and privacy mode off. I’m then able to utilise these scenes in automations. In the example above, I’m simply using time-based triggers to turn the privacy mode on or off. Now, you can turn the Eufy camera off in HomeKit by simply changing the status from Stream to Off, and whilst it does indeed stop streaming in HomeKit, streaming is still visible in the Eufy app. This also means that whilst the camera is ‘off’ in HomeKit and the Home app, the camera lens has not recessed into the shell of the camera and appears to still be ‘watching’, which indeed it is, in the Eufy app. The only way to fully turn off the Eufy camera is to turn it off in both apps.
Speaking of privacy, the other thing that sets this apart from the Eufy pan and tilt camera is that whilst it’s useful to have the Vocolinc app for controlling the pan/tilt etc, you don’t need to sign up for an account in order to do so. This, as far as I’m aware, is not the case with the Eufy equivalent, and at least was the case when I got my first Eufy Pan/tilt camera – I was unable to add it to HomeKit directly, only via the Eufy app.
On the subject of microphones and 2-way audio, I have to admit that this is one function I tend not to use, as, on most cameras, the sound just isn’t as good as I’d like it. Besides that, I rarely find a use for it and so it’s not something I generally bother testing. I made an exception in this case, and although the sound isn’t anything to write home about, I was genuinely surprised it didn’t have that scratchy tinny sound I normally associate with camera speakers. It should be pointed out that the Opto features 2-way audio as standard in HomeKit, whereas the Eufy does not. What it currently lacks that the Eufy does include, is motion tracking, which also works in HomeKit, even if it has to be enabled in the Eufy app. Whether this is something most people use, I’m not sure, but with an overly active puppy having recently joined the household, I’ve found it useful for my Eufy camera to keep tabs on his running around. I’ve been told this can be achieved with the Opto via a firmware update, so we’ll see if that transpires.
THE OPTO IN USE
Vocolinc sent the Opto camera for me to test back at the start of the year, and so I’ve had plenty of time to get to know this camera and any foibles or issues with it. Initially, the camera was a bit slow to react when I controlled the pan and tilt controls in the Vocolinc app, but this has since been remedied via both firmware updates to the camera, and updates to the app. Aside from that, I haven’t come across any issues. Either the current firmware revision or possibly the latest app update seems to have done something to the functionality of the Privacy mode in the Vocolinc app, but it still works in third-party apps, so not all is lost.
In terms of features, it would seem it has all the basics you’d need, including the aforementioned privacy option, 2-way audio, and no requirement to sign up for an additional account in the Vocolinc account. It would’ve been great if it had an SD card slot for on-device recording, but as that’s a hardware issue, there’s no chance of having such an option currently.
When it comes to pan and tilt, it all works as already outlined, so the only thing lacking is control of this feature within the Home app, but this is something for Apple to enable, not Vocolinc. While some not like it, I do like the fact that the LED status light is on the rear of the camera, but this does depend on personal preferences of course.
Taking all of this into account, and looking at a tantalising price point (under US$50.00 I believe), I think Vocolinc have achieved an above-average first attempt. It certainly provides better value for money than many other cameras at more than twice the price, so it’s hard to complain for the most part. One thing to note is that whilst I generally try not to compare products, in the case of the Opto, it’s a lot more difficult to avoid, knowing that the Eufy camera is the only other pan/tilt camera, and at the same price range, so I think in the interest of you, the reader, it’s expected. All in all, it’s a job well done.


