When it comes to Chinese companies, there are quite a few that have been pushing the boundaries of HomeKit, many of which are in some way connected to Xiaomi. Yeelight is one such company, and whilst they’re primarily a lighting manufacturer, they have been issuing quite a few great products, like the Mi Desk Lamp Pro (review HERE), and the Yeelight Bedside Lamp D2 (review HERE), not to mention their range of Bluetooth Mesh downlights and ceiling lights. Today we’re looking at the Star Floor Lamp (also known as the Doris or Staria Floor Lamp), which I’ve had for a while now. It could be considered the big brother to Yeelight’s Star Desk Lamp Pro (review HERE), which features the same design language, albeit on a larger scale. The latter has been a bit of a hit, due to its design, but also for the inclusion of a built-in Qi wireless charging pad. Today’s product doesn’t have such a thing, due to the fact it resides on the floor, but it still has a lot going for it, so carry on reading to find out more.
COMPONENT PARTS

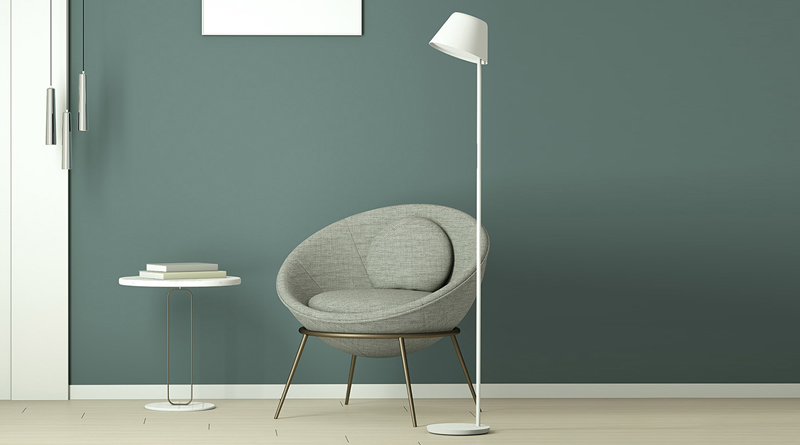
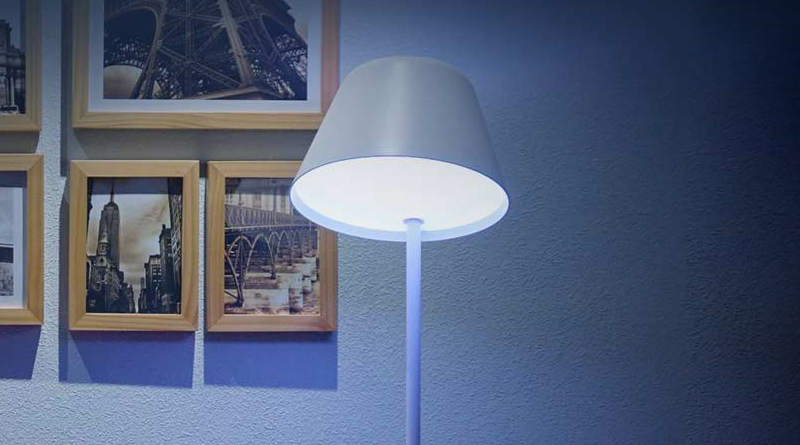
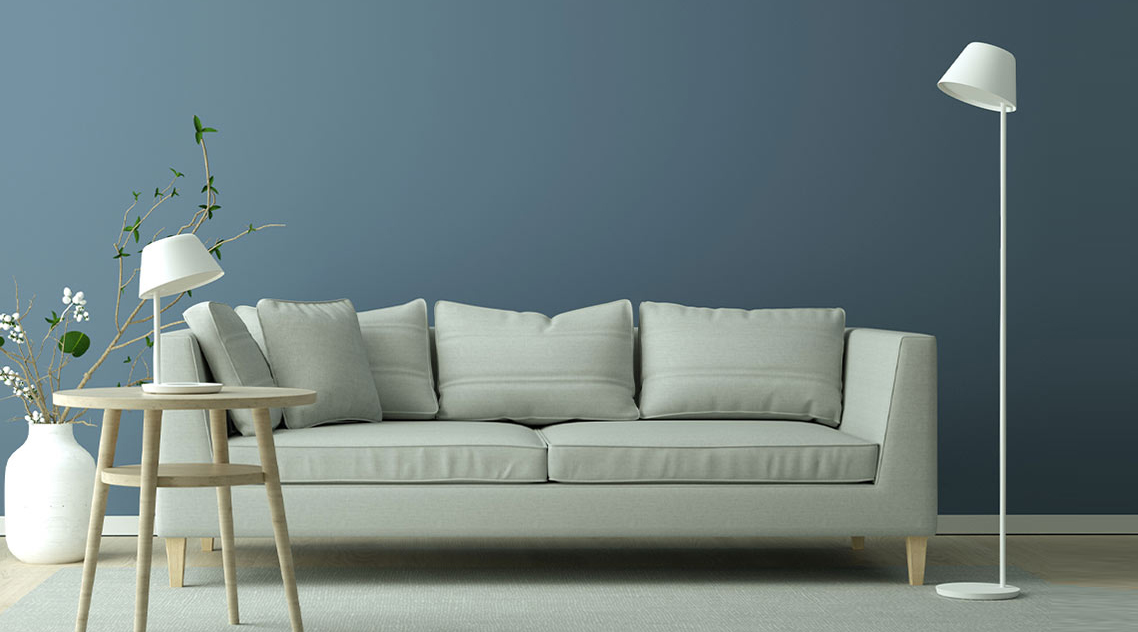
Above is a promotional image of the lamp fully constructed, so you can see the final set up version.

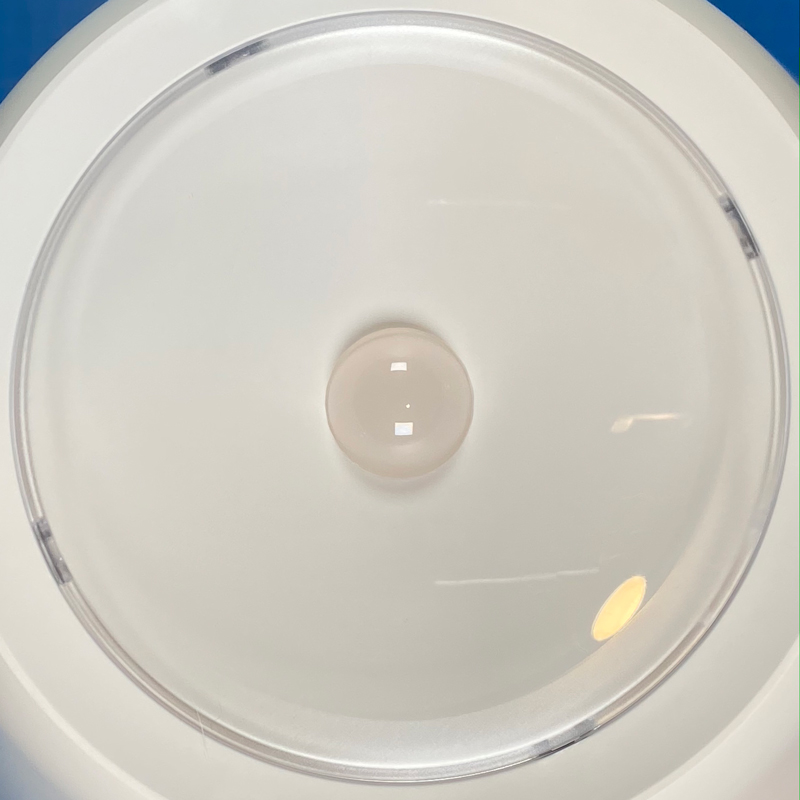

the lamp comes semi-assembled, so the lampshade containing the LEDs comes with 1/3rd of the lampstand built into the shade itself. The top of the lampshade has a clear plastic lens with what appears to be a bulb underneath, although it’s not clear if this is a bulb or merely a lens that pushes out the light from the internal LEDs. The shade is made from a matt-feel plastic, whilst the tube is made of a metal substance. There’s a power cable that comes from the inside of the shade and through the tube.
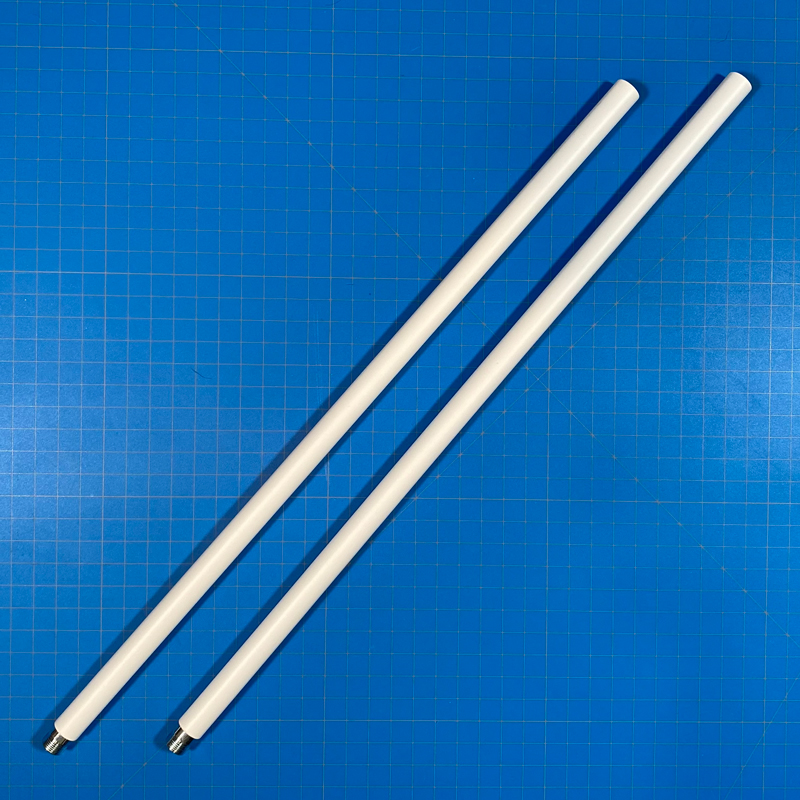
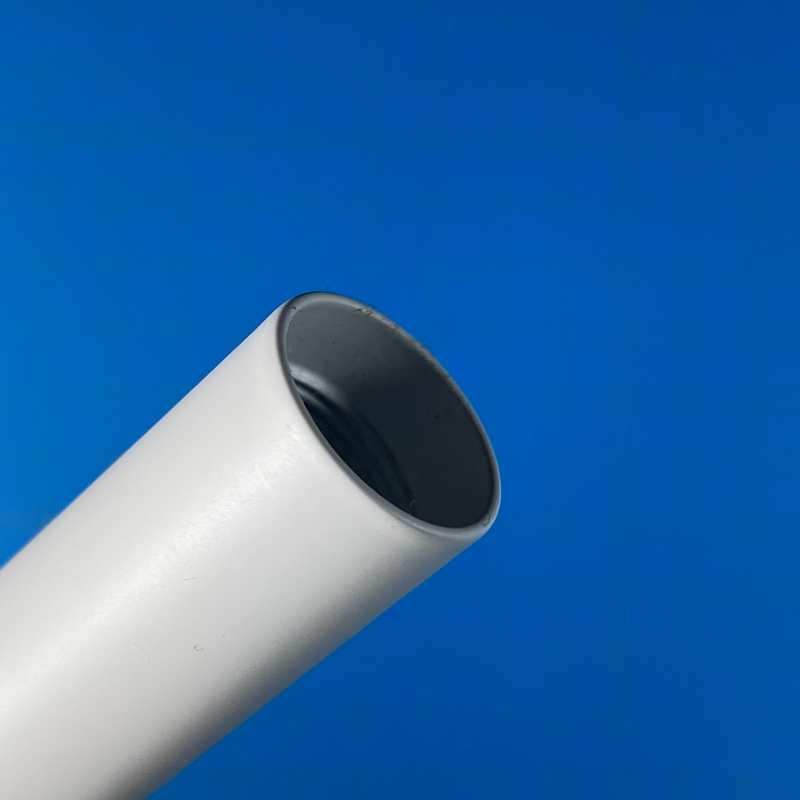
The remaining parts of the stand are two separate hollow tubes. They’re hollow for keeping the weight and price down of course, but the power cable that comes out of the tube that’s connected to the lampshade, has to feed through these tubes, right through to the underside of the base, so there’s no unsightly dangling cable to worry about.
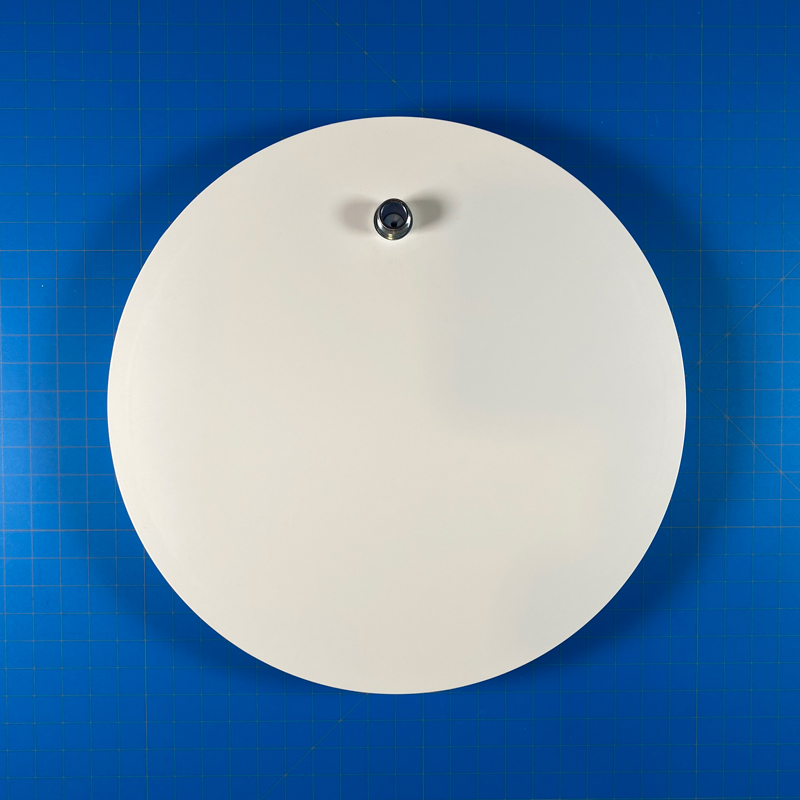
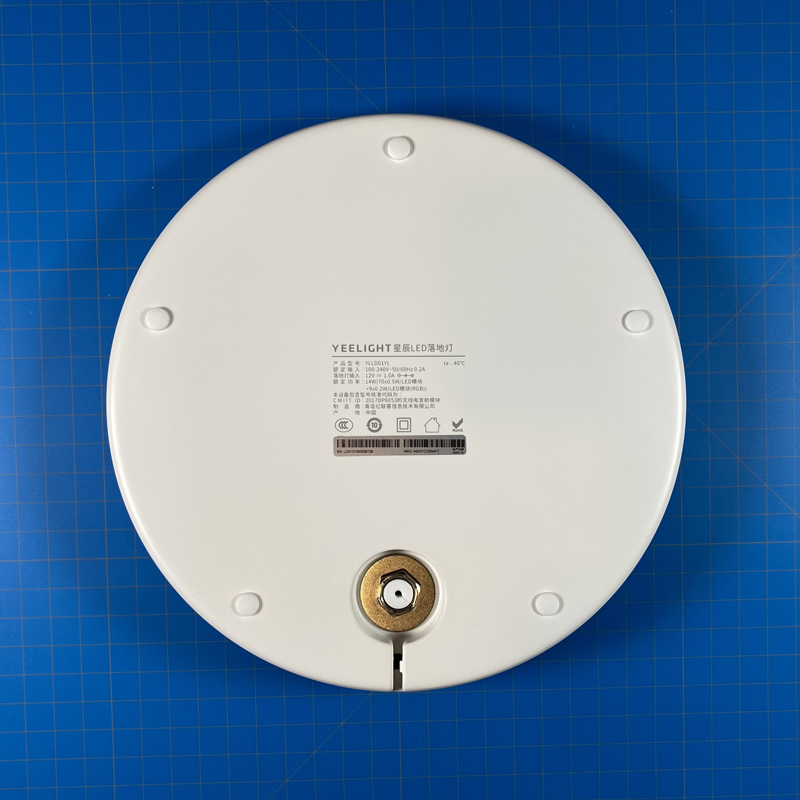
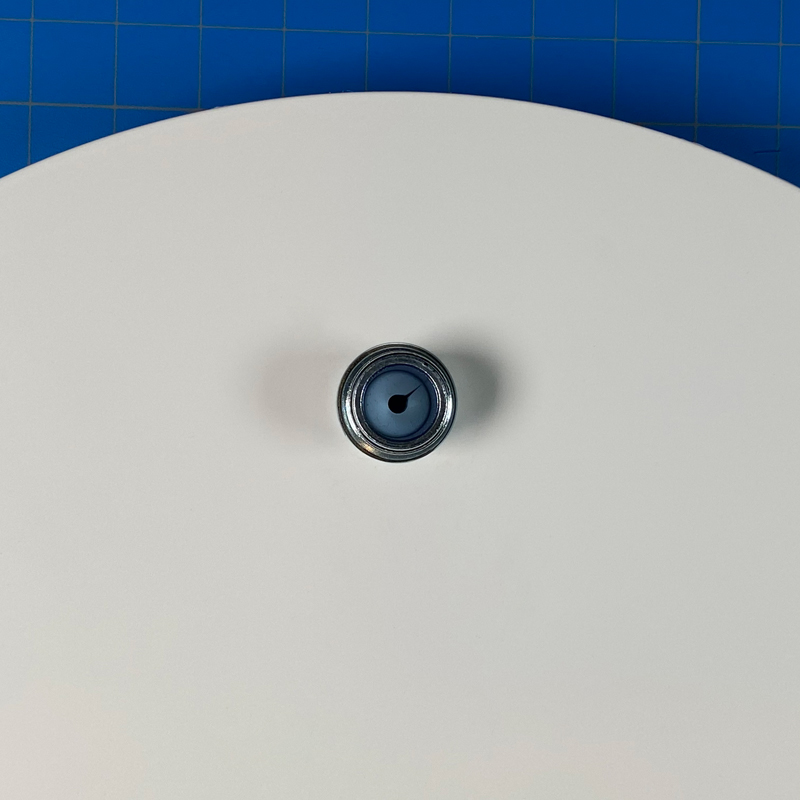

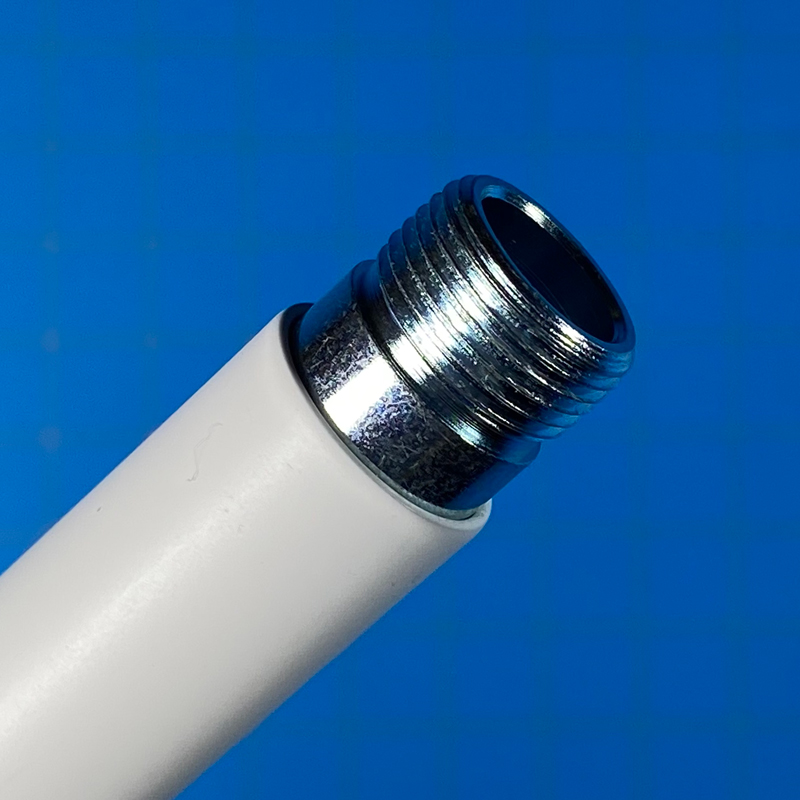
The lamp base is the heaviest part and has a thread for the tubes to connect to. There’s a hole in the centre of this screw thread so that the power cable can be passed through to the underside of the lamp base. The stand and the base are tightened via a bolt on the underside of the base. The base also has a cutout groove to feed the power cable through.
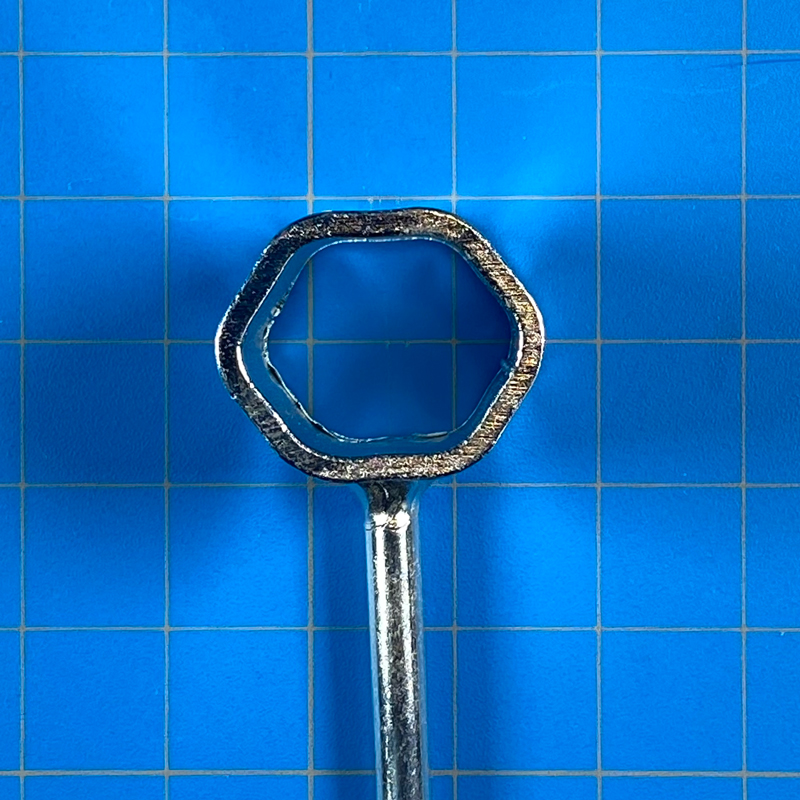
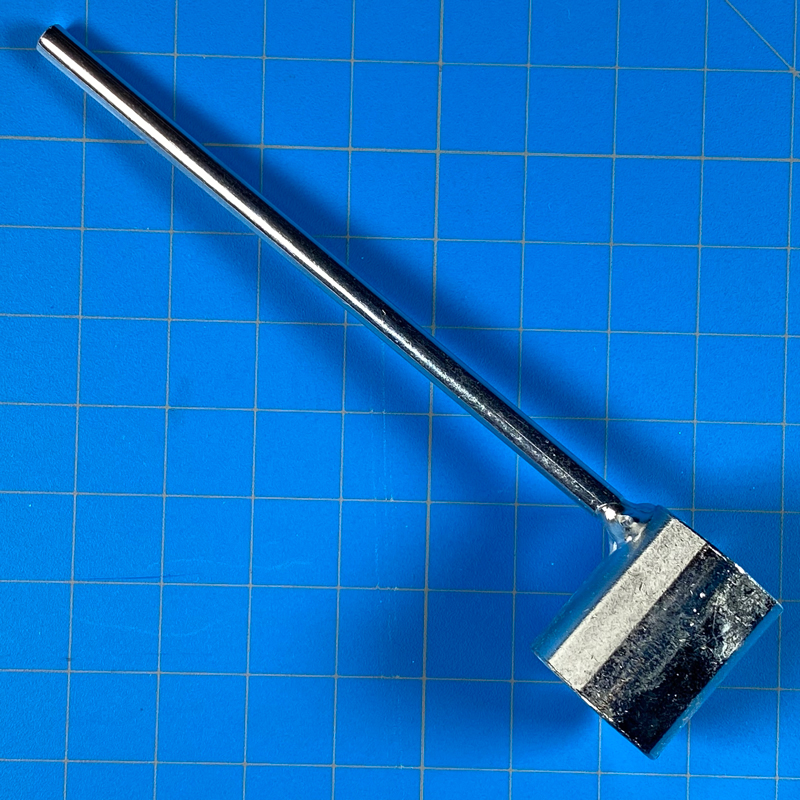
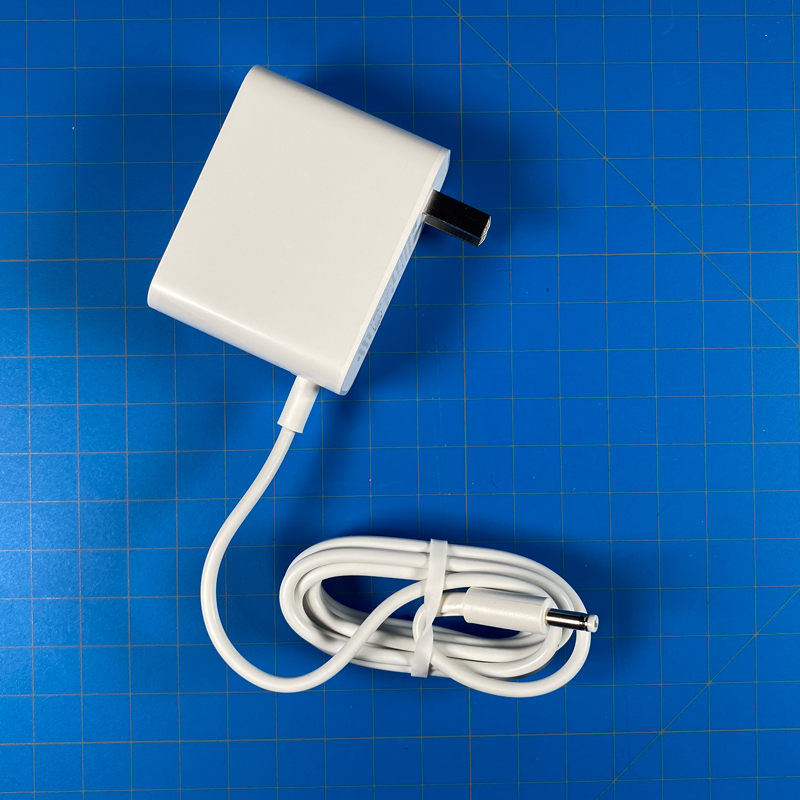

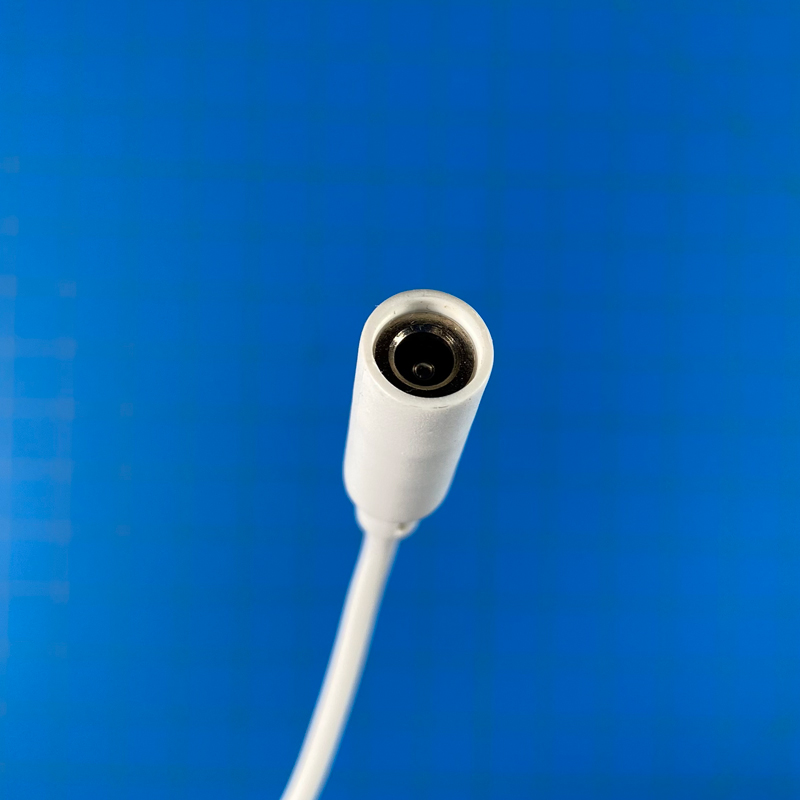
The power supply is suitable for North America, using a two-pin, Type A (non-polarised) plug. The end of the cable from the power supply connects to the barrel connector of the cable that’s connected to the lampshade.
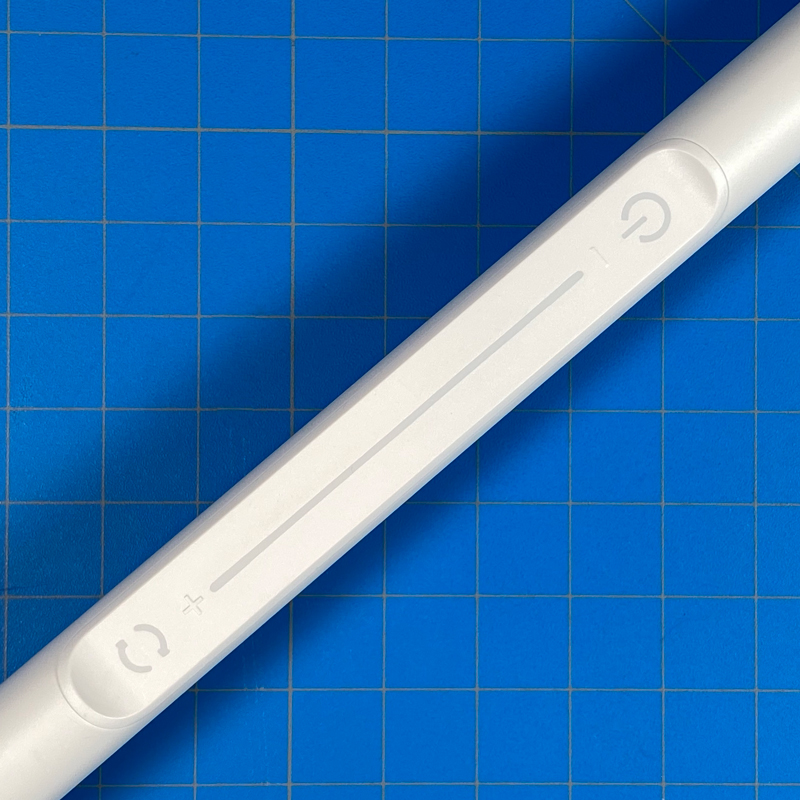
The final part is the physical controller for the lamp, which is actually built into the first 3rd of the stand that’s connected to the lampshade.
This controller is touch-sensitive, so there are no mechanical buttons involved, which is just as well, as the stand being so tall and thin, actually wobbles a fair bit whenever it’s touched. This is an unavoidable part of the physics of the device and isn’t a criticism as such, but it’s something to be aware of.
The controller consists of two buttons and a strip;
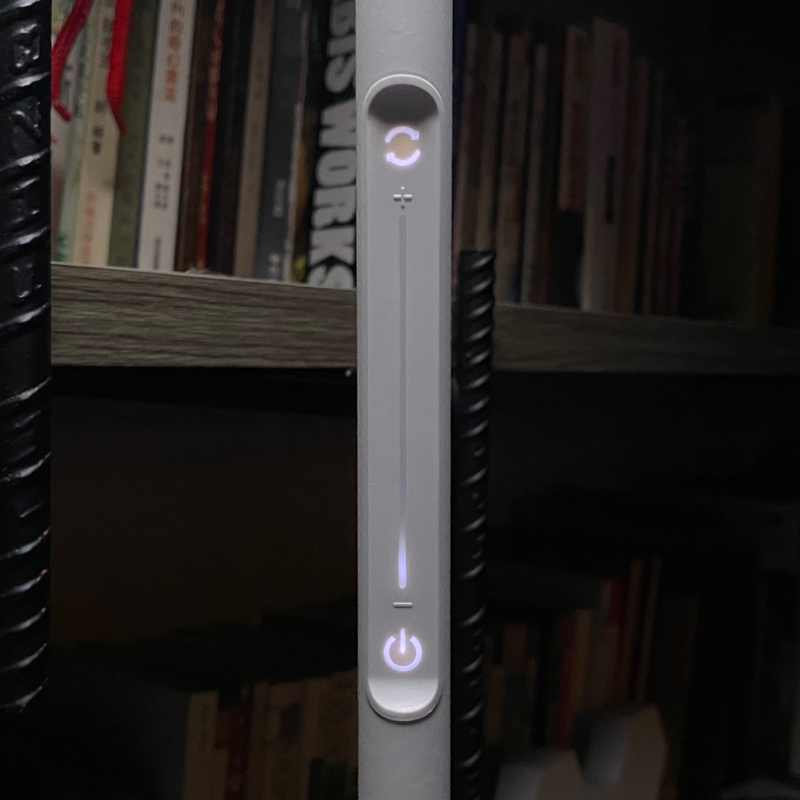
- The lower button simply turns the power to the lamp on or off. The top and bottom buttons are illuminated whenever the lamp is on.
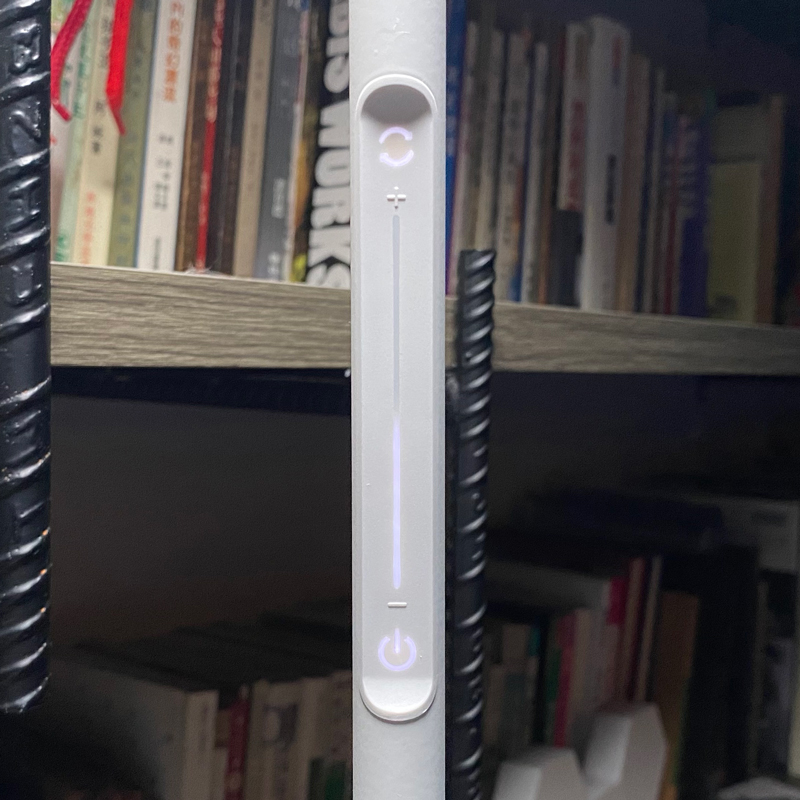
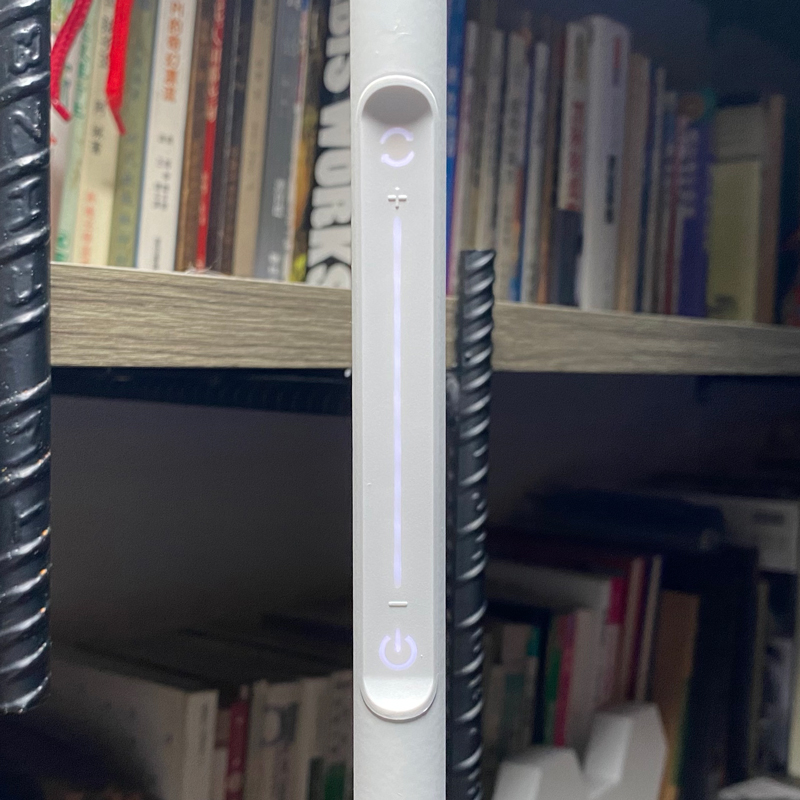
- The central strip is used to adjust the brightness of the lamp’s light output. You can either tap on a specific area of the strip or simply slide your finger along the length of the strip to adjust the brightness.
- The strip has built-in LEDs that light up as each section is touched in turn.
- There are 9 LEDs in total, with each position representing a preset brightness level, at least in HomeKit.
- The upper button is the mode button. If you’re in White Light Mode, tapping this cycles through preset colour temperature levels – cool white, mid white, and warm white.
- If you long-press the button, you enter Colour Mode.
- When you tap the mode button in Colour Mode, the lamp cycles through five preset colours. These can’t be changed, but you can still adjust the colour of the lamp as you would any smart colour bulb in either the Home app, Yeelight app, Mi Home app, or any 3rd party HomeKit app.
INITIAL SETUP
constructing the lamp wasn’t difficult at all, although you do need a bit of space due to the size of the lamp. It would also be prudent to make sure the stand and lampshade are suitably supported to avoid bending or otherwise putting strain on certain parts of the lamp.
At this point, it’s useful to reiterate that this lamp is capable of the white colour temperature range, as well as full-colour light. However, the colour side of things, for whatever reason, is not exposed to HomeKit. This is not the case with Amazon or Google control, so it’s an odd omission from Yeelight.
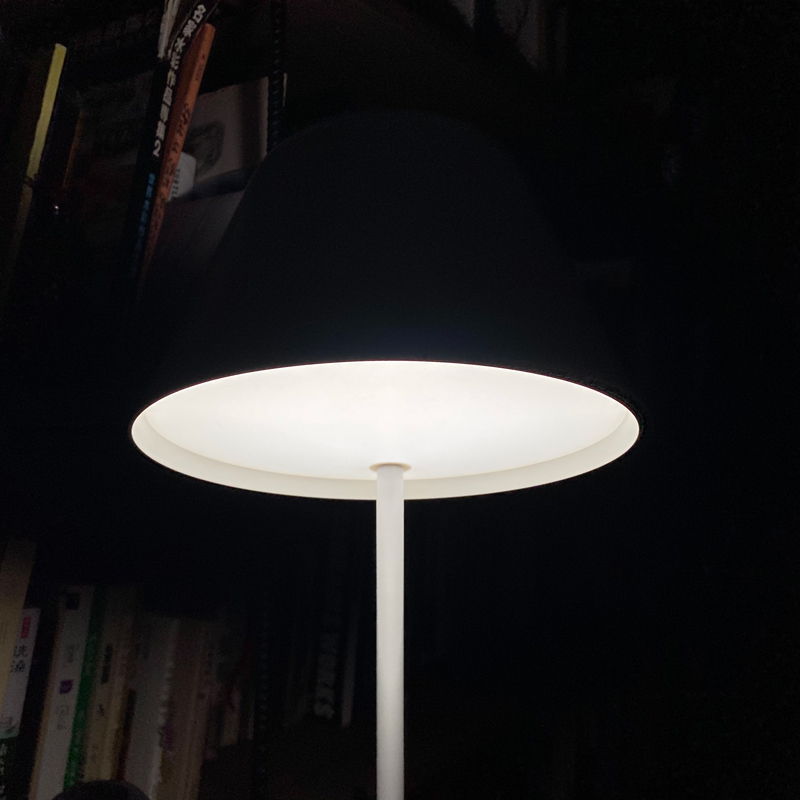
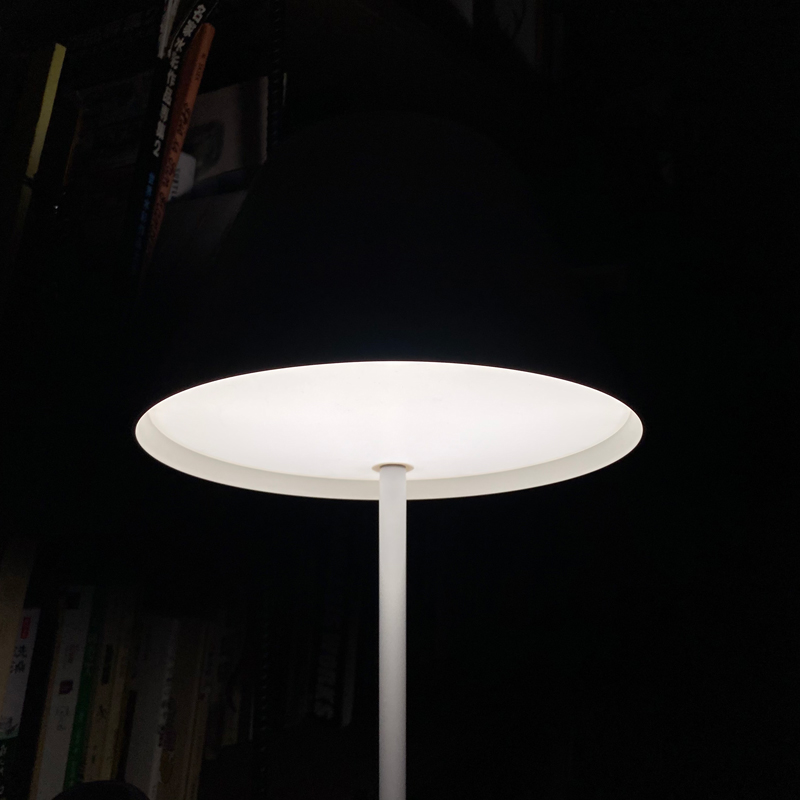
COLOUR TEMPERATURE
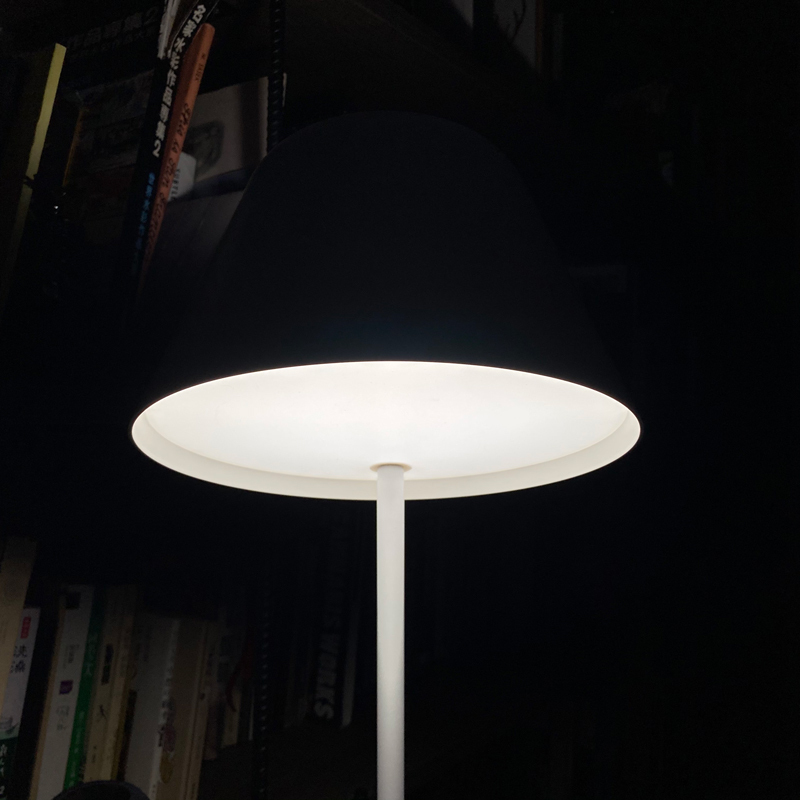
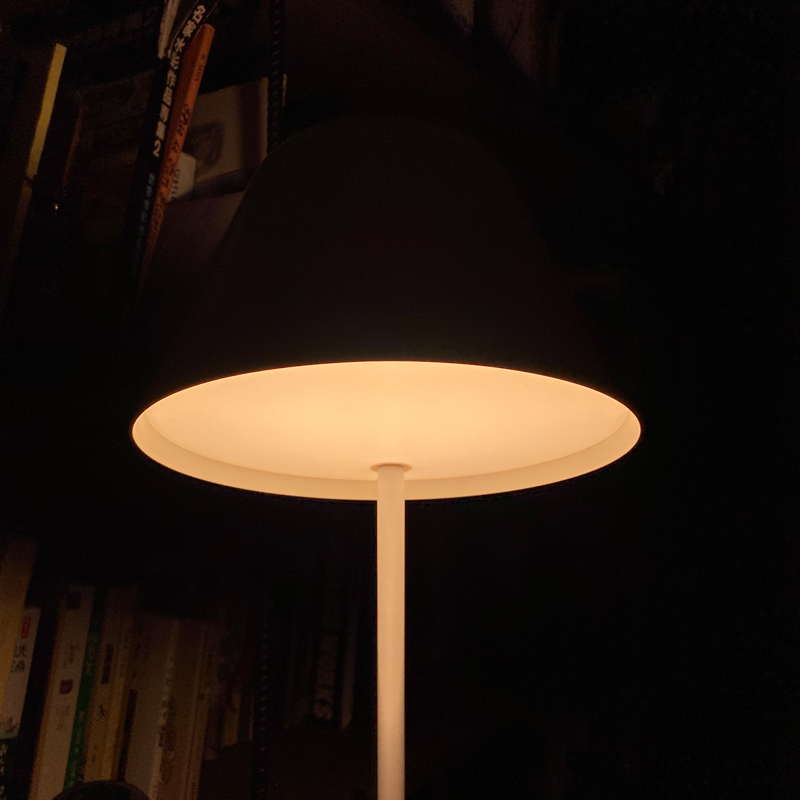

In standard mode, the lamp is set to white, with control over the colour temperature. Here you can see the three basic preset levels – cool, mid, and warm white. You can of course adjust these levels in all of the aforementioned apps. These presets are achieved via presses of the mode button on the strip controller.
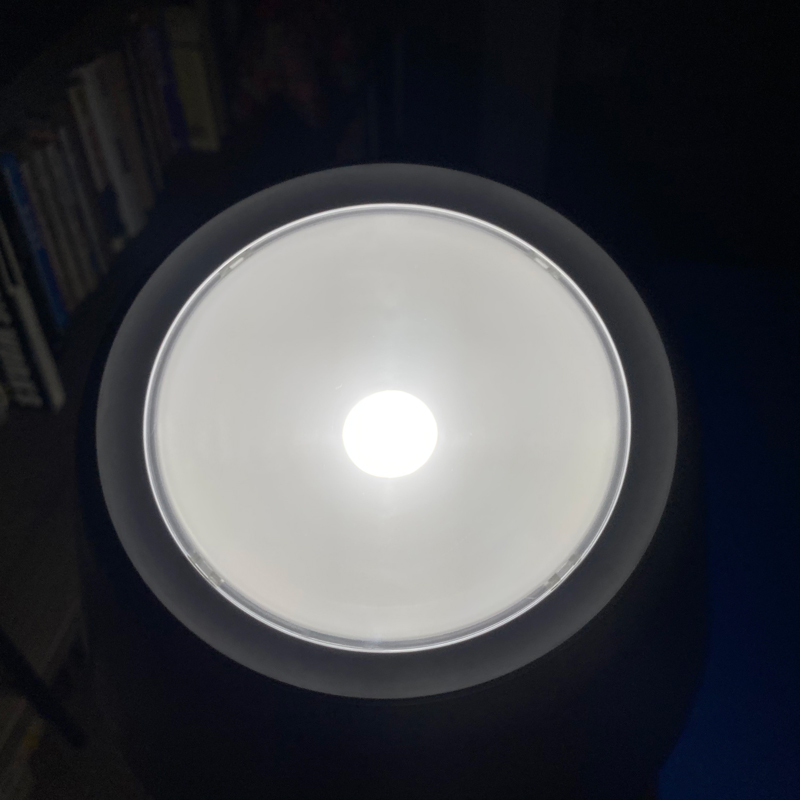
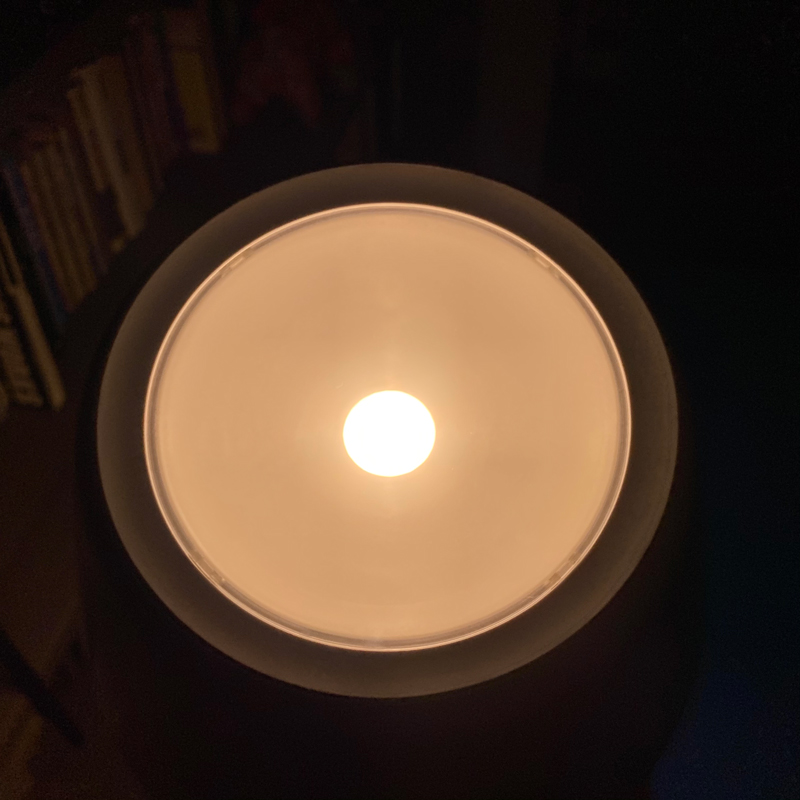
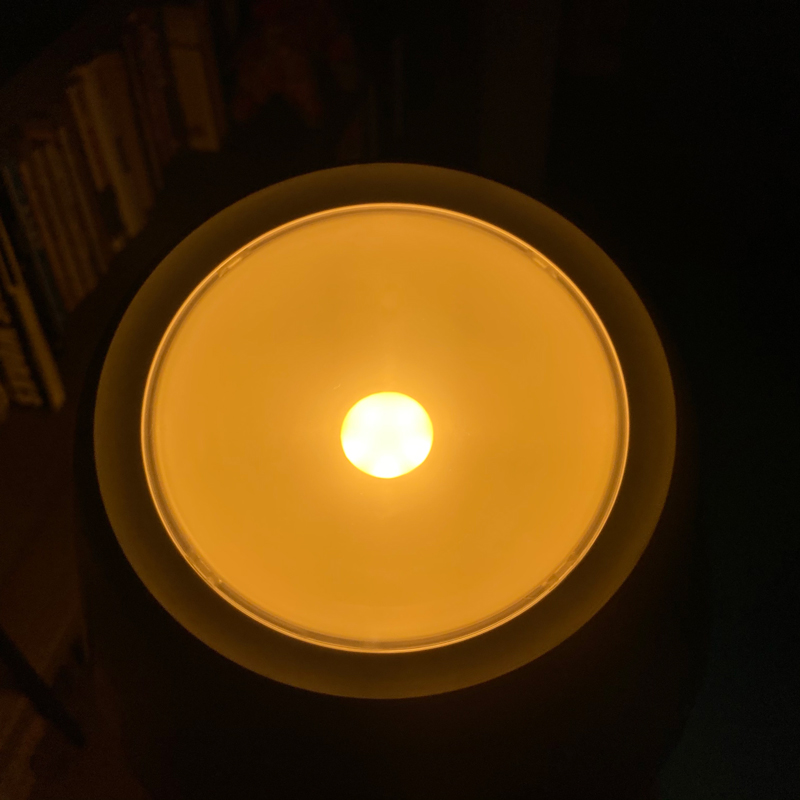
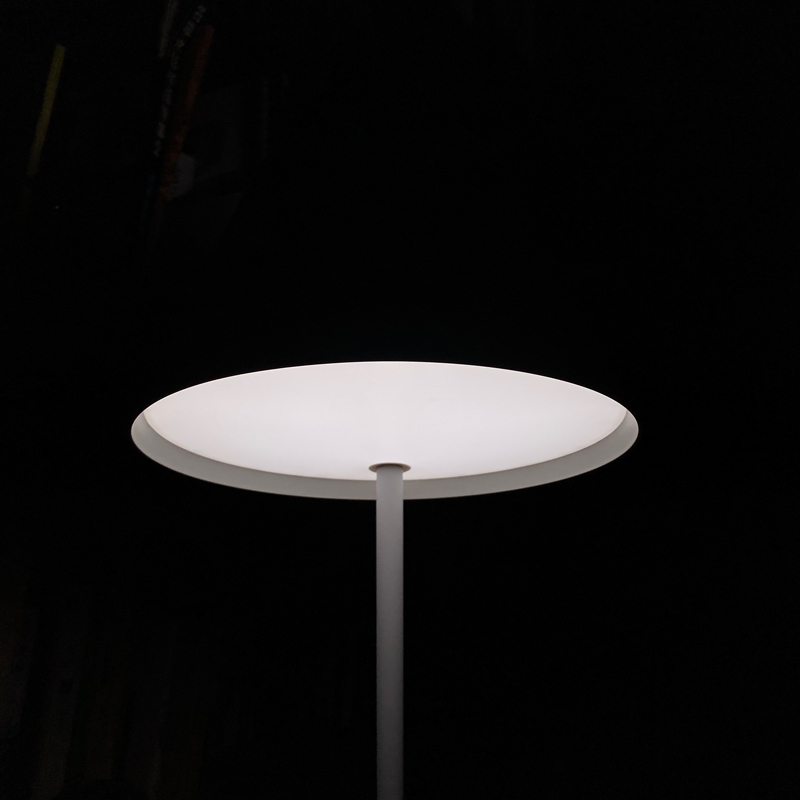
As you can see, it’s much the same case with the light source at the top of the lamp.
BRIGHTNESS LEVELS – STANDARD MODE (WHITE)
The lamp has two modes – standard mode, and night mode. Above are images of the lamp at 100, 50, and 1 per cent brightness in standard mode.
BRIGHTNESS LEVELS – NIGHT MODE

When you compare the lamp in Night mode at 100% compared to the lamp in Standard mode at 1%, you can see a large difference in brightness. Needless to say, Night mode at 1% is almost invisible when photographed. I’ve seen this mode on a number of Yeelight products and the results are much the same, and it really is a handy option for late-night reading in bed where you don’t want to keep your partner awake. This mode is not exposed to HomeKit unfortunately, and is also unavailable via the physical controller, so the only way to access this is via the Yeelight app, via Siri (Shortcuts), or via the Shortcuts app. However, if you have added this lamp to the Yeelight app, it’ll also appear in the Mi Home app, assuming you use the same account for both apps. The advantage of this is that you can program an Aqara or Mijia smart button to trigger the night mode scene, and as the aforementioned buttons are also HomeKit compatible, you can also program them to do other things in HomeKit if you so wish.
COLOUR LIGHTING
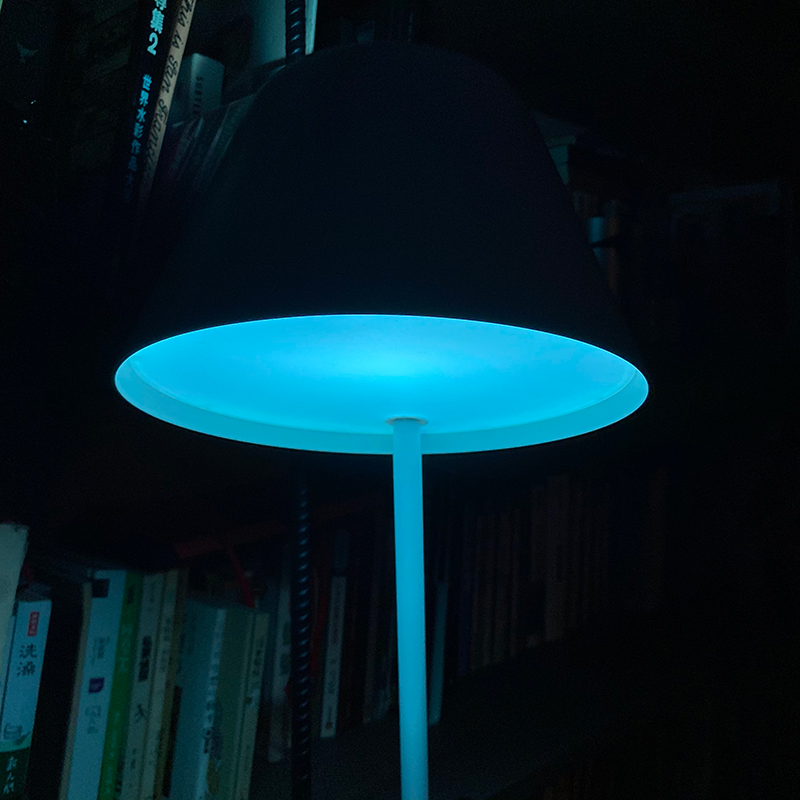

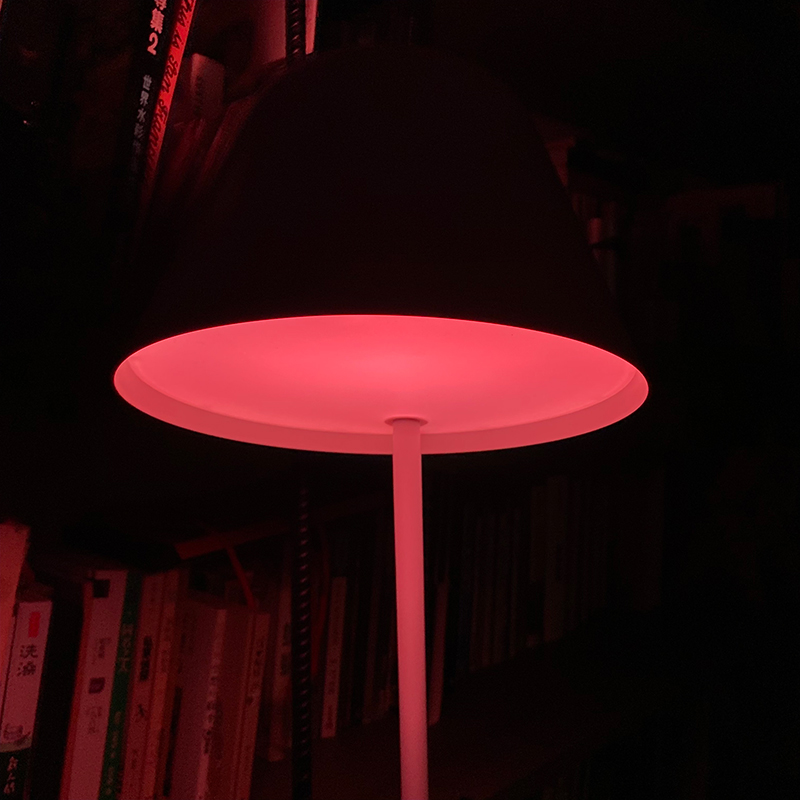


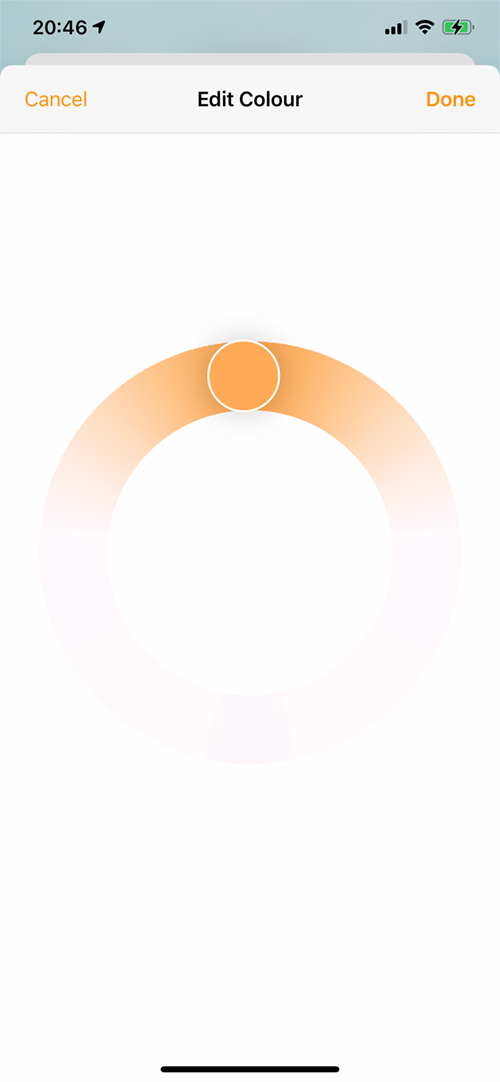
As previously mentioned, when you enter Colour mode, you can cycle through five preset colours, all shown above. You can adjust these colours via the respective apps to your hearts’ content, as well as adjust the brightness via the physical control strip. You can also create your own colours in the Home or Yeelight apps, and save them as favourites if you wish.
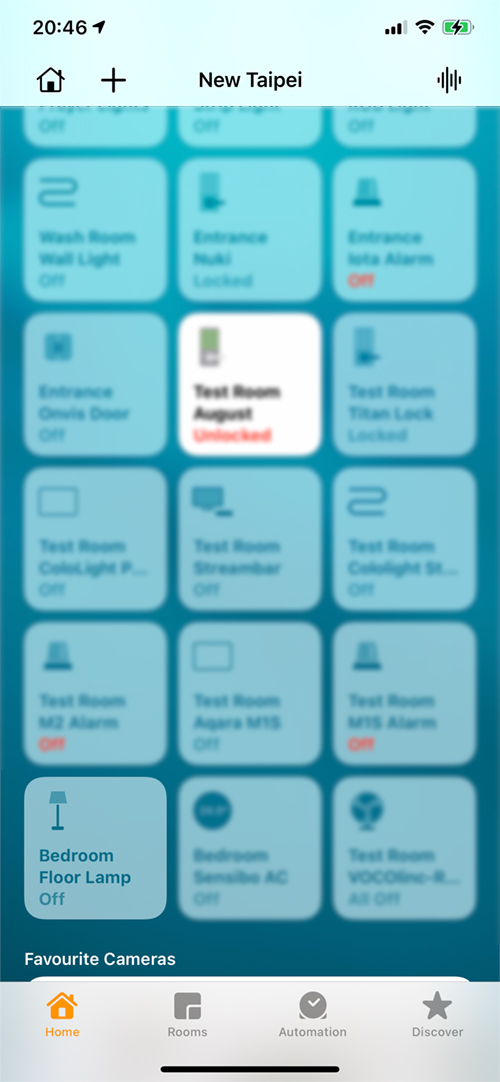
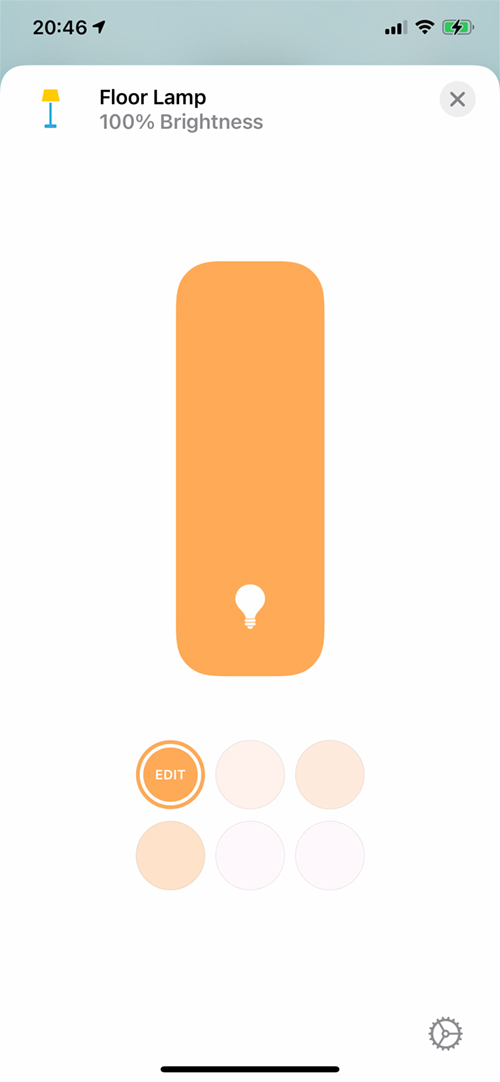
IN THE HOME APP
IN THE YEELIGHT APP
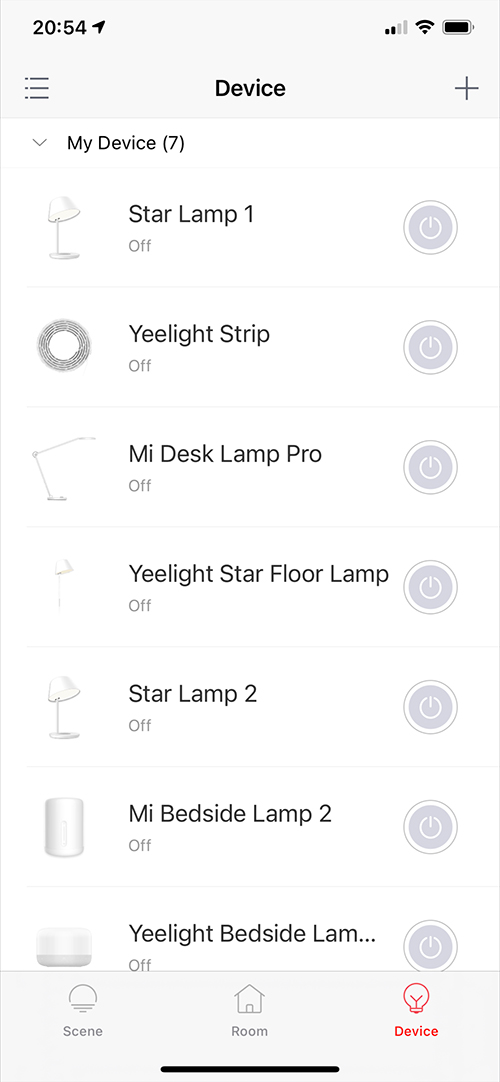
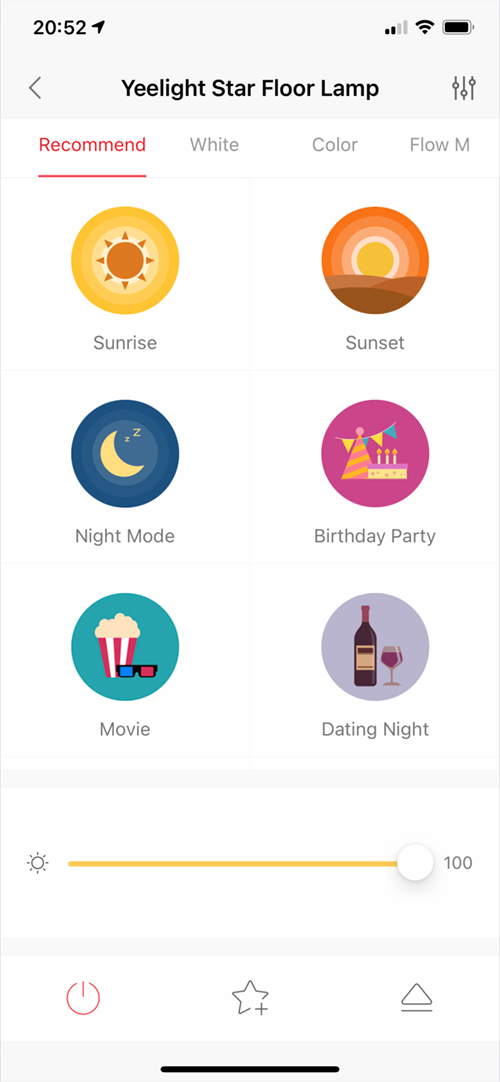
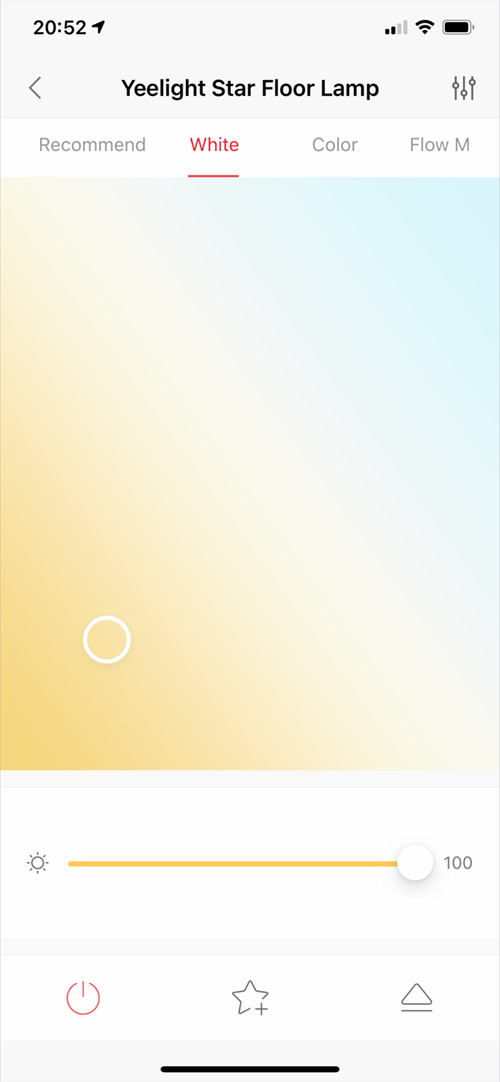
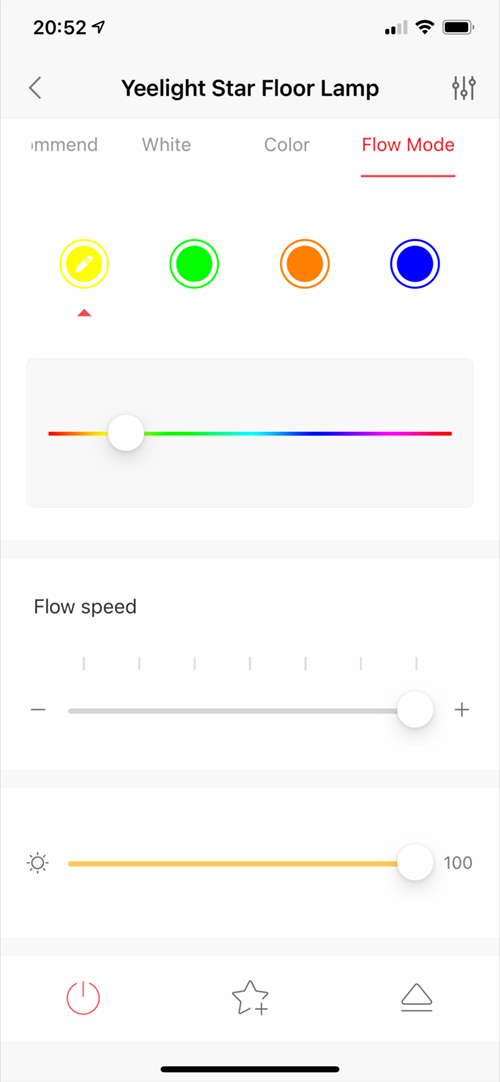
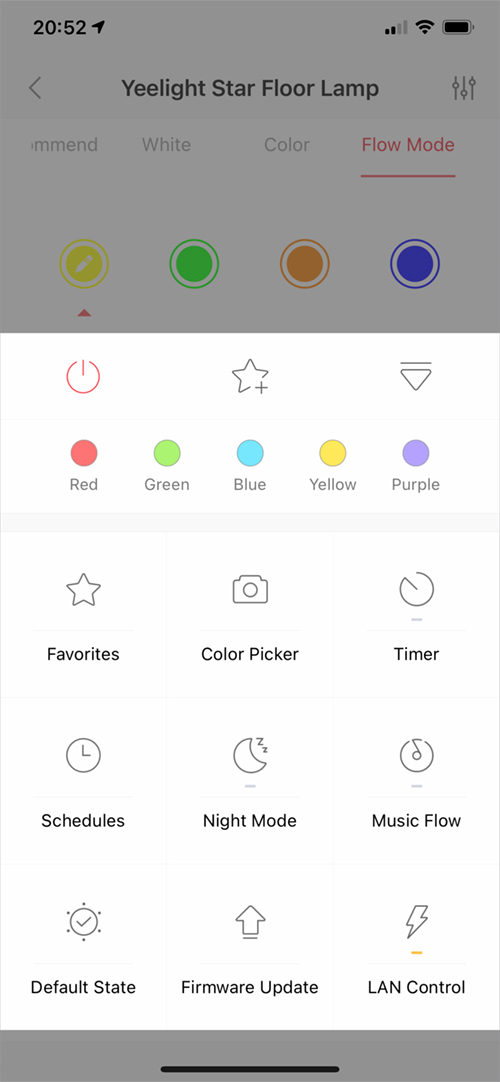
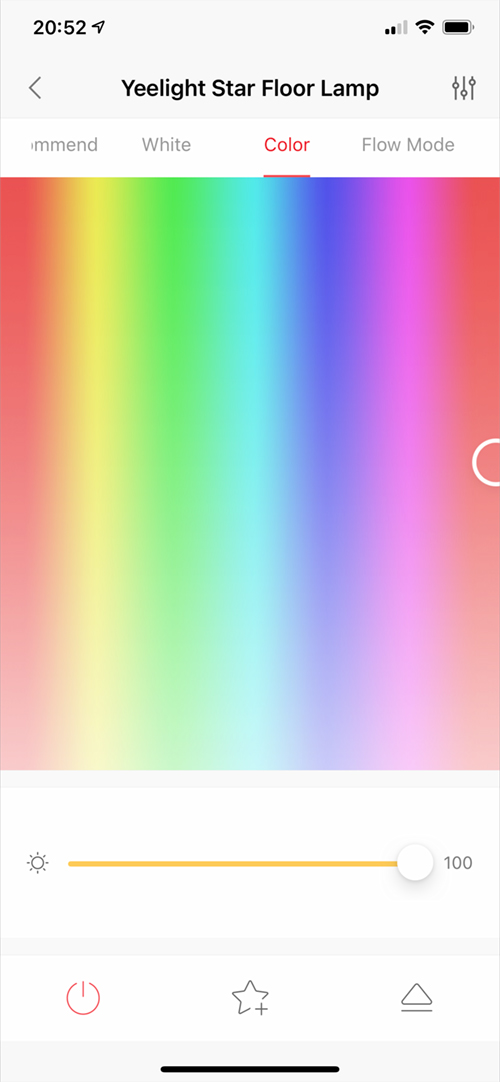
If you’ve used the Yeelight app before, you might agree that whilst it’s not a fully-fledged app for programming automations, it does offer a reasonably nice interface and a few extra options. In the Devices screen, you get basic control over the power state of the devices, whilst Scenes has a few preset lighting scenes you can access quickly. Control over the colour and colour temperature have their own separate screens, as does the Colour Flow mode. The app also offers a colour picker option to match the lamp colour with something in the camera’s viewfinder. You have Schedules, default state options, night mode, timers, and music flow, which can create colour effects based on audio from your phone.
THE LAMP IN USE
I already have two instances of the Star Desk Lamp Pro, and I’ve been very happy with them, so I was fully expecting the same level of satisfaction with the Floor Lamp. It has been just as reliable, and although it has many differences, you can tell from the design, it’s clearly part of the same family as the desk lamp variety. It is a bit of a pain that the colour aspect isn’t exposed to HomeKit, and I’m at a loss to wonder why, given the price of the lamp. Still, with Shortcuts and my new HomePod Minis (HomePods Mini..?), I’ve found myself using Hey Siri a lot more than before, so I’m ok with controlling the colour aspect of the lamp, to a reasonable degree. The wobble associated with such a slender device is simply unavoidable, and so I can’t really blame Yeelight for something that seemingly has no solution, although if these lamps were placed near to a wall, maybe some form of stabilising bracket attached the wall and the stand could be a fix of sorts.
The on-device controls are the dealbreaker in many ways, and so I’m really glad they were included, and in all honesty, if they weren’t, you really may as well just have a standard floor lamp and smart bulb to save yourself some money. These controls feel natural and responsive, so I can’t fault them at all. I have in fact already experienced this control via the Mi Bedside Lamp II (review HERE), so it was quite familiar really.
The other thing that this lamp has over a standard floor lamp, with either a smart or dumb bulb, is that a standard lamp has the bulb at the top end, with the light going out in the upward and outward direction. With the Star Floor Lamp, the light is directed downwards, where it’s needed for the most part, with the lampshade casing barely letting out any light at all. This alone, to me, makes a lot more sense and makes me feel the price is a lot more palatable, even when compared to the budget option I mention. Still, it’s down to the individual, but the design, control and smarts of this lamp, with the absentee colour option in HomeKit are worth it.