There are a LOT of temperature and humidity sensors available to HomeKit users, with many options when it comes to the way they communicate; Bluetooth with the Eve Room and Eve Degree, Zigbee, with sensors from both Aqara and Mijia, and even WiFi with the iHome iSS50 Smart Monitor and the Koogeek AW1 Air Quality Monitor, although both of these are multi-sensor devices, so they’re not quite in the same ballpark. The device we’re reviewing today, the QingPing Temperature and RH Monitor (H Version), is Bluetooth-based, which isn’t anything out of the ordinary in some ways, although, like the Eve Room, it uses an E-Ink display. If you’re unfamiliar with E-Ink displays, compared to the LCD displays you may be more accustomed to, they really are a massive improvement in legibility, with a lot more contrast, especially in low light, as well as much-improved viewing angles. If you’re looking for something that not only works with HomeKit for automations but is also nice to look at and saves you from glancing at your phone for information, then read on.
PACKAGING
Qingping are one of the many manufacturers that make products for Xiaomi, with many branded with the Mi or Mijia logo, but in this case, they’ve branched out to not only make their own branded version of an already available product, but they’ve made it so that it only works with Apple HomeKit and their own QingPing+ app, which is a departure from the norm. So, even though the packaging is very reminiscent of not only a typical Apple product, it also exudes the current Mi/Aqara/Yeelight style of packaging.
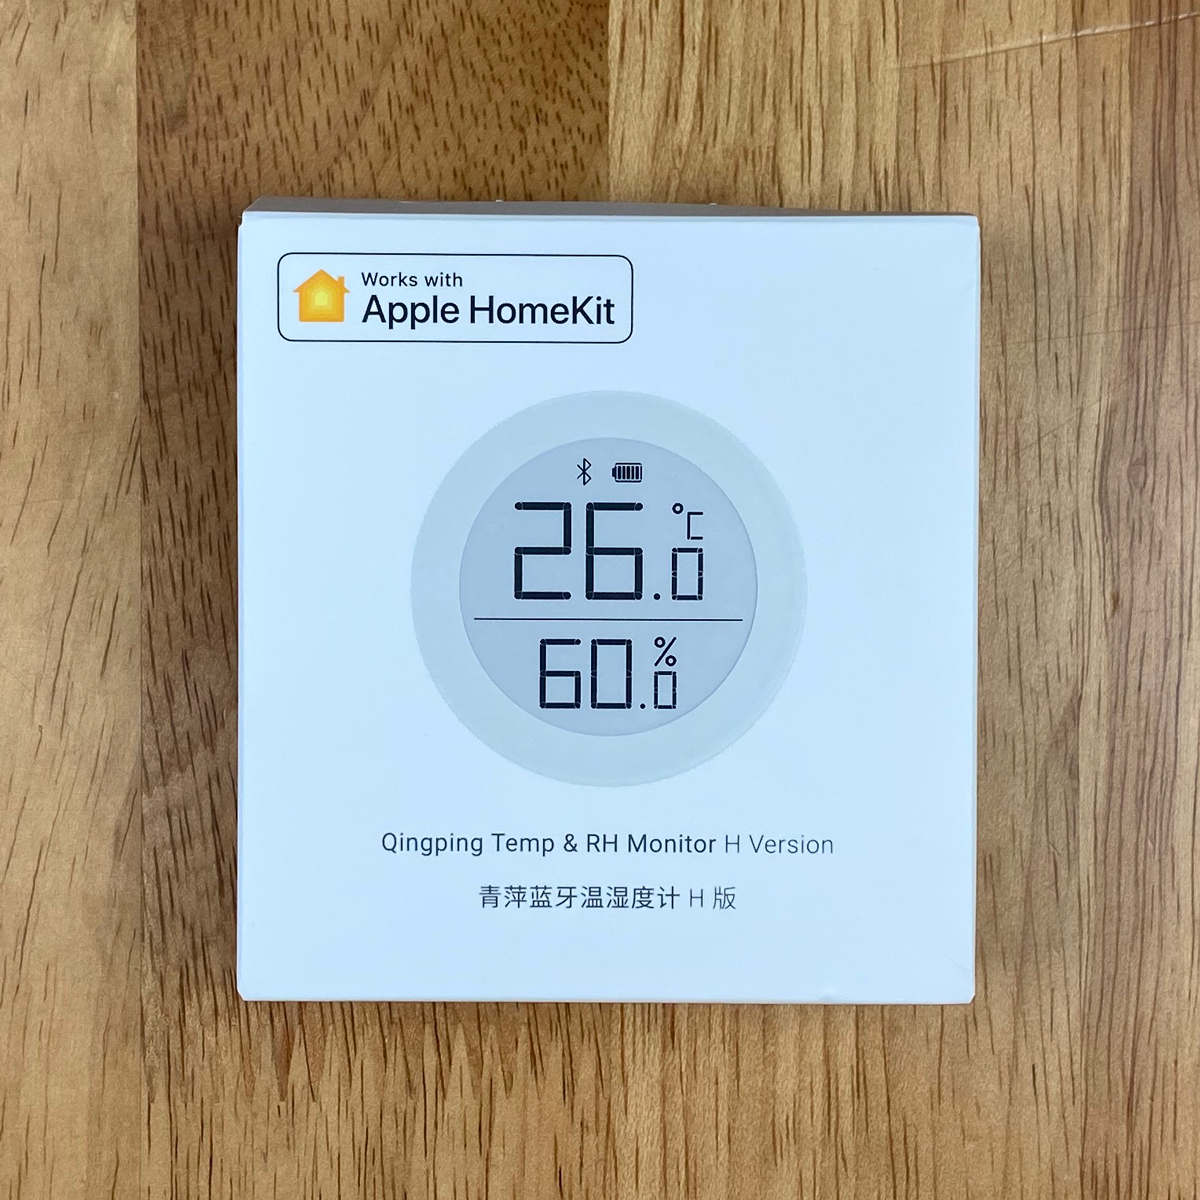
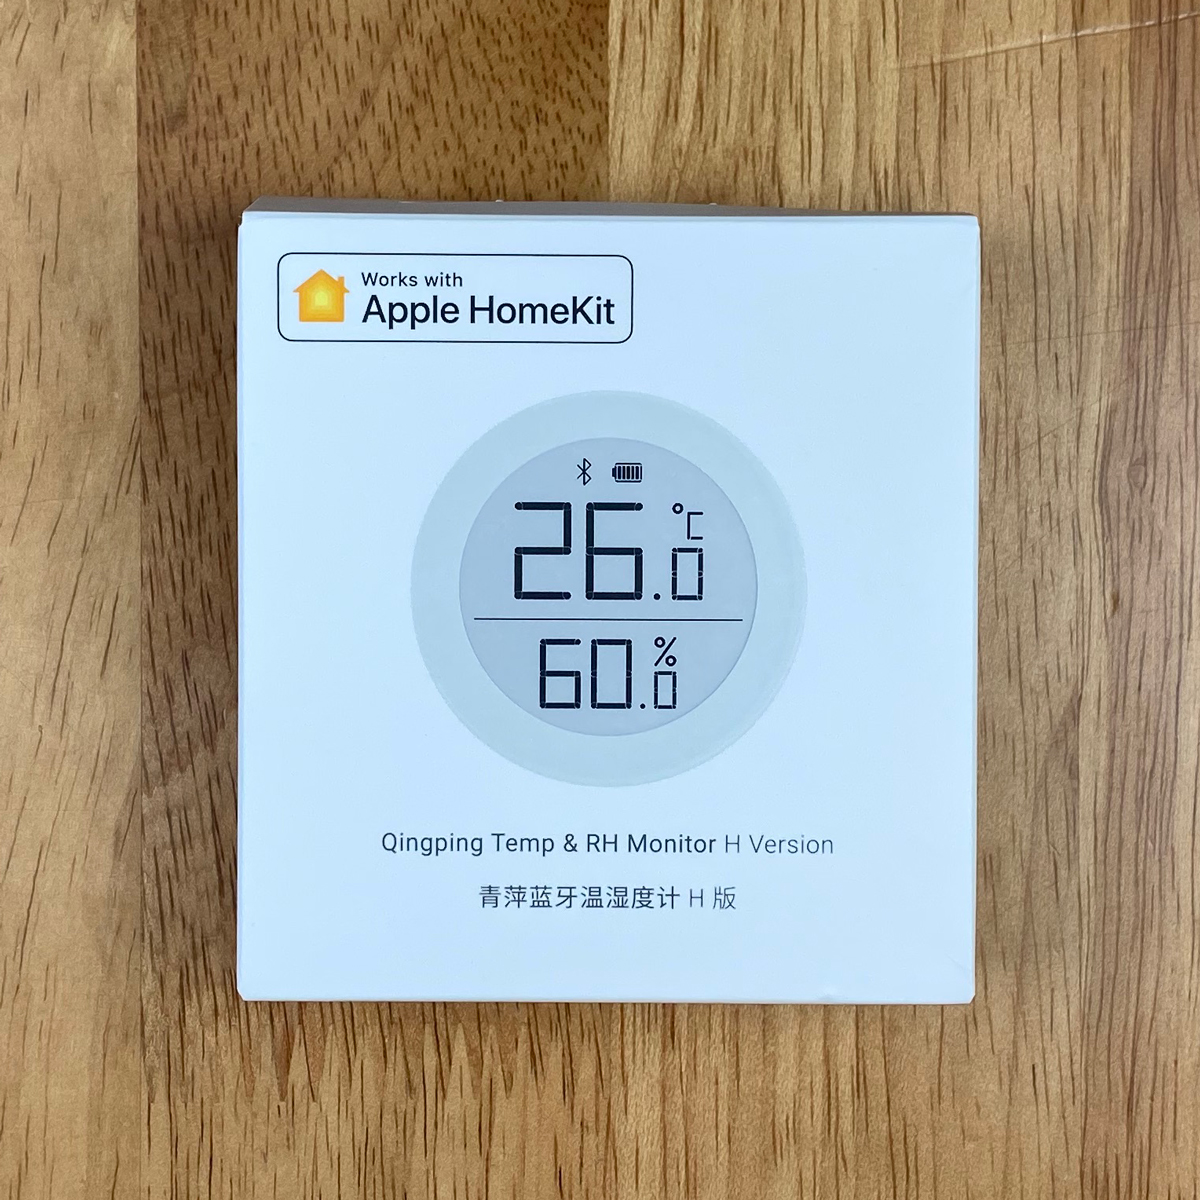
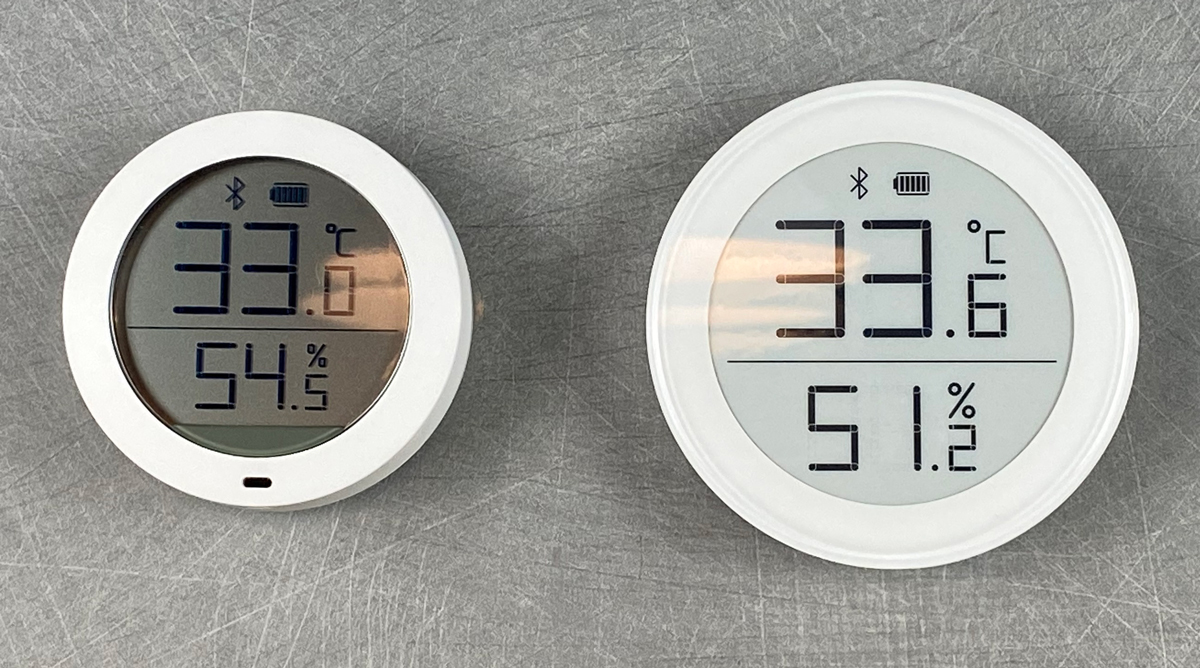
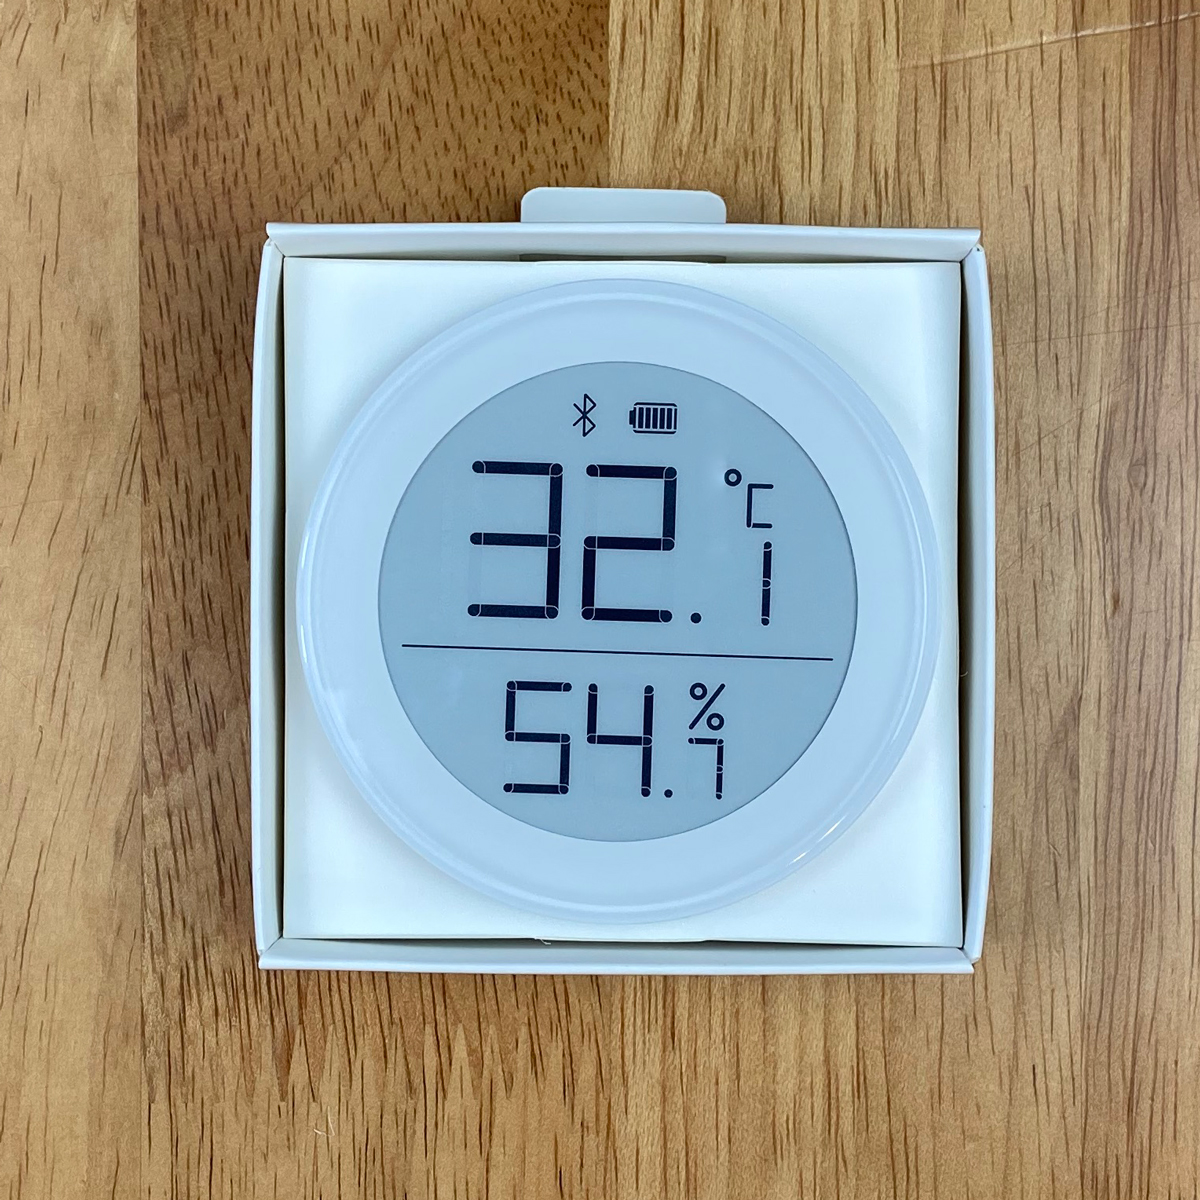
On the front is the device itself, and yes the display really is that clear – even without a battery! As a quick comparison to the very first version of the temperature sensor, with an LCD display, you really can see a massive difference in the way they look.
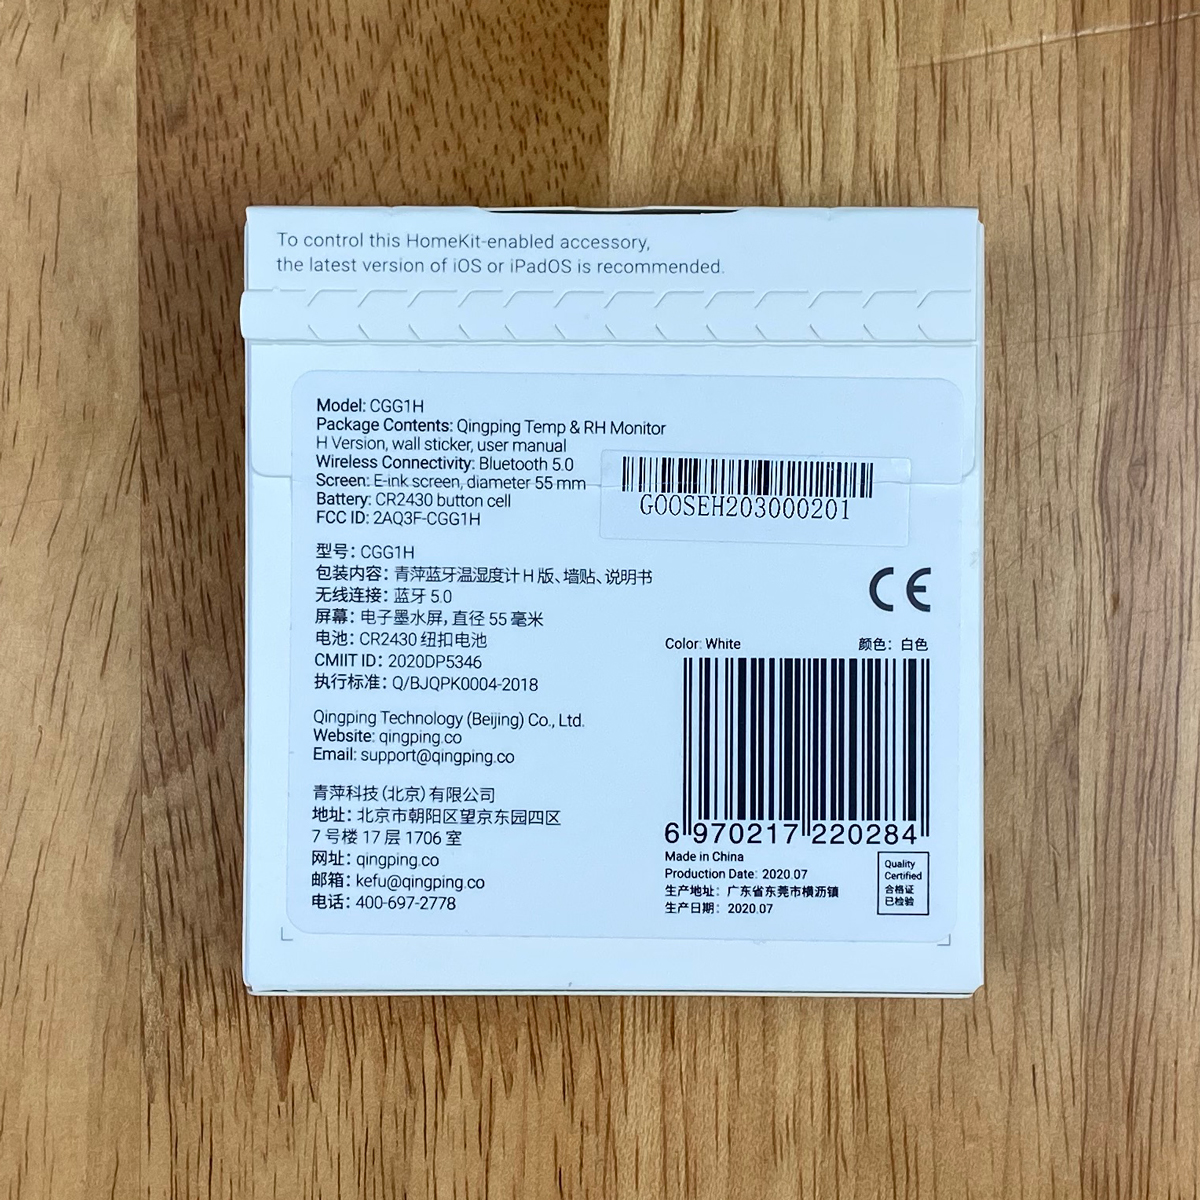
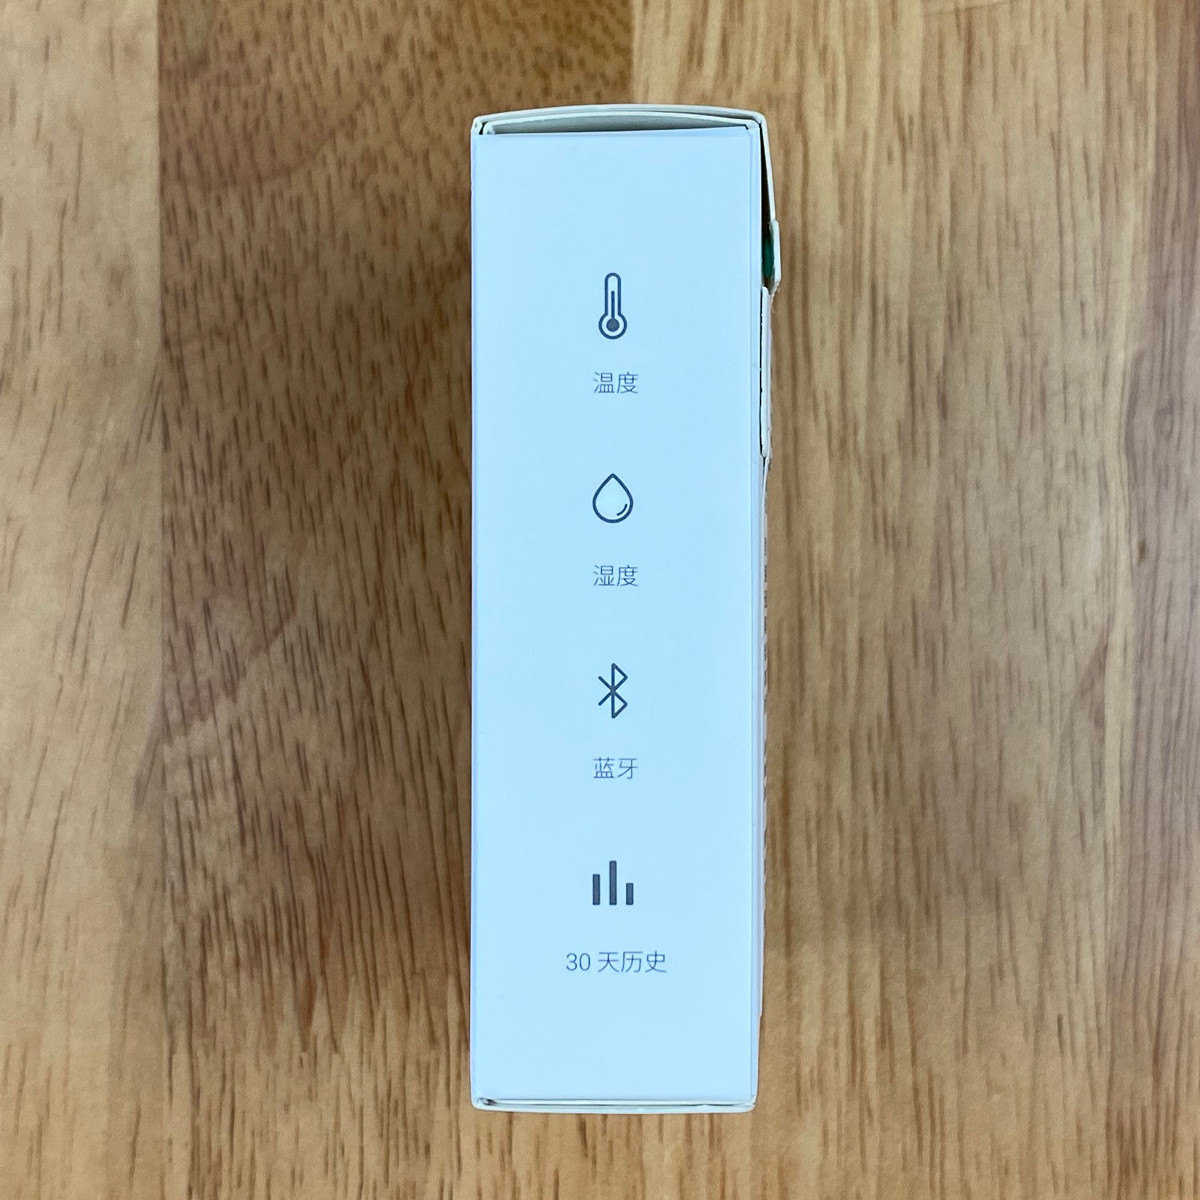
You’ve got the Apple HomeKit logo on the front, and the back has all the basic specs in Chinese. The sides have the two basic functions featured, as well as letting the buyer know it’s a Bluetooth device, as well as being capable of recording data in both 24-hour and 30-day formats.
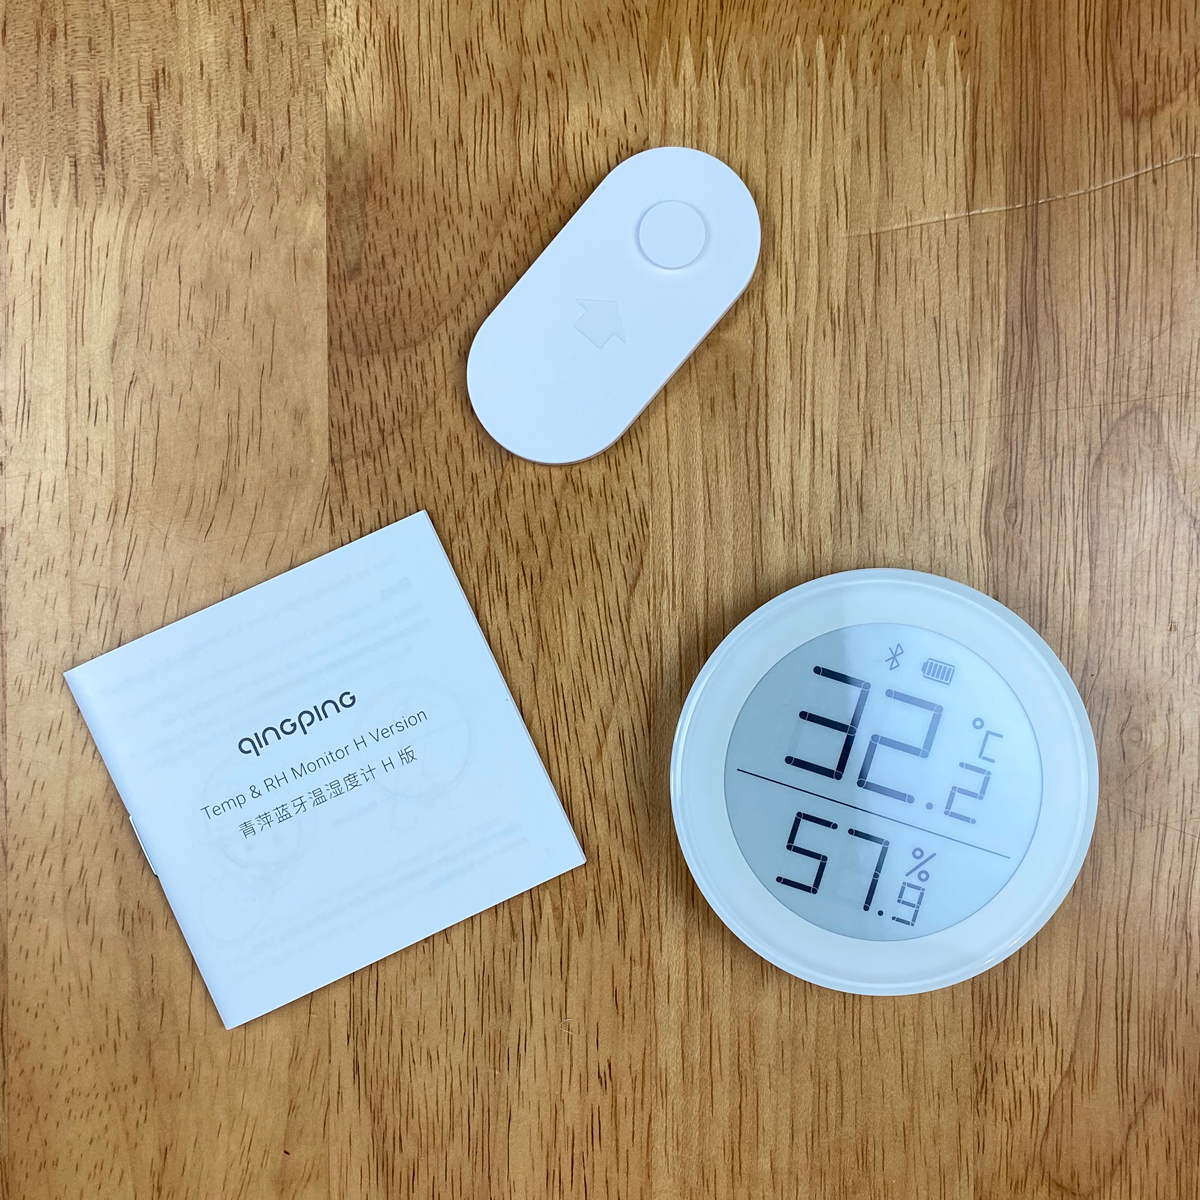
The device is economically packed, but still decently protected, and comes with a manual, which is in both English and Simplified Chinese, along with a wall mount. The manual also includes the first instance of two HomeKit codes.
THE SENSOR
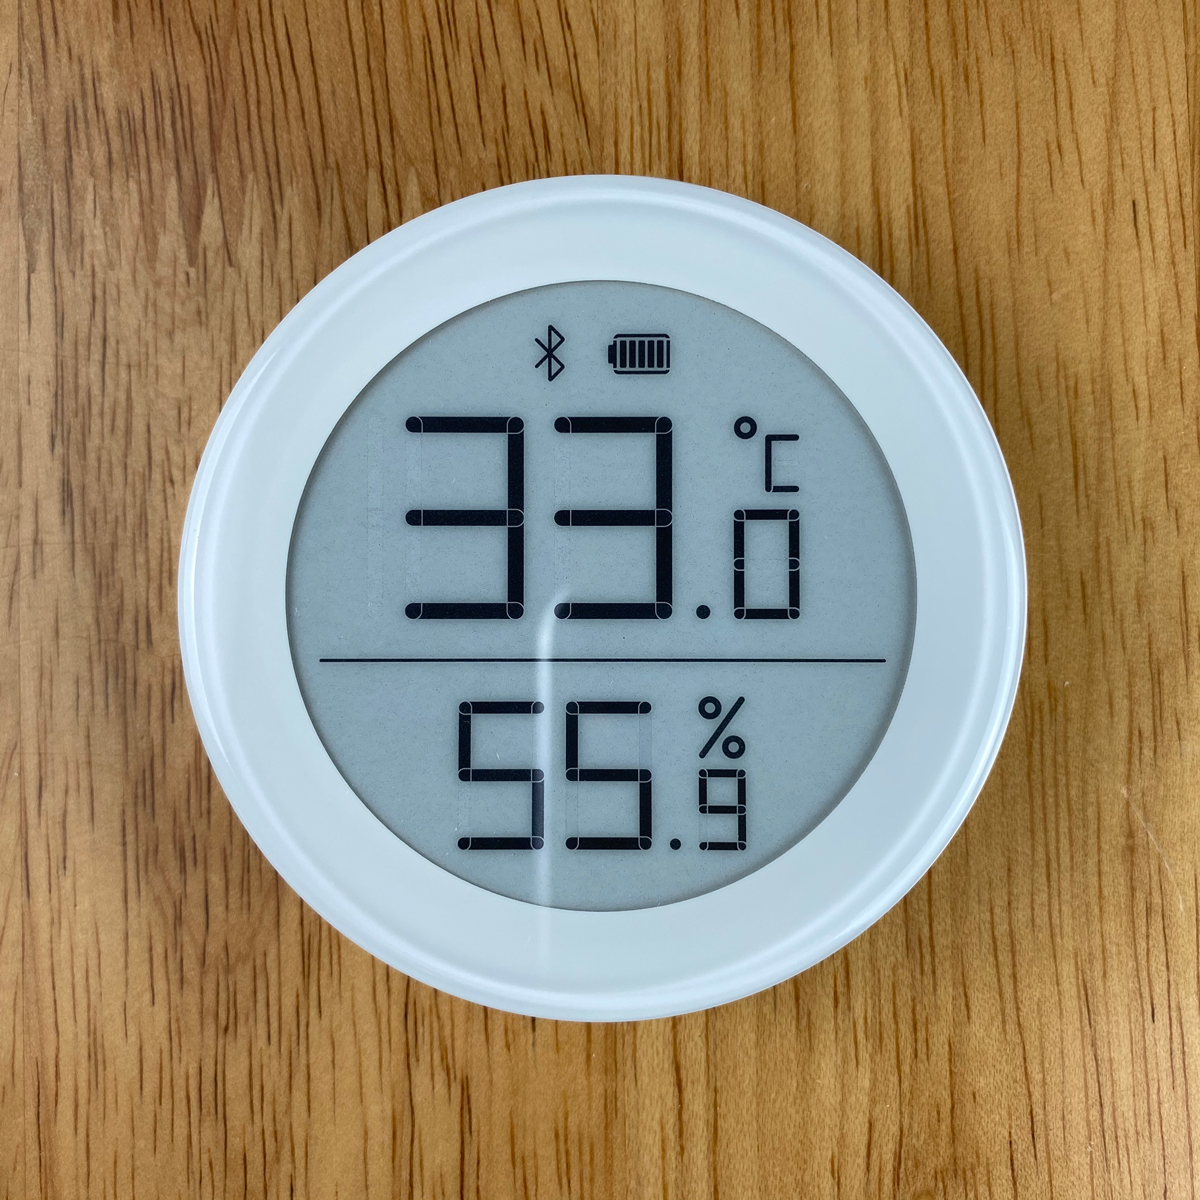
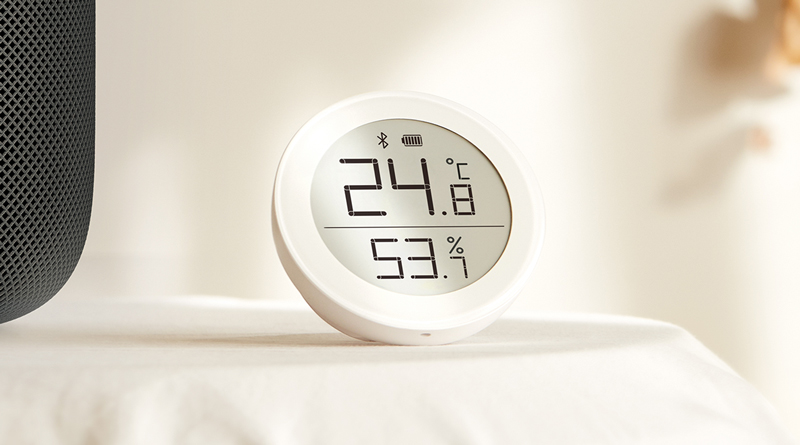
The front of the device is mostly the display itself, with a white surrounding ring. From the top of the display, you get a Bluetooth logo, which I’m not sure is necessary, along with a battery status indicator. Below that is the temperature, which can be displayed in Celsius or Fahrenheit. At the bottom is the relative humidity level.
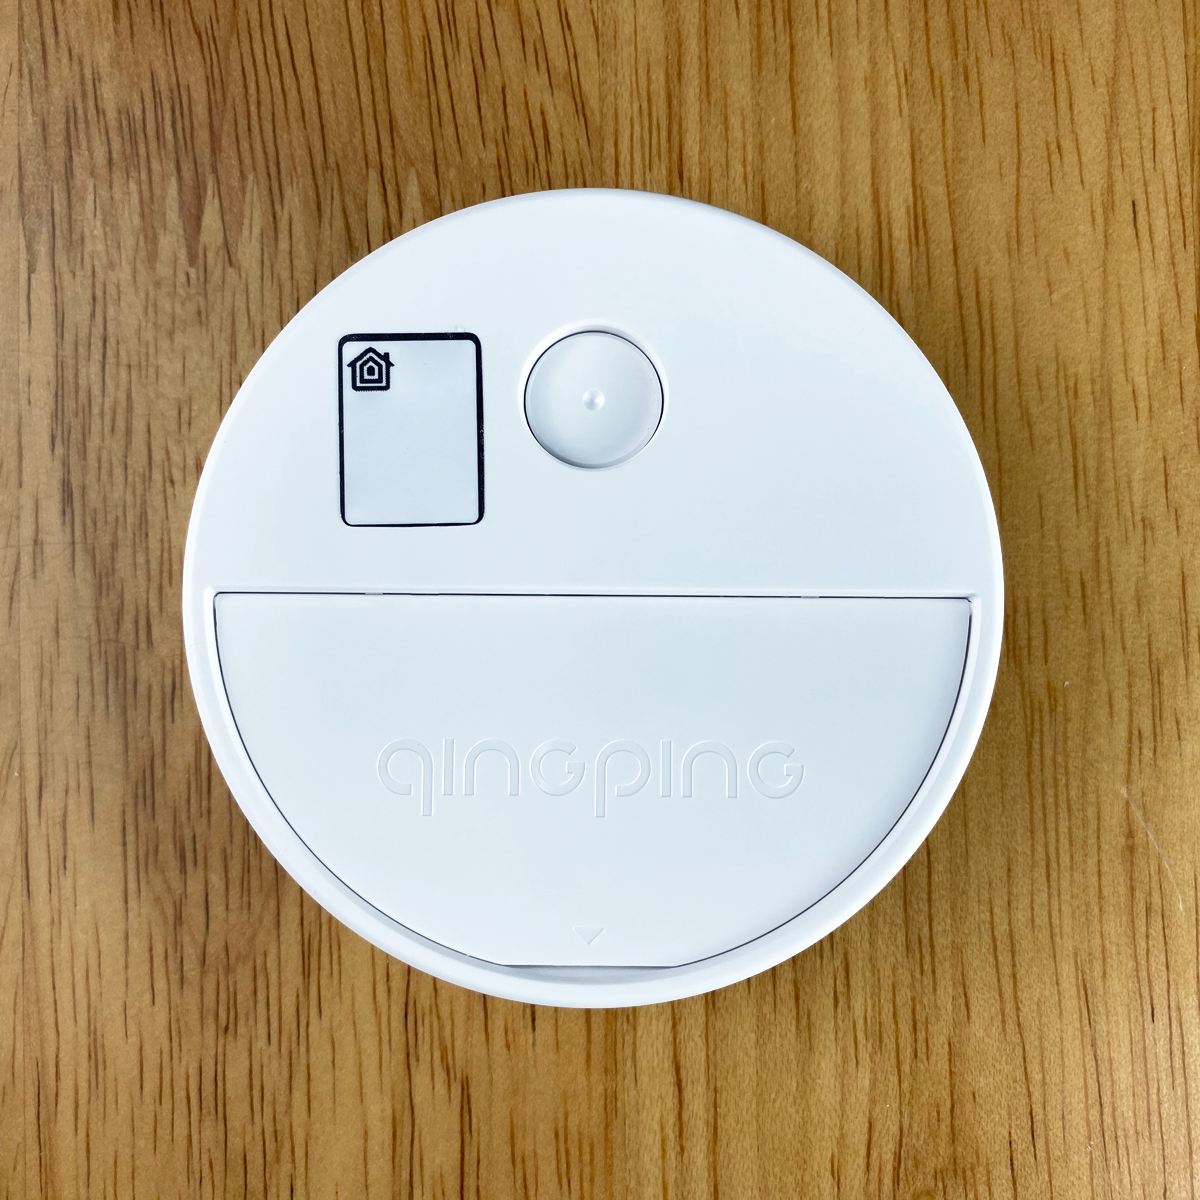
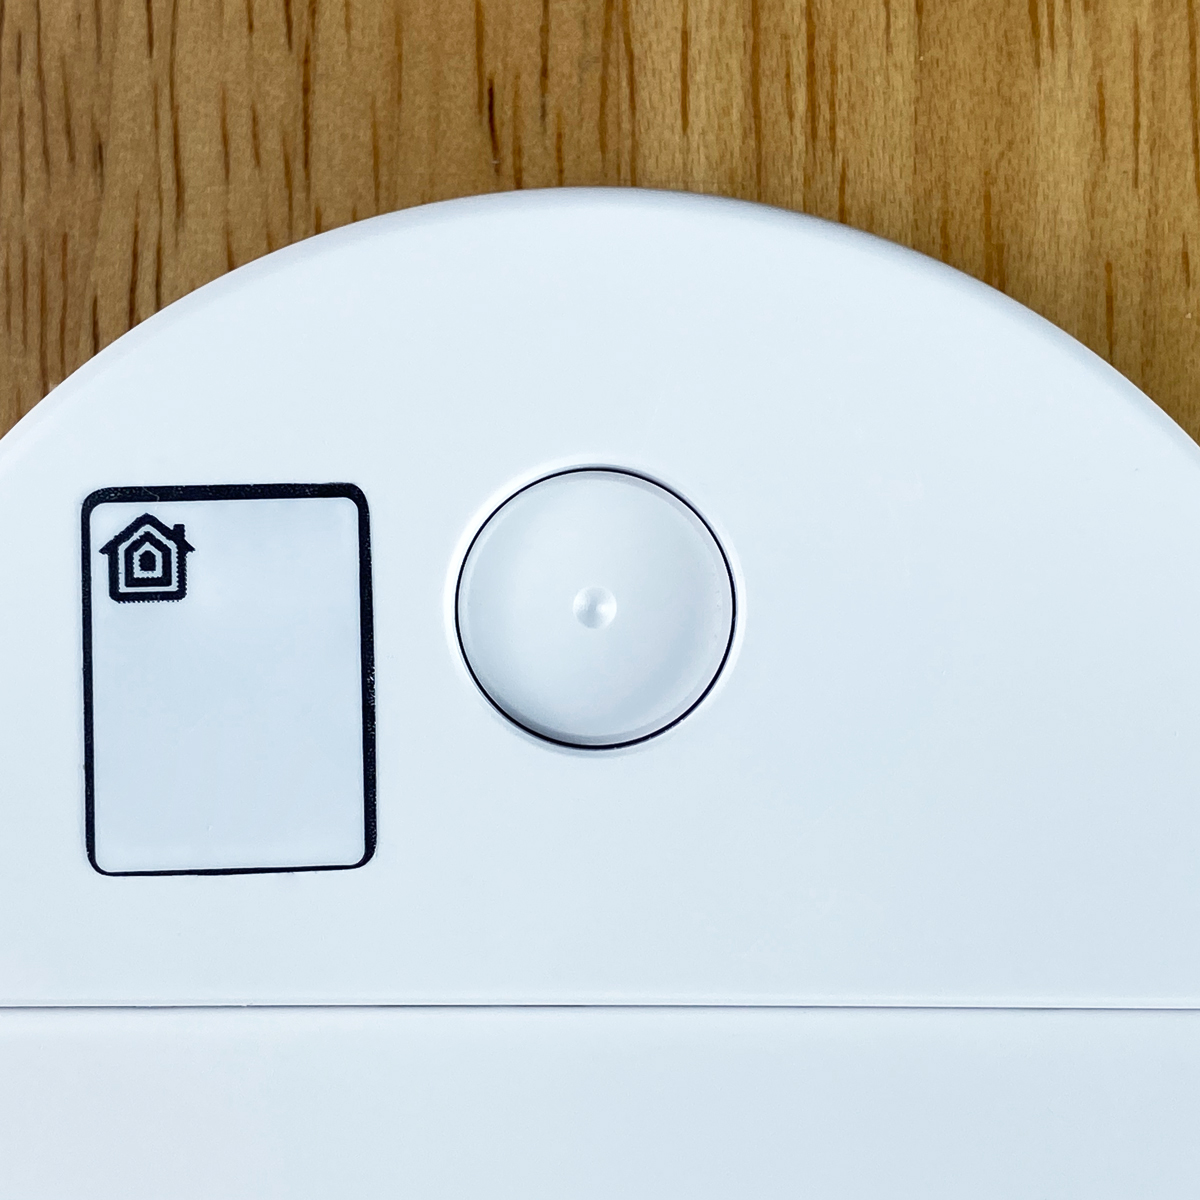
The rear has the second of two HomeKit codes, along with a recessed button, which also serves to work with the included wall mount. The lower half is taken up by a kickstand, that also hides the battery section.
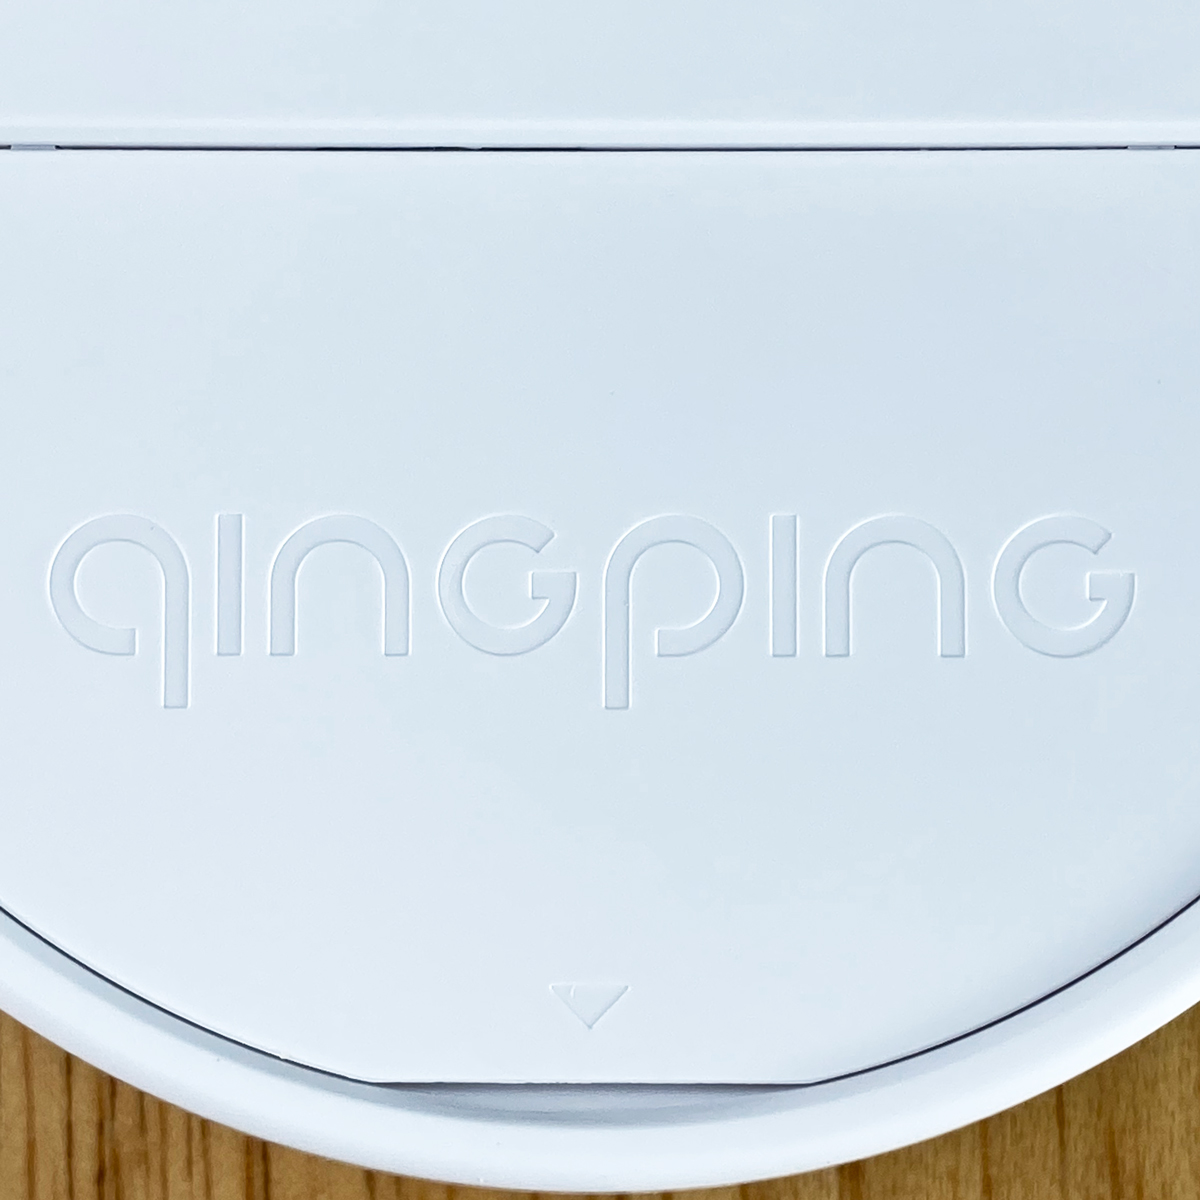
When it comes to the recessed button, pressing this allows you to change the display to switch between Celsius or Fahrenheit. The lower part with the kickstand has the company’s logo, which is missing from the non-HomeKit version (herein referred to as the ‘M version’).
The kickstand itself can be set to the closed position, for when it’s wall-mounted, at a 45º angle, for desktop placement, or at 90º for when you want to fully access the battery compartment. That being said, there’s no reason why you can’t have it at 90º for desktop placement as well, although that will leave the display at a very odd looking angle. Still, as the E-Ink display allows for a much wider viewing angle, it may not matter.
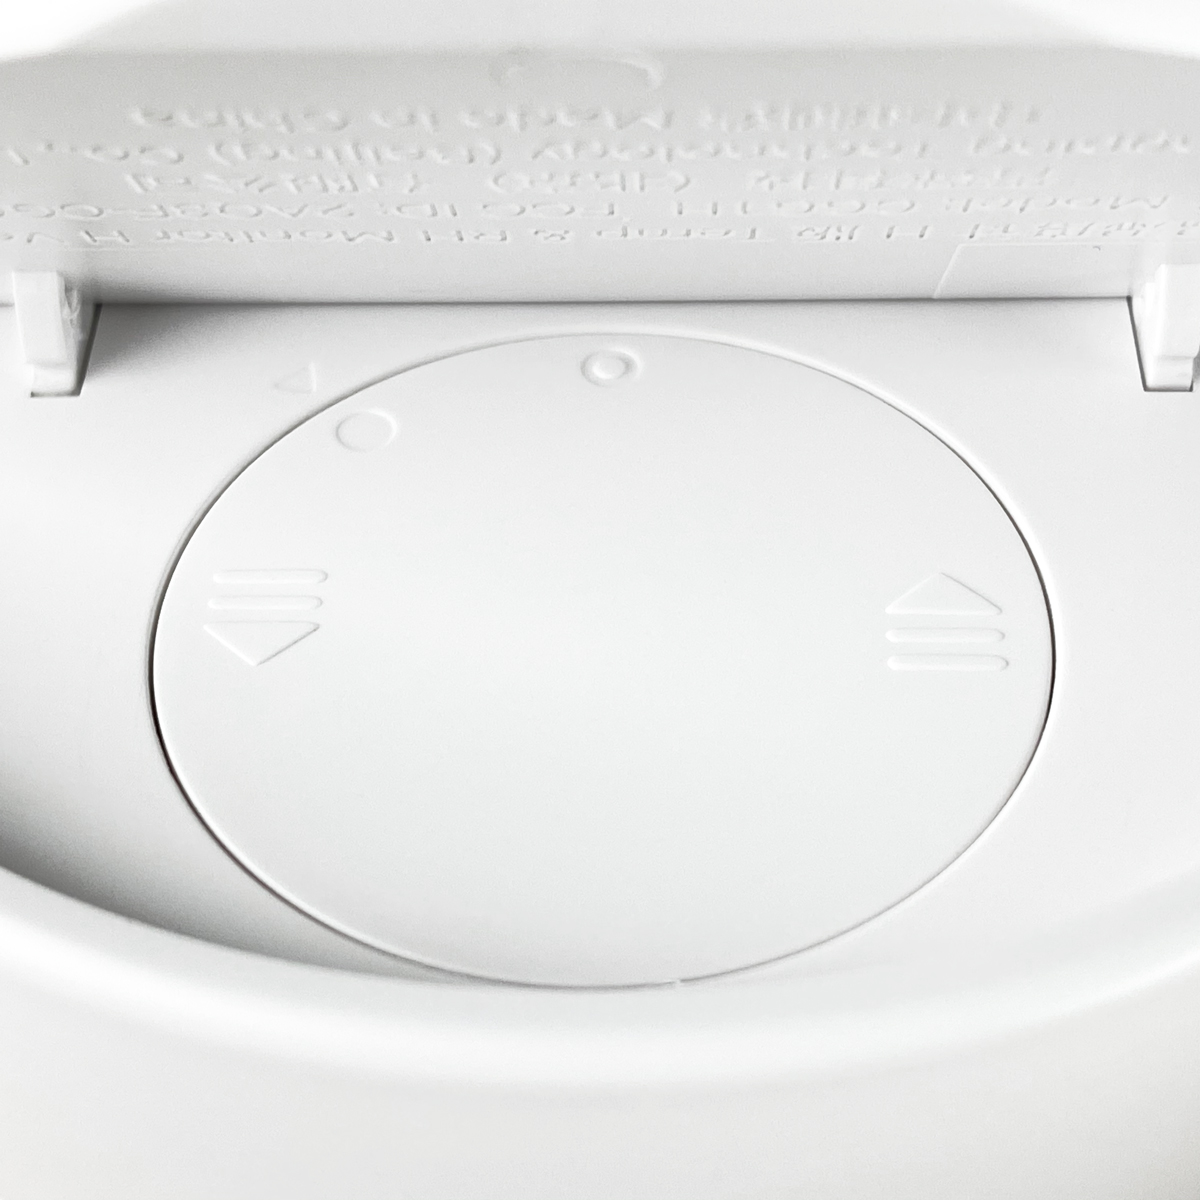
The battery compartment under the kickstand simply turns anticlockwise to allow the cover to be removed for adding or replacing a battery. A CR2430 coin battery is required. All very straightforward.
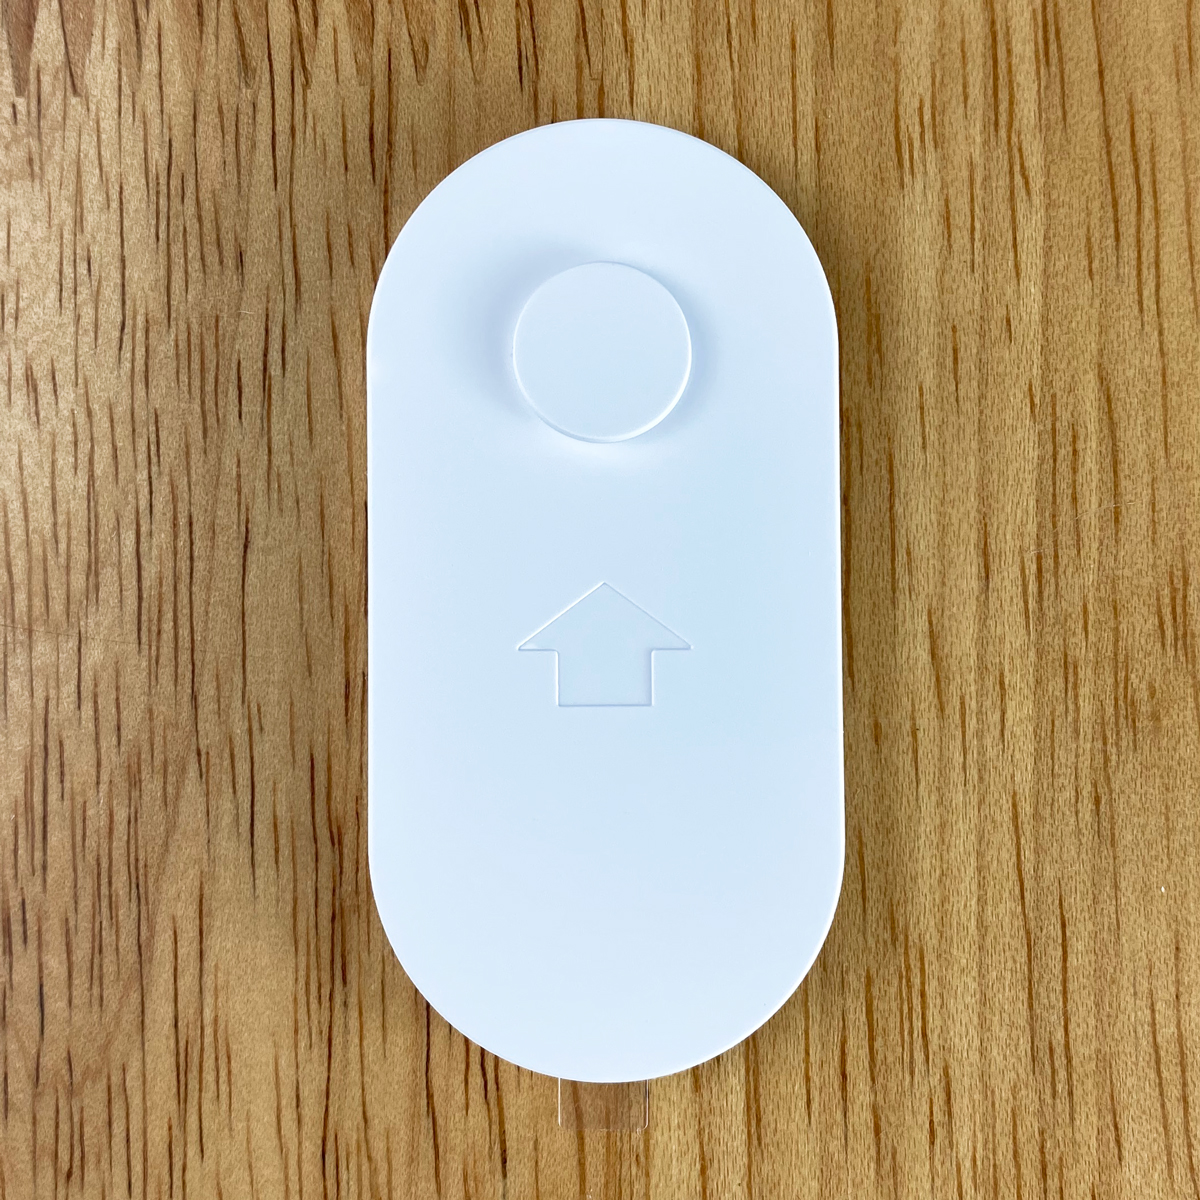
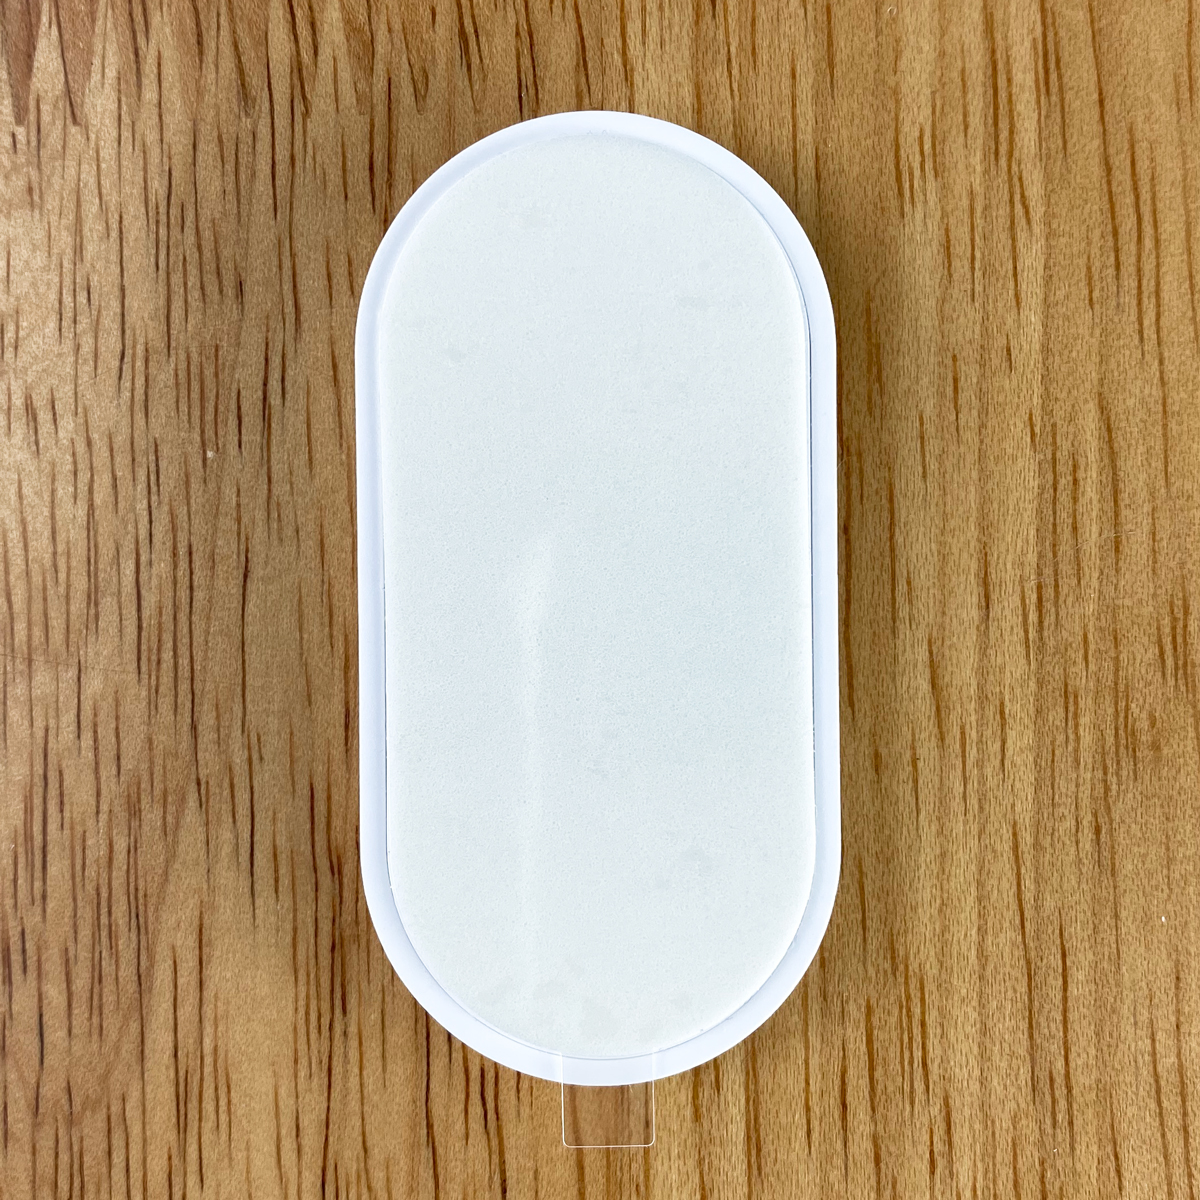
The mount is simply stuck to a wall or another vertical surface, with the recess on the rear of the sensor matching up with the ‘nub’ on the mount, to hold it in place, which is aided by magnets in both the mount and the sensor.
Given that the sensor has magnets in the back, this means it can attach itself to other metal surfaces, so in the example above I was able to have it stick the door of our fridge-freezer. In this instance, as the device isn’t massively light, unlike say, the Aqara temperature and humidity sensor, it probably wouldn’t take a lot of force to knock it off, so that’s something to take into consideration.
IN THE HOME APP
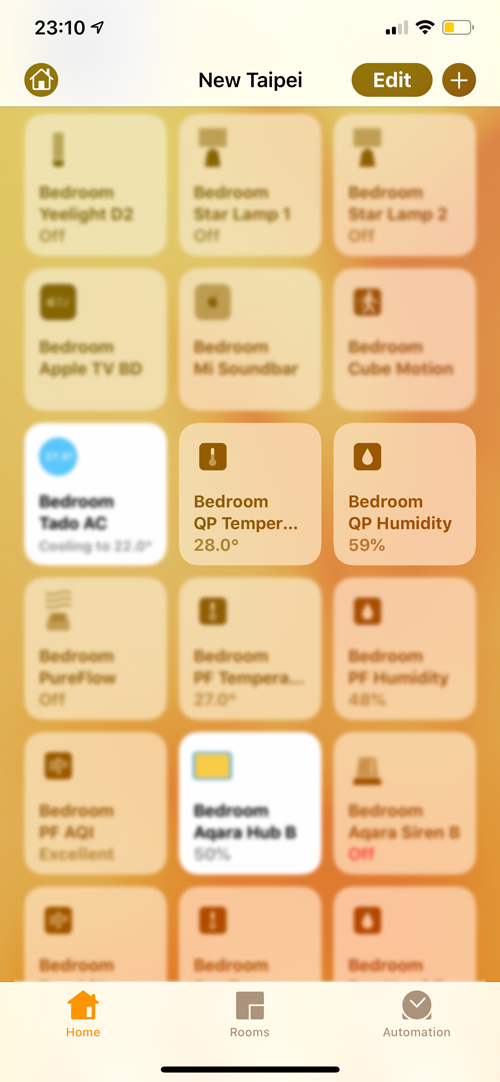
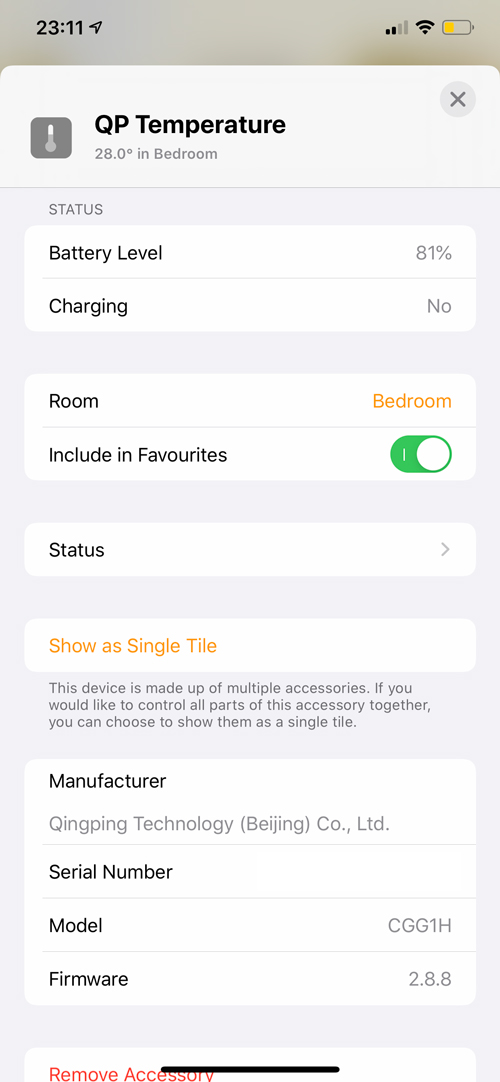
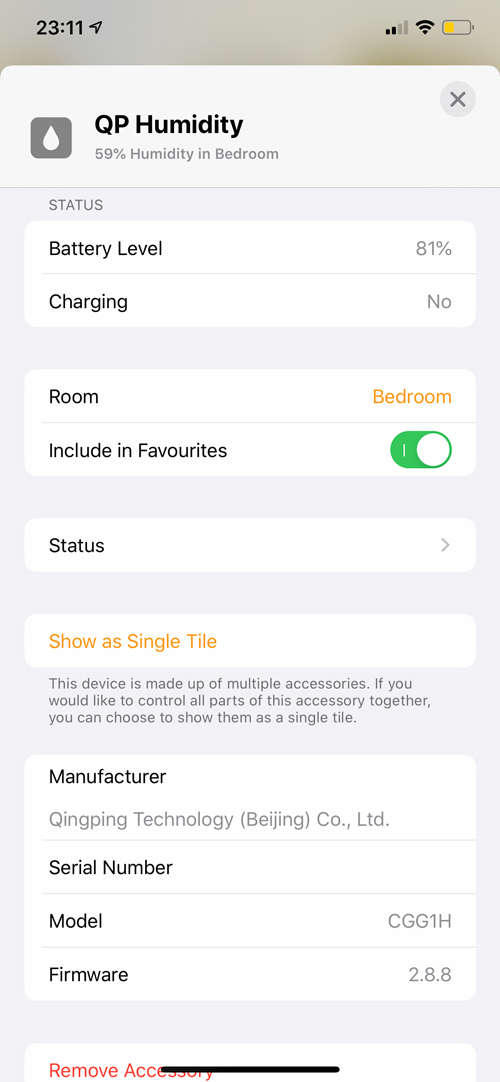
Adding this device is so easy, I’m not going to go through any detailed process, save to say that it simply requires you to select ‘Add an Accessory’ from the main page of the Home app, scan the QR code for the device, and proceed to add it to a room etc. As it’s Bluetooth it doesn’t require your network details, and will only need the presence of a Home Hub (Apple TV 4 or later, HomePod, or suitable iPad) for it to be used in automations, or for remote access. There are two sensors, so you can have two separate tiles, although as of iOS13, by default, both ‘services’ come bundled under one device, so you just need to select ‘Show as Separate Tiles’ in the settings for the device if you want to see each sensor as a separate tile.
While the device’s display will include the temperature and humidity in tenths of a degree (27.8ºC and 56.2% for example), in the Home app, the temperature levels only go to half a degree. The humidity levels get rounded out to the nearest whole number in the Home app. The other thing to note is that the changes on the device aren’t dynamically reflected in the Home app, so it seems to be a case of the home app showing the latest readings whenever HomeKit polls the device. That might be a problem for some if they require fast-acting automations to work with the readings as they change, but this is the case with many Bluetooth devices, with the exception of contact and motion sensors, which do require instant notifications. Other than these points, the device in HomeKit is pretty simple, as are many temperature sensors.
IN THE QINGPING+ APP
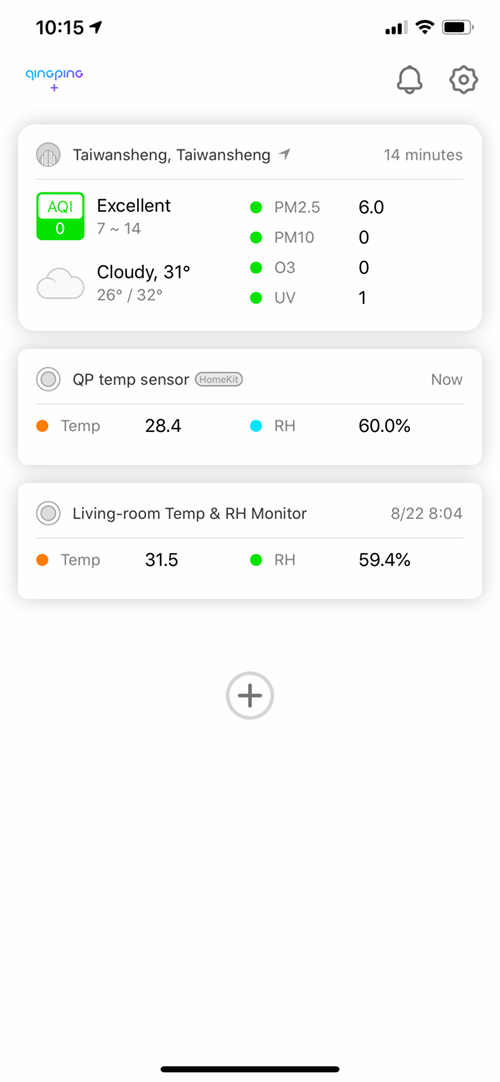
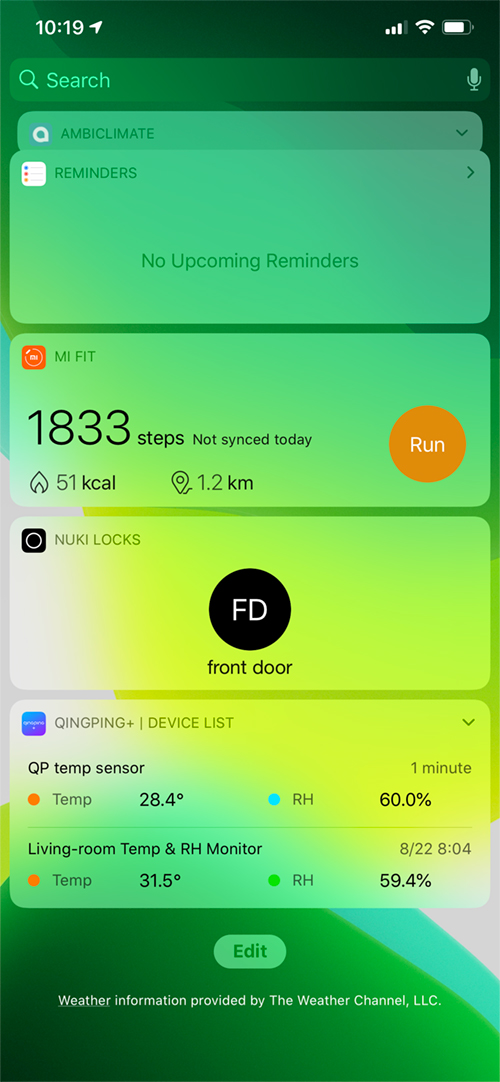
It may come as a surprise to some, as it did to me, that whilst this device can be added to HomeKit, it is not compatible with the Mi Home app, unlike the previous M version. This may not be an issue at all if you’re firmly in the HomeKit camp, and may only exclude you from creating automations in the Mi Home app to control other devices there, that aren’t HomeKit compatible, like a Xiaomi standing fan, for example. So whilst it doesn’t work with Mi Home, both the H version and the M version work with the company’s own app – and what an app it is! In the case of this device, the app simply acts as a more in-depth data collector for the temperature and humidity readings, although if you give it access to your location, the home screen can also display the weather and pollutions levels in your area, I assume courtesy of online data. After that, you get banners for each device connected to the app, so in the first image above, I have both my H and M versions of the device connected to the app, which shows the temperature and humidity levels for the respective devices. You can also make out that the H version has ‘HomeKit’ in a little box next to the name.
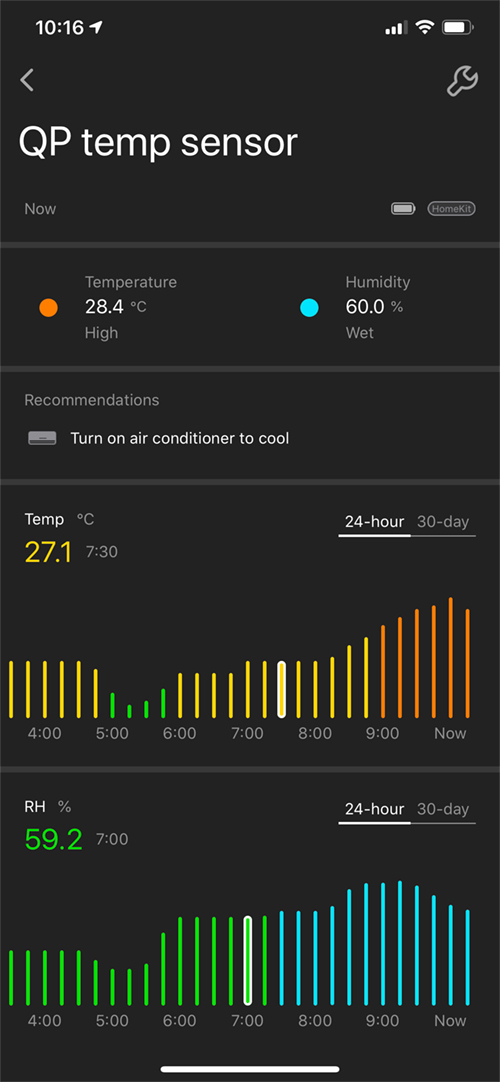
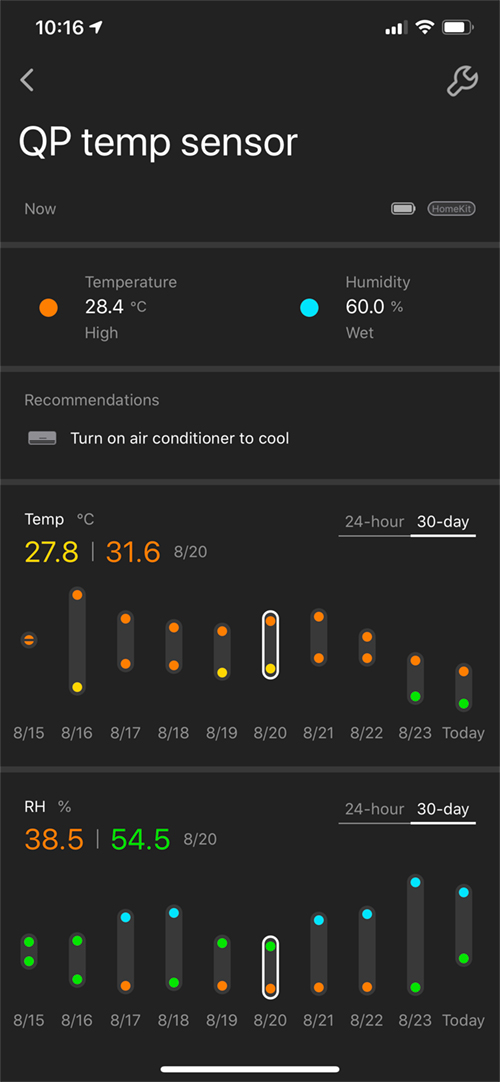
When you click on either of the banners, you get a more in-depth view of the data from the sensors, which includes the current levels for both sensors at the top, a recommendation, based on those readings, and detailed views for the two sensors – in 24-hour and 30-day formats. I the 24-hour displays, you can select an individual hour, to see what the readings were, with the bars that represent these readings colour coded; I’m going to assume the following – yellow for when it’s a bit warm, green for when you’re in the comfortable temperature range or orange for when it’s considered too warm in normal circumstances. It would seem the same colour coding options are used for humidity levels too. With the 30-day option selected, you get strips that represent the average low and high temperature and humidity readings for a given day, with a maximum of thirty days shown at one time. Both the H version and M version will need to sync with the app by connecting directly to your phone, so you do need to be within range to do so. The company also make their own Bluetooth to WiFi gateway, which does work with the M version, however, I’ve been informed that it won’t work with the H version. If you have a Home Hub, this won’t matter of course.
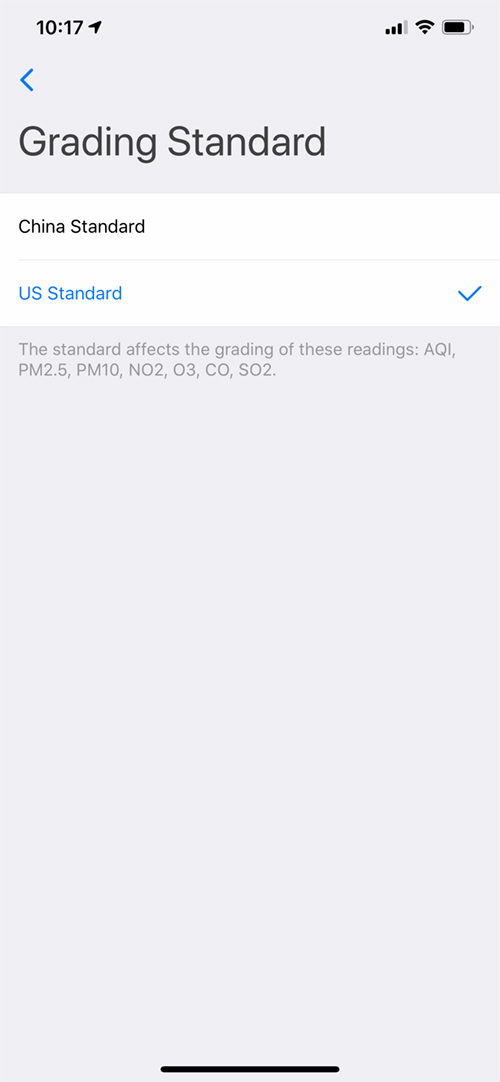
The app allows for a variety of subtle customisations, starting with the basic option to switch between Cº and Fº. The company also make an air quality monitor, so you get additional options for the way in which airborne pollutants are measured. You can also set the grading standard to either Chinese or US standards, although these have no bearing on the device we’re reviewing today. The app also allows you to add a widget to the Today screen for fast access to readings.
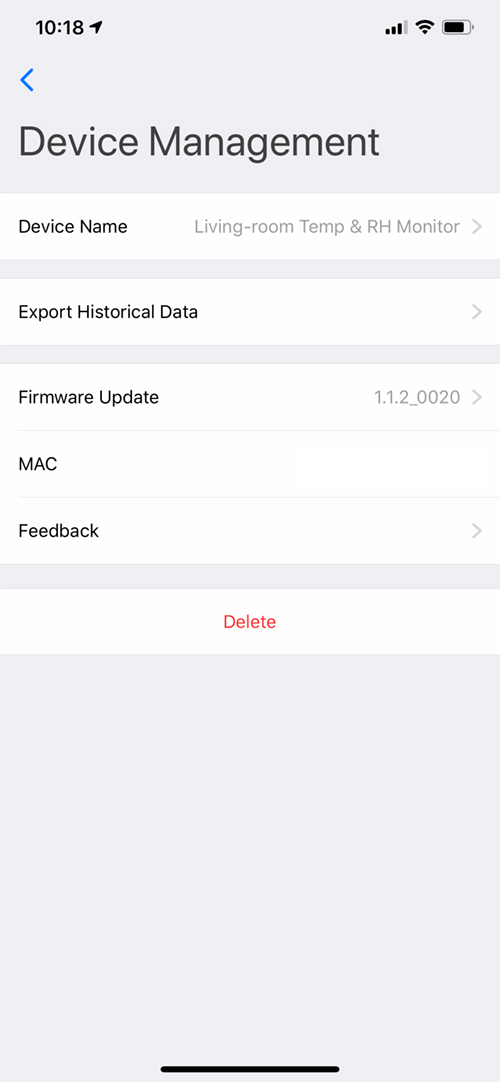
One final neat option is the ability to export the data for the sensor if this is something you like to keep detailed records of. To do this, you simply enter your email so that the .csv file can be sent to you directly. For some, it might have been better for this option to create a .csv file that you can then save to iCloud or drive on your phone, which will then sync with a file on your desktop computer, but email is the only option at present.
IN CONCLUSION
I’ve been excitedly awaiting this device, ever since I discovered the existence of the HomeKit version being worked on late last year, so it was great to finally see it become a reality. In all fairness, I already knew pretty much what to expect, having already owned the M version, so in some ways, that excitement was tempered. Still, this is a beautifully crafted device that really does deserve to be appreciated by HomeKit users – even those of use that have largely forsaken Bluetooth for Zigbee – as it’s really all about the simple, but stunning display. In terms of its accuracy, it always seemed to be within an acceptable variance of other temperature sensors that I have, so I have no complaints in that respect. It’s also great that it uses an easy-to-purchase battery type, so there’s nothing to stop you in that respect either. It has options to wall mount it, have it sat at your desk, or even stuck directly to a magnetic surface, so it really can go pretty much anywhere, and with the E-Ink display being leaps and bounds ahead of a traditional LCD display, it’s one device that you’re going to want to show off rather than hide away. At present this device is only available on Chinese online resellers like AliExpress, but it’s cheap enough to warrant the typically long delivery times. Hopefully soon this will be available on the various Amazon stores, where I’m sure it’ll be a popular device.
Thoroughly recommended.







Leave a Reply