
Earlier this year Onvis released two new devices, an EU smart plug, and the C3 Smart Camera, with the latter being considered a security device of sorts. Prior to this camera, the company had already released a motion sensor (SMS1) that also included temperature and humidity sensors, and a combined alarm and door sensor (CS1), which also includes temperature and humidity sensors! With this newest device, the company have stepped on the brakes a little and made something very simple to use, and uncluttered by gratuitous additional sensors, with the CT Contact Sensor. As its name implies, it’s a contact sensor and nothing more. Whilst that may not ‘float your boat’ if you’re a seasoned smart home enthusiast with barely any space for more devices, there are still many out there that have yet to enjoy the possibilities of such a product, so let’s have a look.
PACKAGING
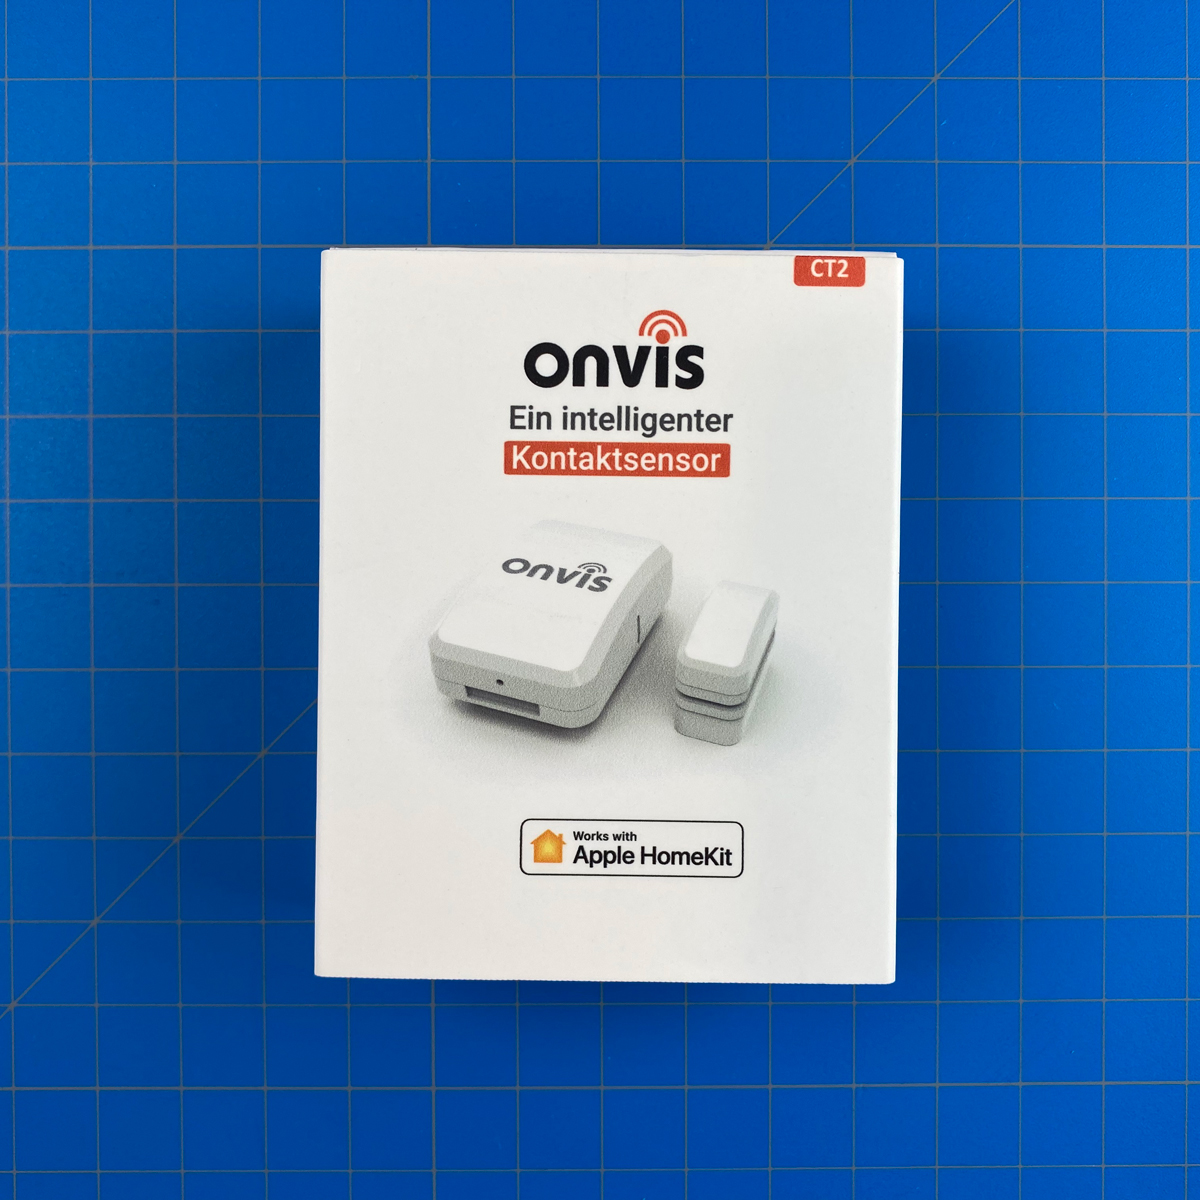
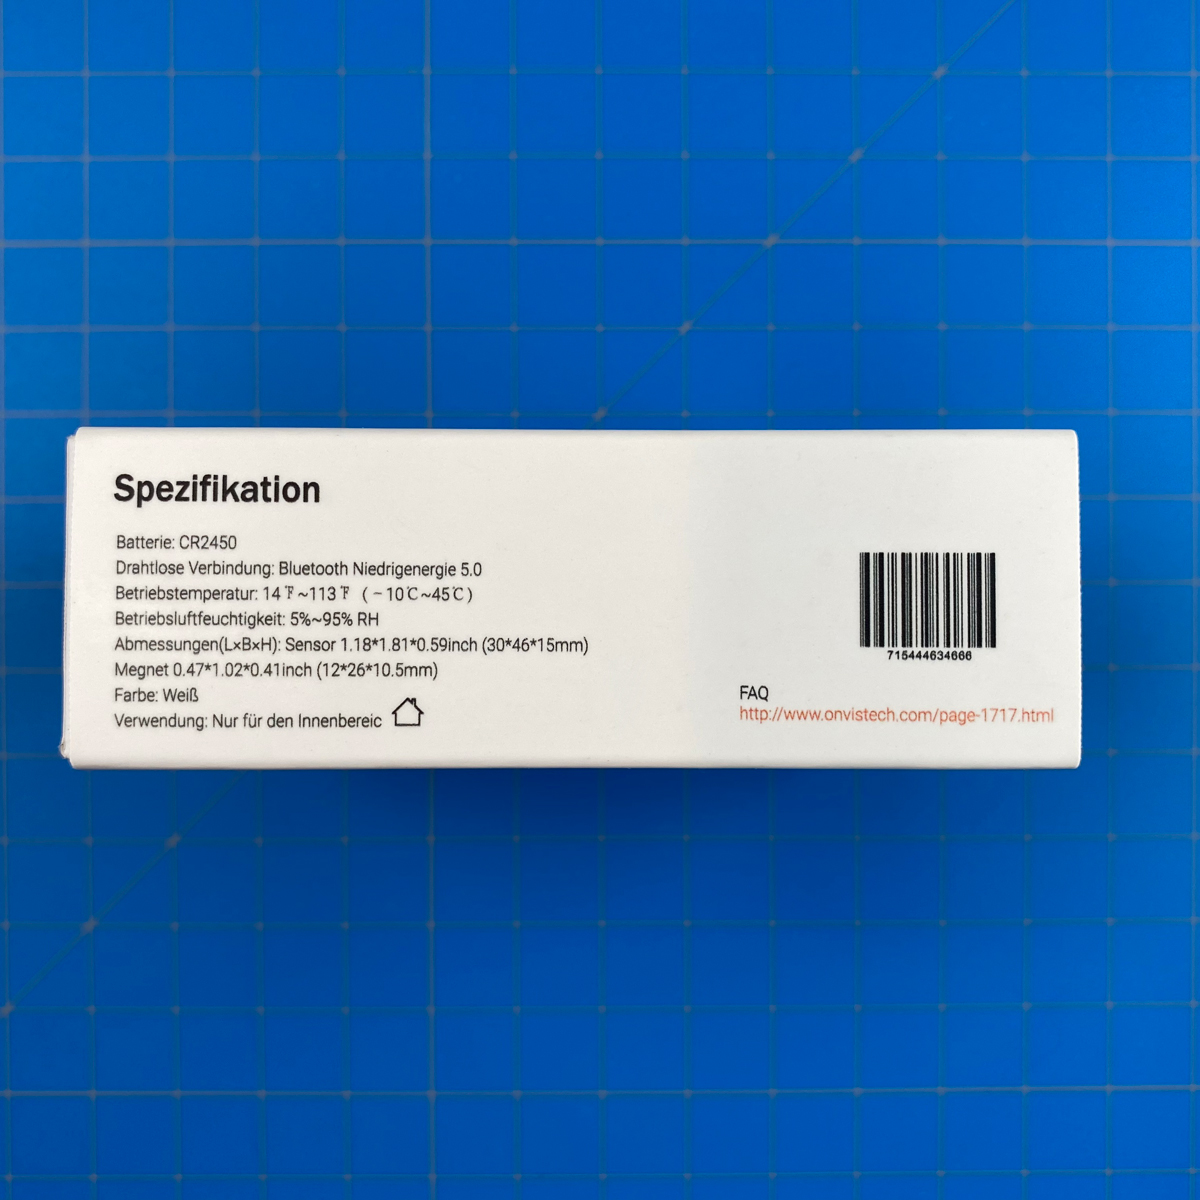
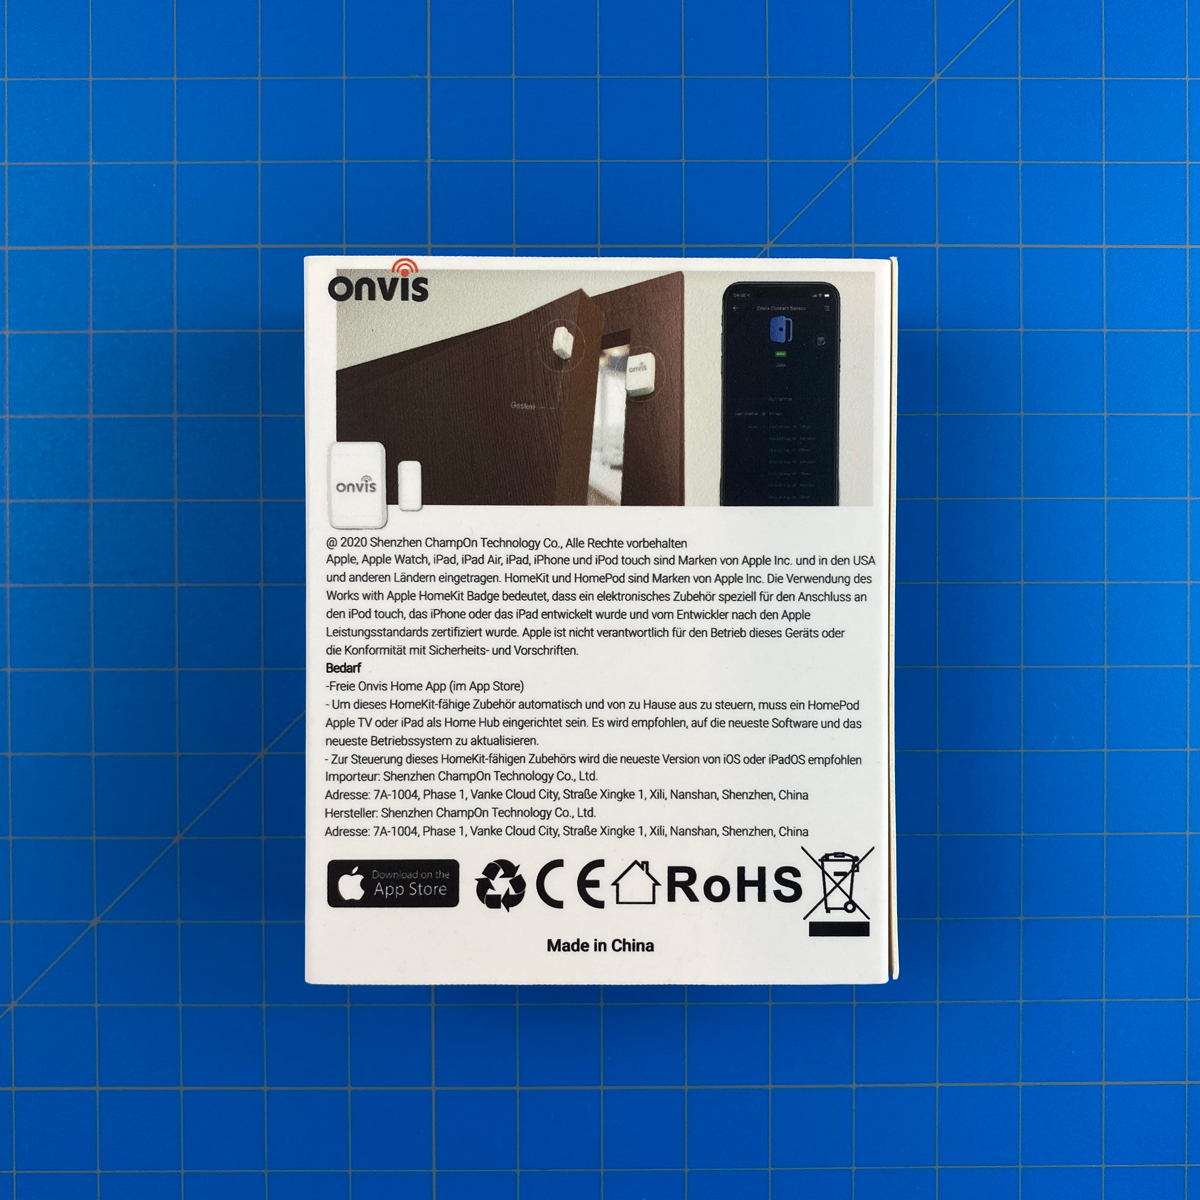

The product I have here, whilst coming with German packaging, is actually the same as any other versions you may find. One thing that Onvis are good at is making sure their products are well protected, and the CT2 is no exception, with a very sturdy box. One side reels off the basic features of the device itself, although they’re more examples of the kind of automations you can create than features as such. The rear of the box lists some basic legal text, and the other side has some specs;
- Communication protocol: Bluetooth 5.0
- Operating temperature: 14ºF ~ 113ºF / -10ºC ~ 45ºC
- Dimensions: Sensor – 1.18 x 1.81 x 0.59in / 30 x 46 x 15mm | Magnet – 0.47 x 1.02 x 0.41in / 12 x 26 x 10.5mm
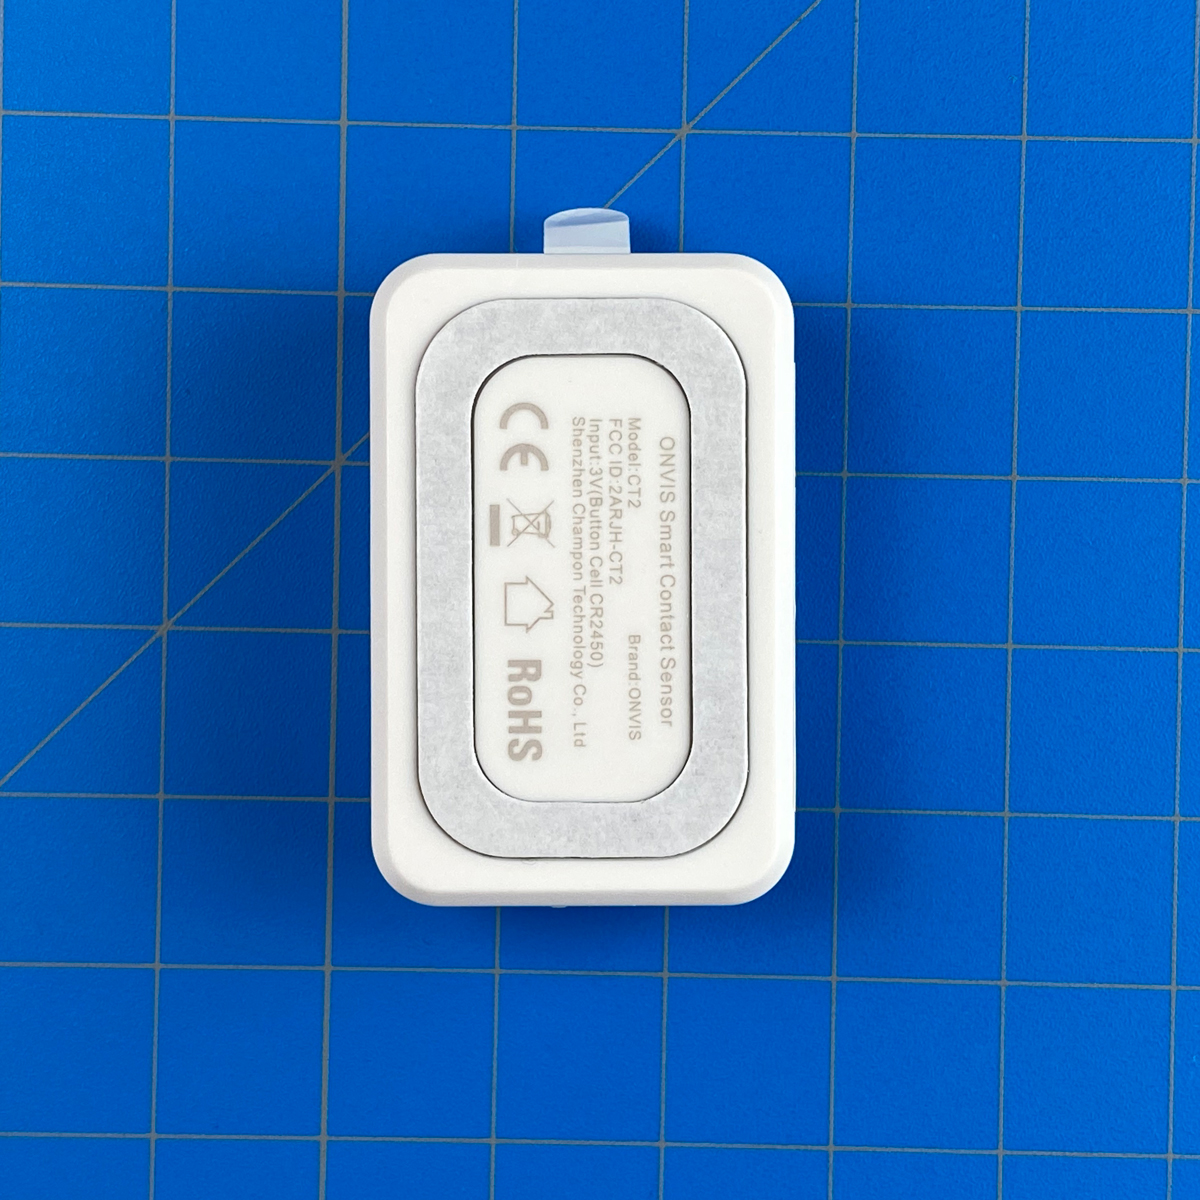
- Battery: CR2450
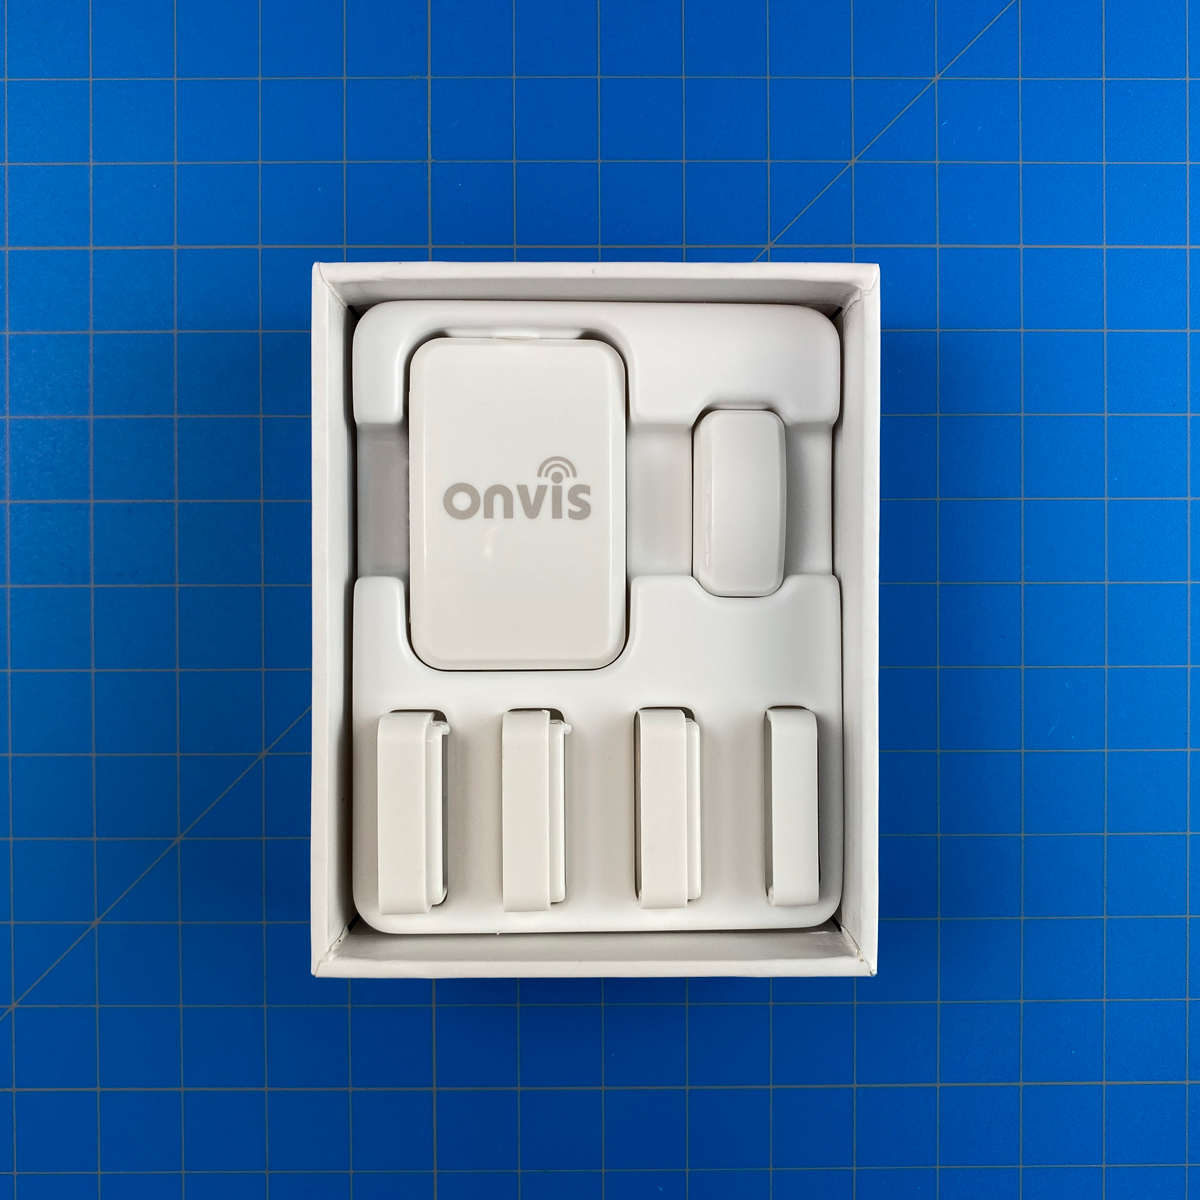
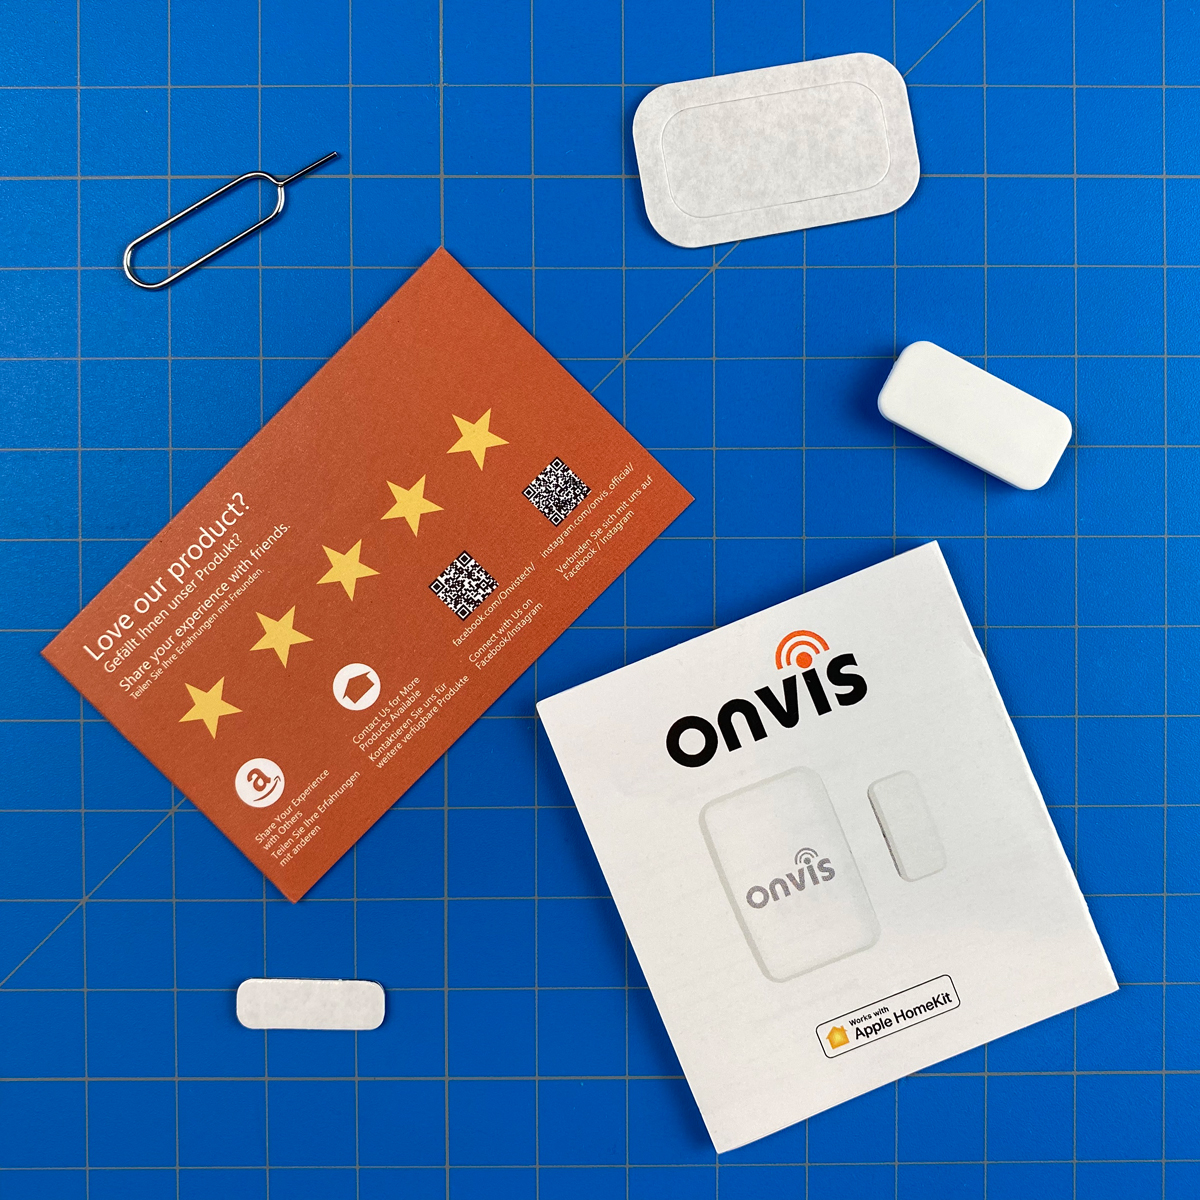
The sensor, magnet and spacers (I’ll go into those in a bit) are really well secured inside the box, so there’s no fear of them rattling around at all. Besides these parts, you get the manual, which is in English funnily enough, a few extra double-sided stickers, a sim pin for resetting the device, a spacer cap (once again – in a bit…), and a contact card.
THE DEVICE
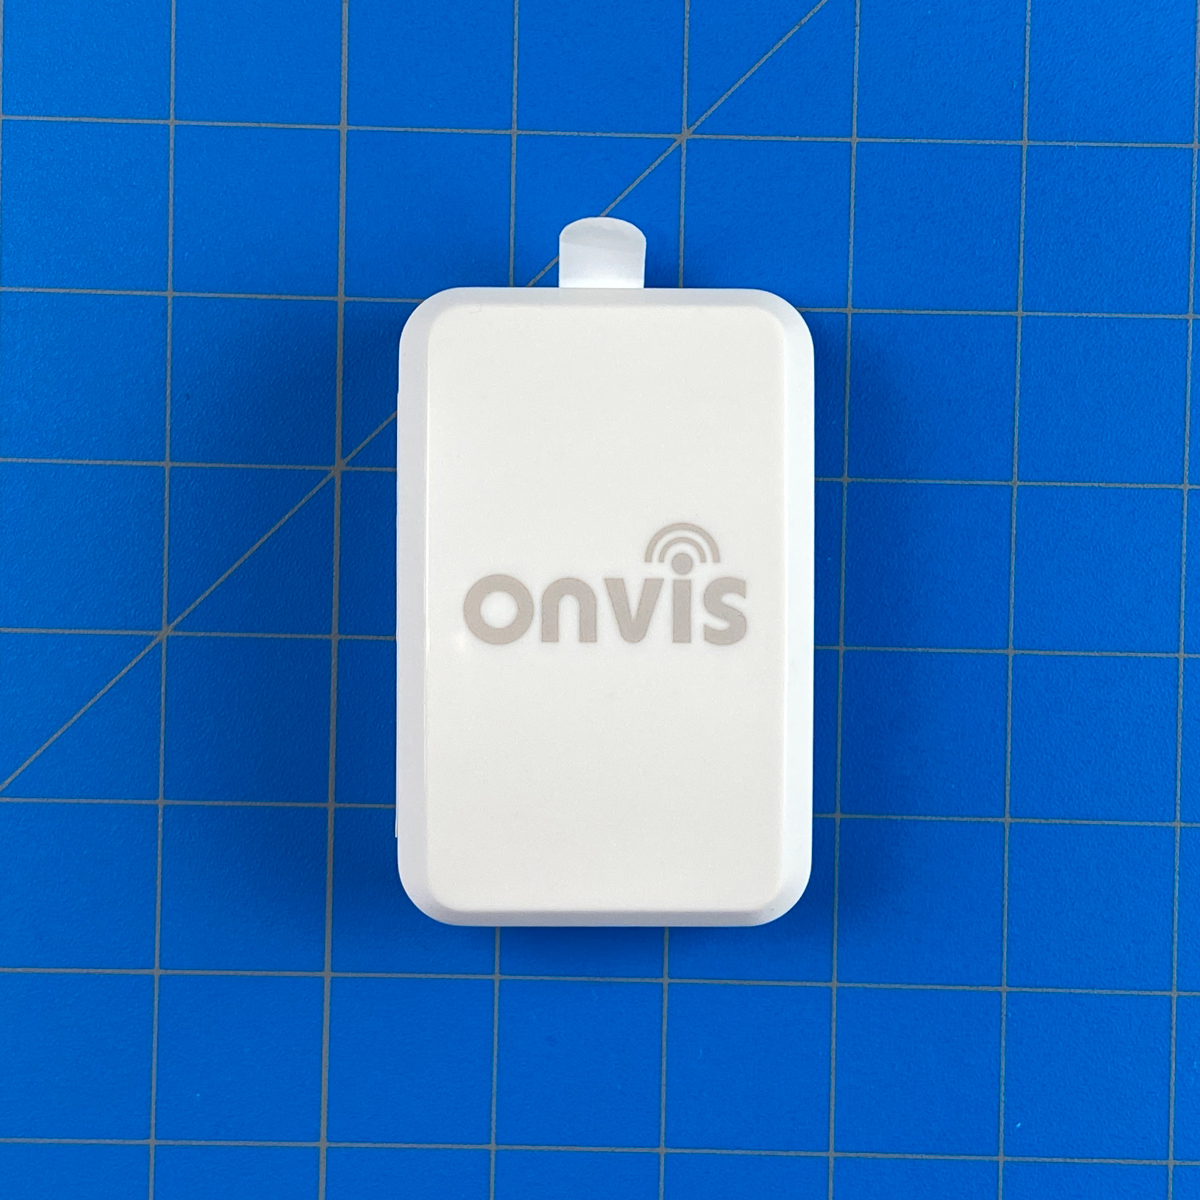
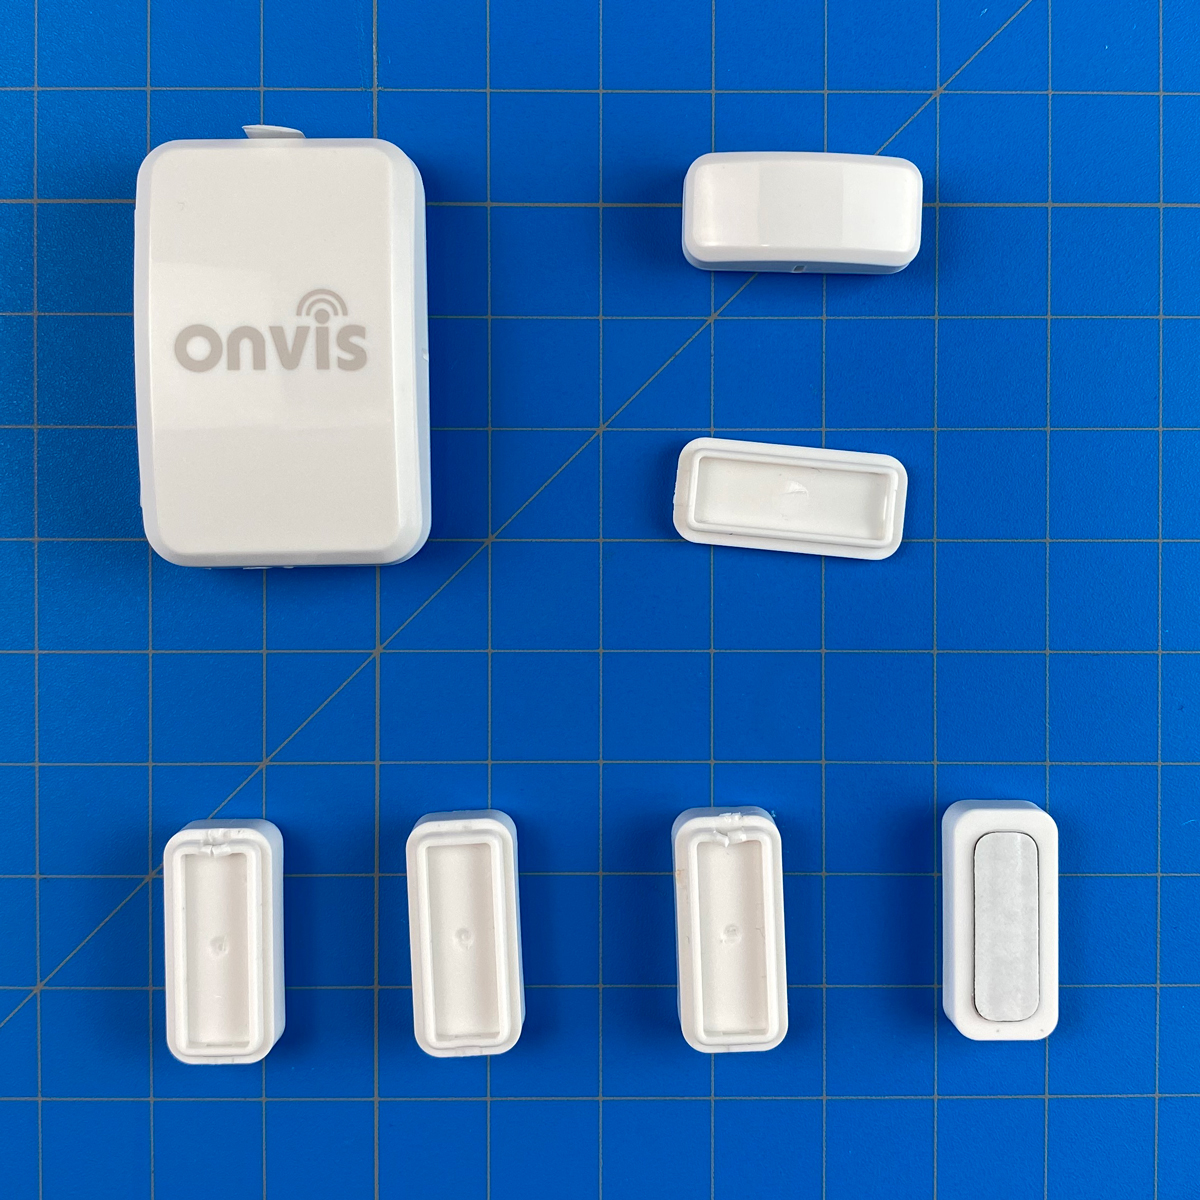
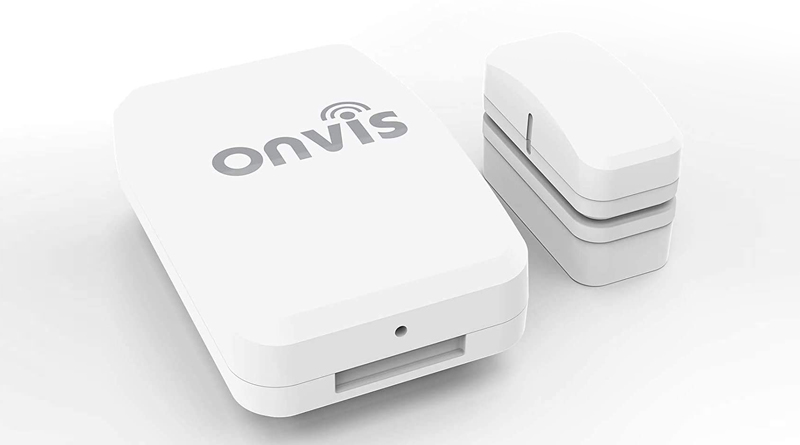
The main sensor, with all the sensory parts inside, is fairly non-descript save for the rather large instance of the Onvis logo. It comes with a tab that keeps the battery from being active whilst in transit, and also has a double-sided sticker on the rear.
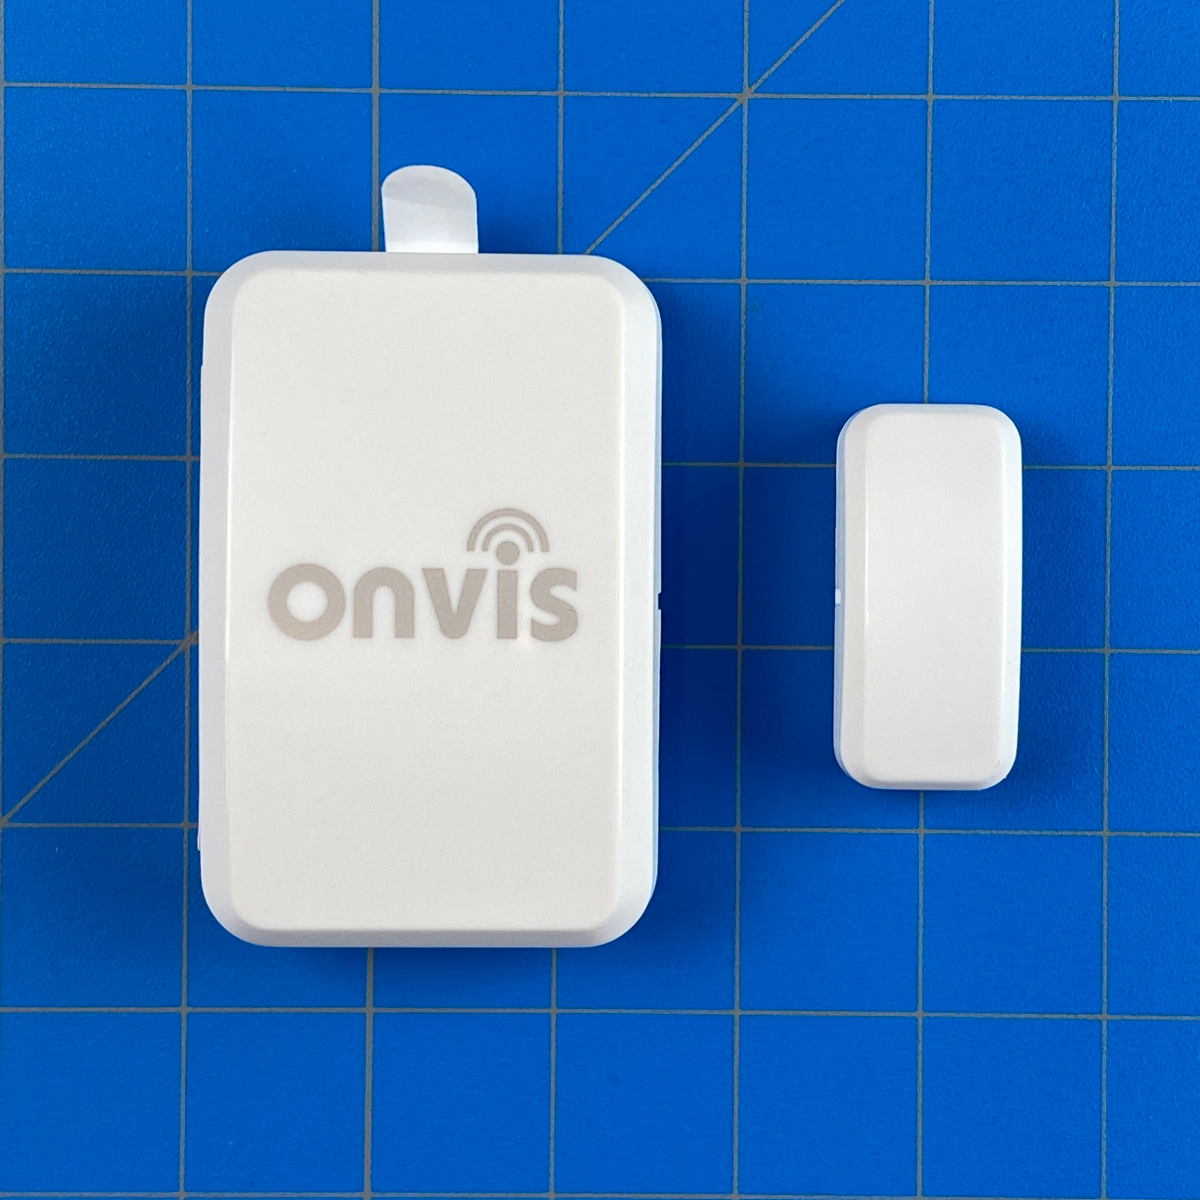
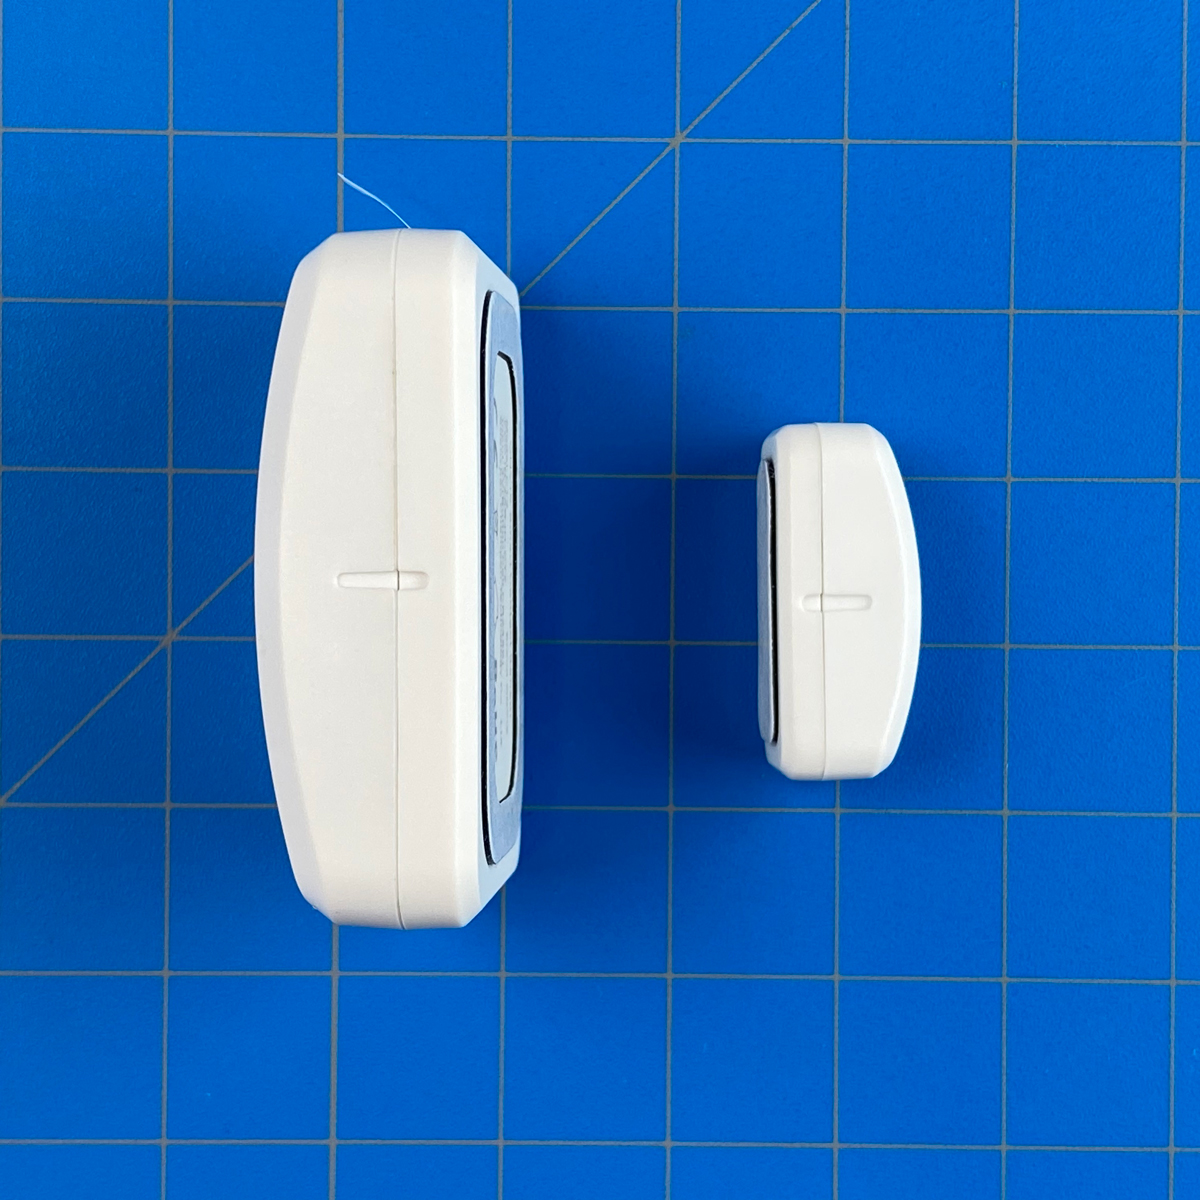
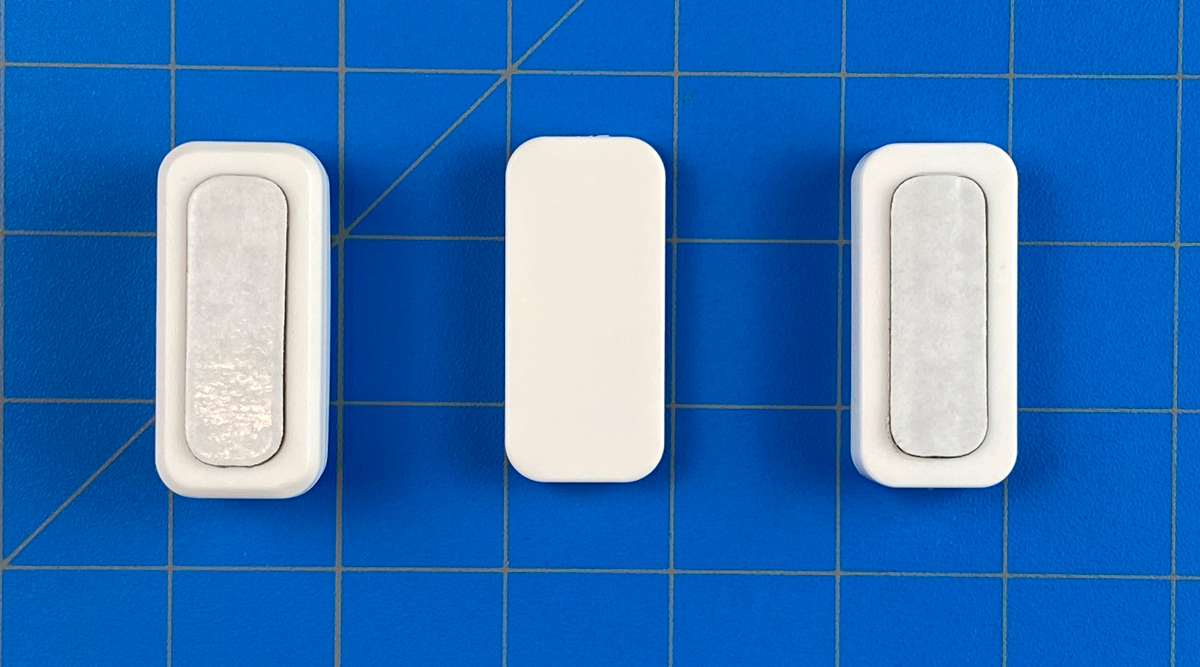
While from the front both the sensor and magnet are rectangular, from the side they have a convex profile. On one side of both parts, you have a marker to enable you to align the two sections accurately.
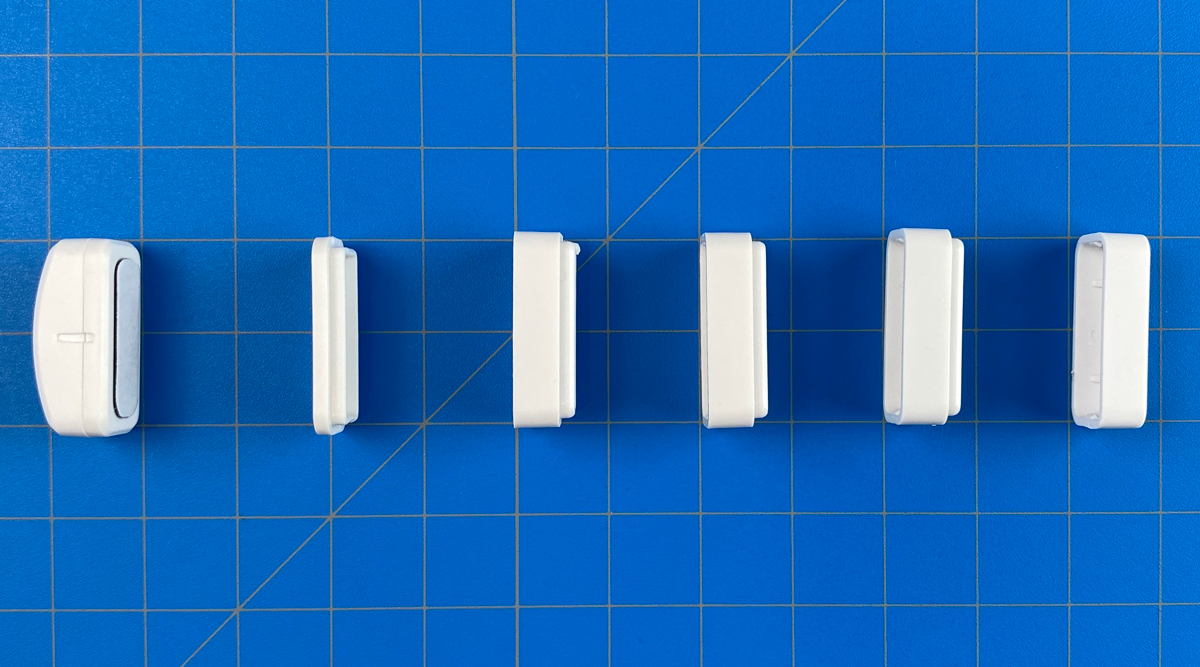
The spacers that are included in the package are designed for a door or window where the door jamb and the door don’t align for whatever reason. Essentially, these allow for the magnet to be raised to match up with the sensor, assuming that the sensor, stuck to the door frame, is higher or sticks further out than the magnet when it’s stuck to the door. This setup comes with a main spacer that sticks to the door/frame, with a further three spacers that can click into place, with a final lid or plinth that sticks into the last spacer, so that the magnet can have something to stick to itself. it’s unlikely you’ll need all of these plinths, but it’s good to have more than you need than not enough. Of course, these spacers aren’t always going to provide a perfectly aligned magnet and sensor, but thankfully contact sensors are a bit forgiving in this respect.
IN HOMEKIT
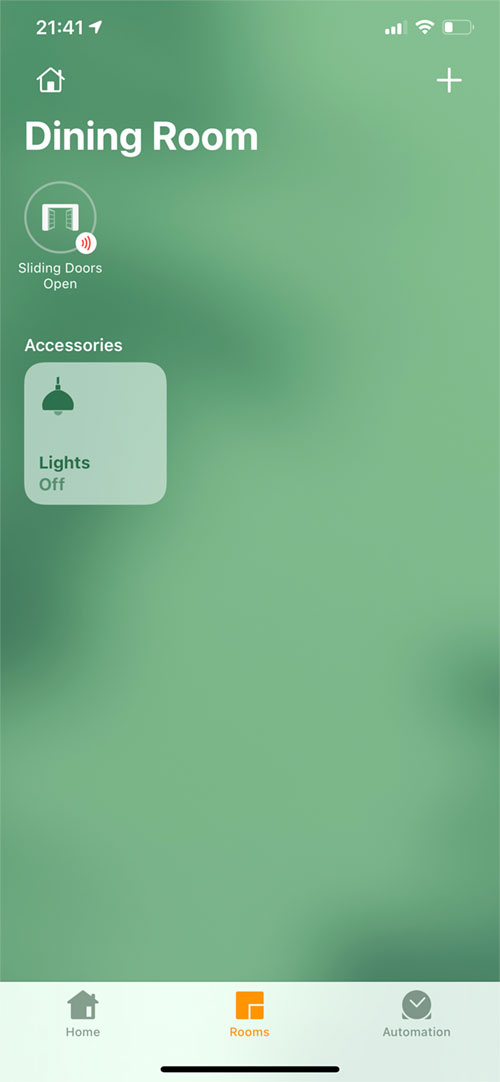
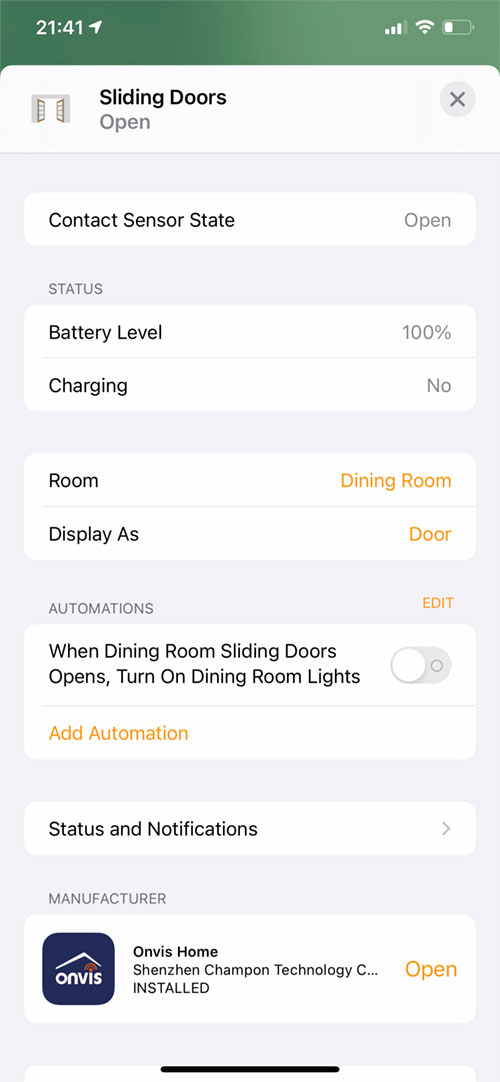
Even if you’re new to HomeKit, adding most devices these days is so simple there’s no point in going through the process here, and with the CT2 being a Bluetooth device, there isn’t any network information to pass between your phone and the device, so it’s even easier. The one change that has happened with iOS14 for HomeKit and sensors, is that they are no longer presented with their own tile, which I personally find is a step back. So when it comes to viewing the status of the device, it will appear on the top of the screen, and if there is more than one door sensor, then you will have to press on the circular icon for all your contact sensors in order to see the status of one in particular (Apple, what were you thinking?). If you only have one each of the different types of sensors set up as ‘favourites’, then on the home screen it’s not as bad, as you’ll only see the details for each of these sensors, so that’s one workaround. When it comes to the settings section for the CT2 in the Home app, you do get to see the battery level, which is nice, along with options to change the type of sensor it is shown as – Blinds, Contact Sensor, Door, Garage Door, Window. From there, each option has different icons you can choose from to represent the sensor type you’ve chosen, except for ‘Contact Sensor’ and ‘Garage Door’ which only have the one icon each to choose from. In my case, I chose the double door icon; in my case, I stuck the sensor to the two halves of a pair of sliding doors, so the icon that looks most like them is the double door icon you can see above, although the open doors don’t open like that, but who really cares?
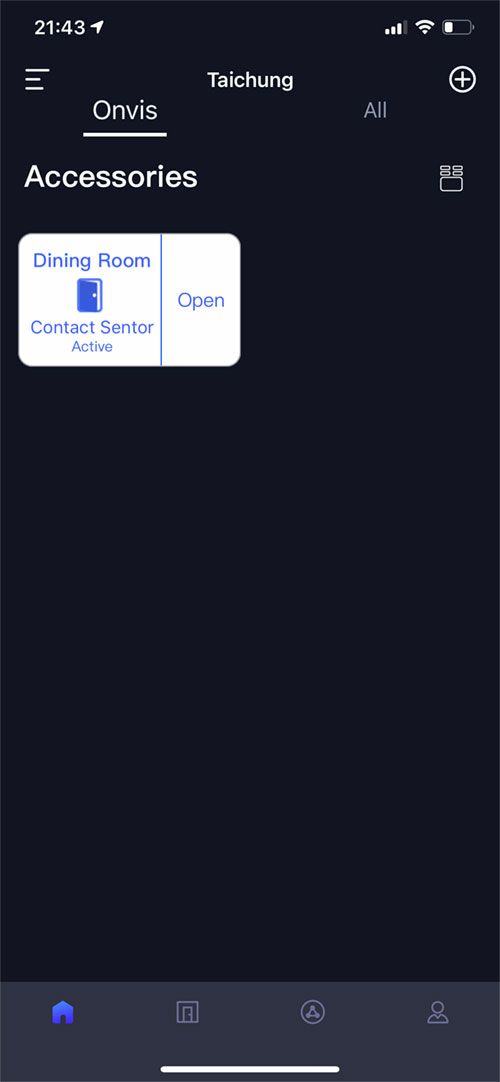
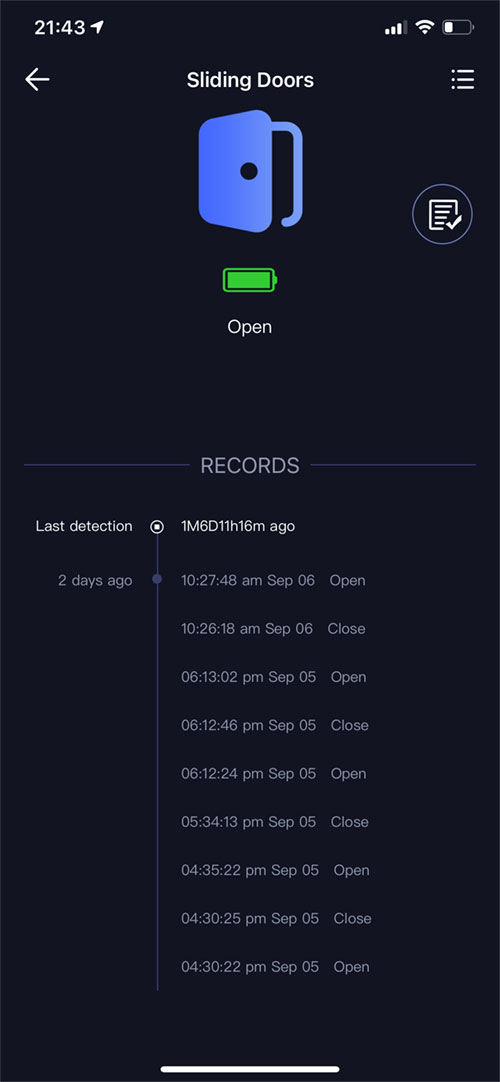
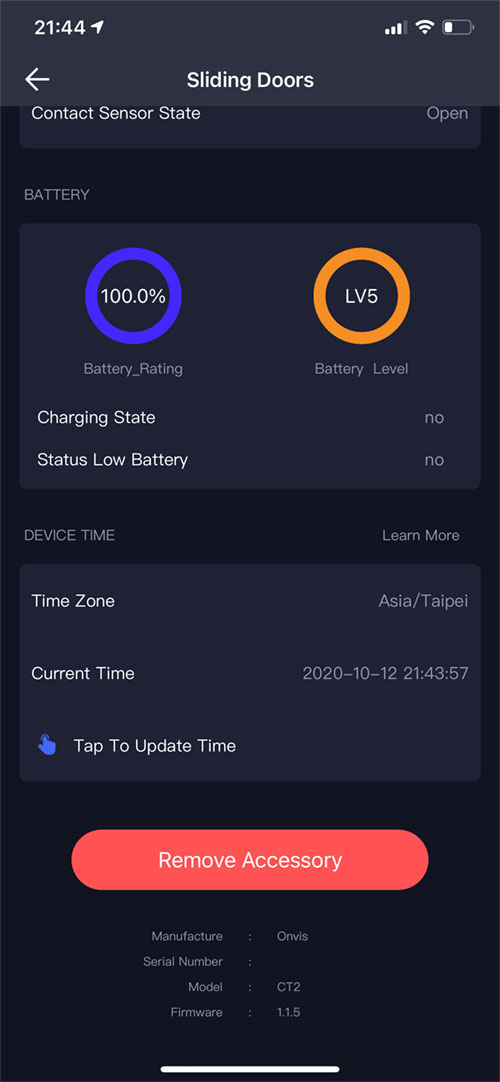
Onvis’ own app provides a little more in terms of details, so aside from showing the CT2 with its own icon, in the settings section, you have a page that shows a record of when the door was opened or closed. As the contact sensor has been set up in an apartment that we don’t frequent on a daily basis, I can’t say for sure how long the records span but going to guess it’s around 30 days. Aside from this handy record of events, you get to see the battery level, which they’ve split into to separate readings – one for the battery percentage, and another for the battery level, which spans from 1 to 5, with 5 being anything between 100 – 81% (I believe).
IN USE
I have to say that whilst I’ve had it installed for about a month now, as it’s in a place I’m not living in regularly, I can’t say how fast it has been over the course of a month. At the time of installation, I was able to test it over the course of 5 days, and as expected with any Bluetooth device, there was the occasional late response if it hadn’t been triggered in a while, but generally, it worked fine, which has been the experience of pretty much every Bluetooth based contact sensor I’ve tested to date, which includes models by Koogeek, Eve, and Vocolinc. It’s also not too far from the Apple TV in this location, so there are never any issues with no connection. Putting it up against each of these models, it does have something over each one, albeit minor plusses. Although it’s not that easy to get into the CT2 to change the battery, it’s still a lot easier than the Koogeek model, which I detailed in my review of that product. The Eve contact sensor uses a much less common battery than the Onvis, which is an ER14250, which I’ve found to be very difficult to find. When pitted against the Vocolinc model, in terms of the overall design, the Vocolinc looks a lot more stylish and is a lot less deep than the CT2, however, the battery for the Vocolinc contact sensor only lasts for an average of 6 months, so half that of the CT2, although they do use different batteries.
Generally speaking, if you prefer to have devices that don’t hog your network, and can work even if there’s an issue with WiFi, then Bluetooth is the way to go, and with Bluetooth 5.0 you do get wider signal coverage. The trade-off is the occasionally slow initial response, but that’s something that can’t only be levelled at the CT2, as all the sensors I’ve mentioned will suffer this occasionally. The provided spacers and the decent price are its saving grace, but in all honesty, if you have the Aqara hub, along with their contact sensors, it’s almost impossible to beat the speed of Zigbee in terms of reaction times, although in fairness, there isn’t a lot in it, and even Zigbee is prey to the same occasional slow response, even if it is quite rare. If you don’t like the large logo, get a craft knife out and see if you can scratch it off – then it’ll definitely be worth looking at!
Full disclosure: Onvis provided HomeKit News with the Onvis CT2 Smart Contact Sensor for the purpose of this review. No other compensation was made, requested or has not in any way influenced our opinion of this product.