
Winter will soon be upon us (if you’re reading this review around the time of its release of course), but this doesn’t mean you have to freeze, and luckily there’s a HomeKit product that can also help with this – namely the Rio Arc Smart Panel Heater. The Rio Arc isn’t part of a new device category as you can already find more than one solution for home heating. For example, there are already various types of intelligent thermostats and valves for radiators, but today I’ll be looking at this product, which is of a type that has not been in HomeKit until now – an intelligent radiator from UK company Rio Heating.
The Rio Arc is a standalone electric heater (Smart Panel Heater) that you can either hang on the wall or place anywhere in our home, with the provided feet, and manage it from your HomeKit system, or use Rio Heating’s own app. Perhaps just as importantly, you can also operate it manually using buttons located directly on the body of the device itself. You can use all these methods simultaneously, without any conflict.
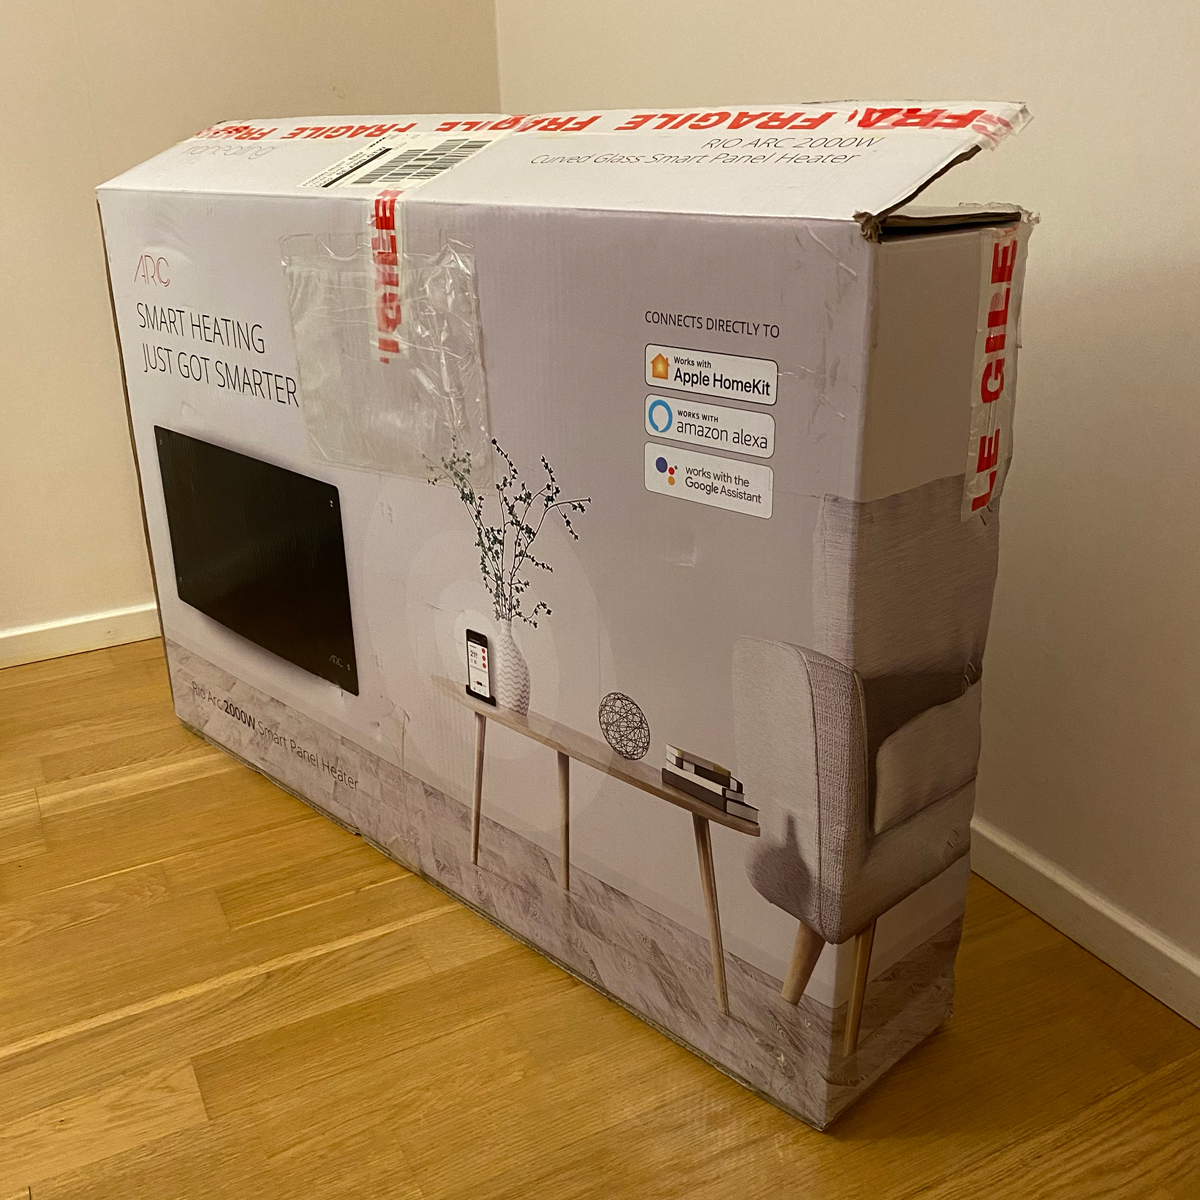
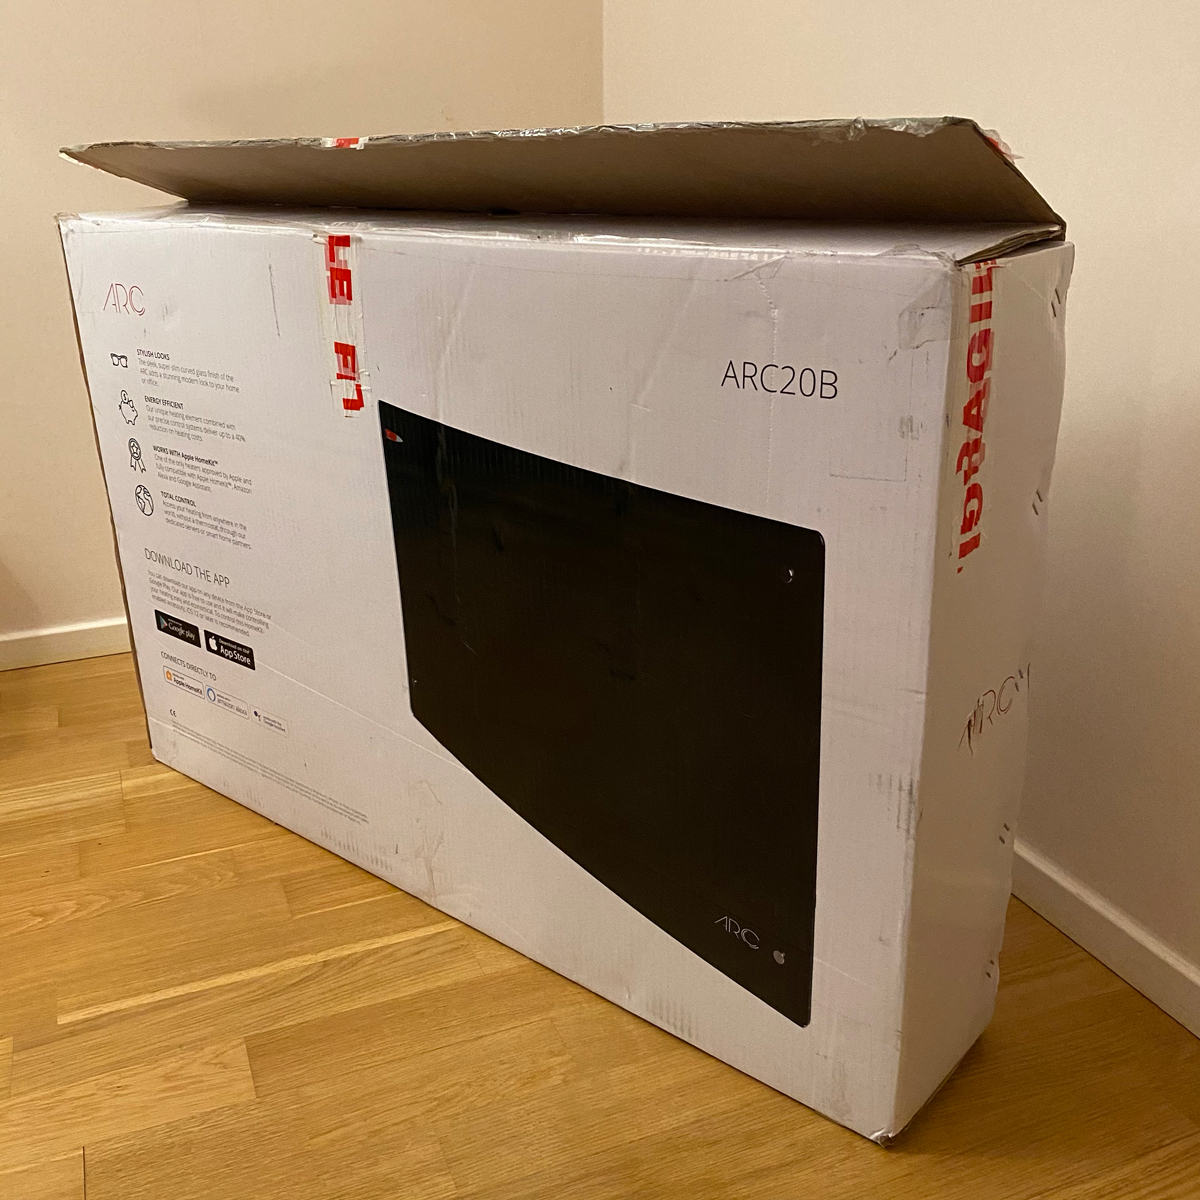

The packaging for this device, due to its size, certainly differs from most other HomeKit devices, except for TVs perhaps, and it’s certainly one of the larger HomeKit devices that I’ve had the pleasure to test out. The packaging contains basic information on the Rio Arc, in that it works directly with Apple HomeKit, Amazon Alexa, and Google Assistant systems. With the company app for iOS, the recommended version is at least iOS12.
Technical specifications for the Rio Arc.
- Power rating: 2000W
- Voltage: 220-240V~ Frequency 50Hz
- IP rating: IP24
- Dimensions: 820 x 450 x 100mm
- Room coverage: Area up to 24m2
- Finish: Curved black glass
- Colour: Black
- Product code: ARC20B
- Safety and certifications: Full CE marking | Lot 20 compliant | Apple-certified
- Compatibility: Wi-Fi 2.4 GHz 802.11 /b/g/n, Bluetooth (used only for pairing process)
Included accessories: Wall fixing kit, aluminium feet for portable use, 1.5m cable with UK plug, full user guide.
THE HEATER


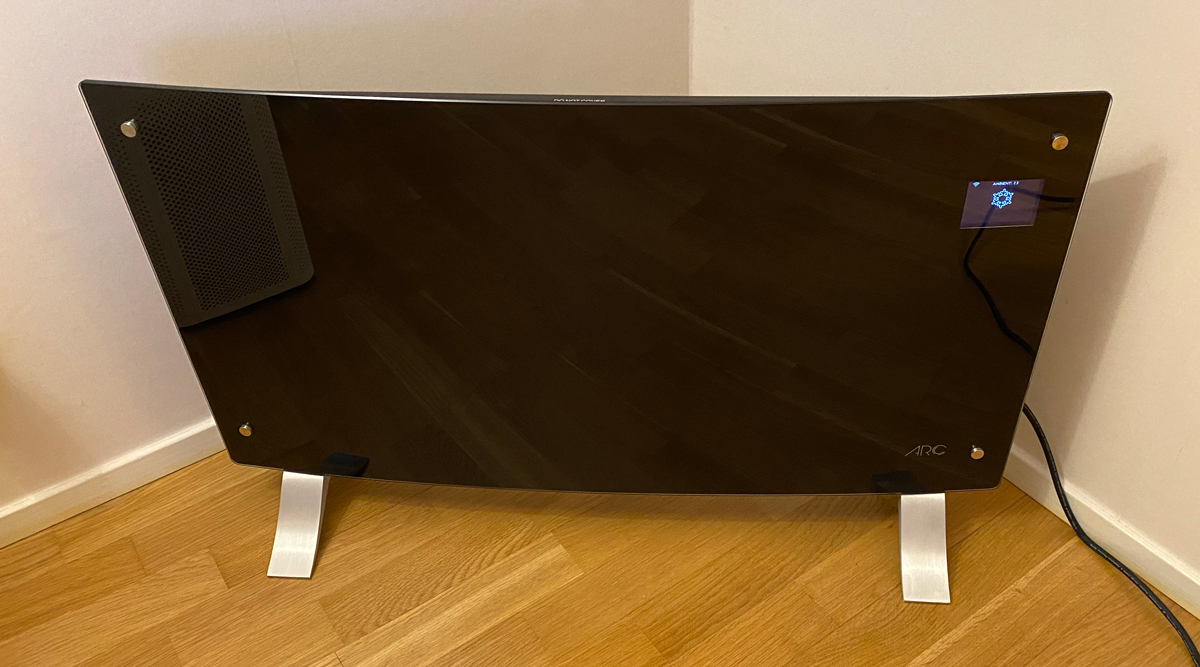
The first thing you will notice immediately after unpacking the Rio Arc is its appearance. The entire front part is covered with a black, slightly curved glass plate, and at first you don’t tend associate the device with an electric heater. You might even think it’s a small TV.

![]()
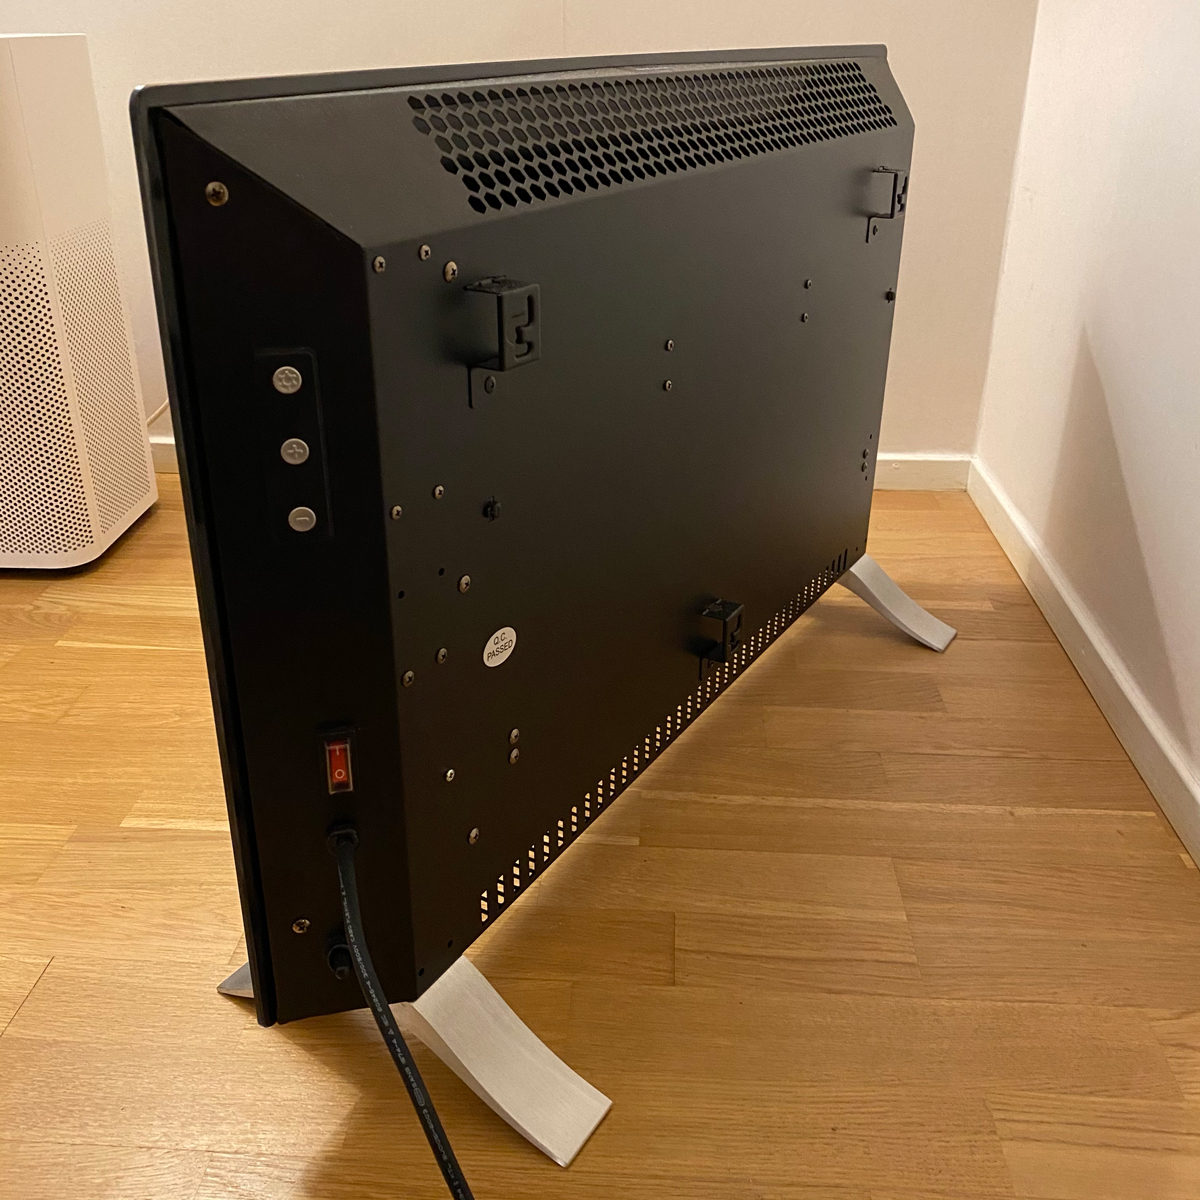
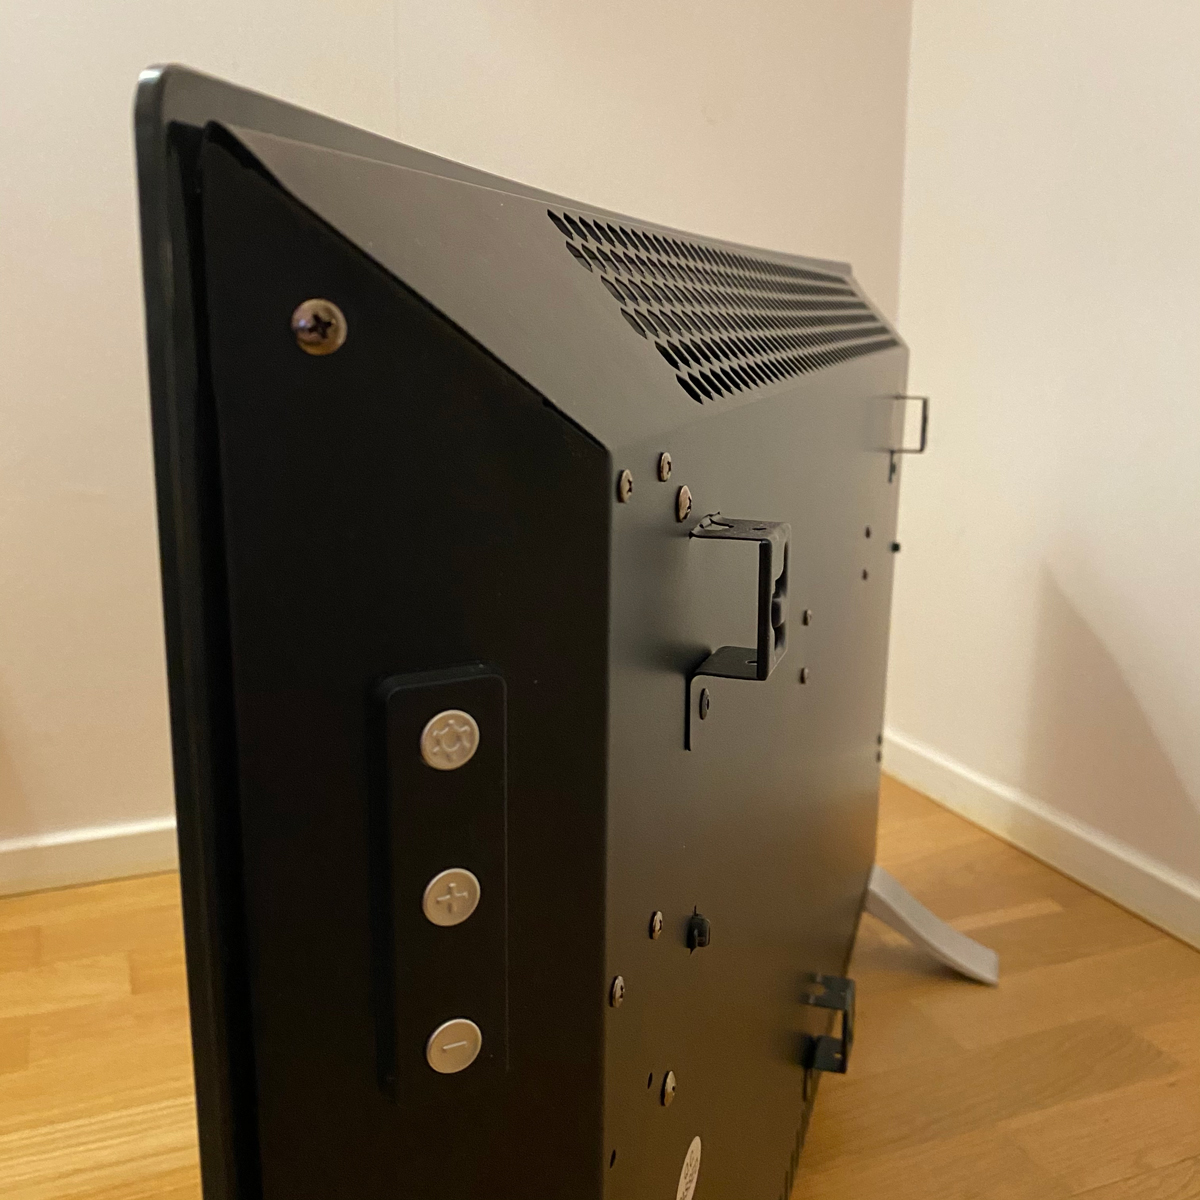
The rest of the device is made of black metal, along with silver accessories in the form of aluminium feet and four silver screws holding the glass plate onto the front of the device.
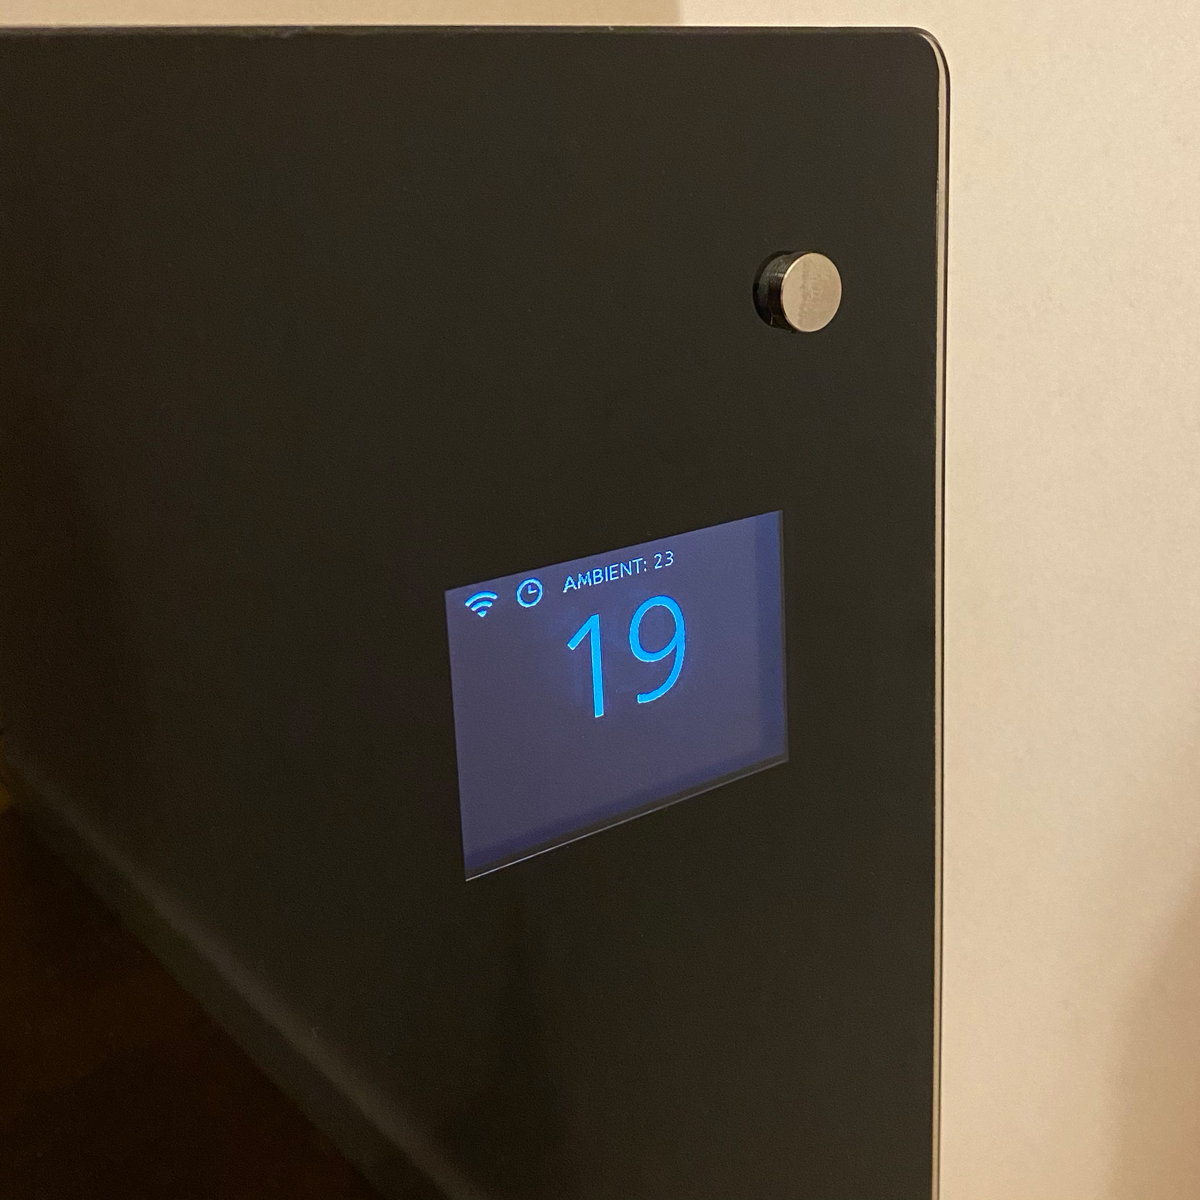

In addition, an LCD display has been built into the glass plate, showing all relevant information about the current status of the device. The display is not touch-sensitive, however, and in order to manually control the Rio Arc, there are 4 buttons on the side of the device, the functions of which I will describe later.
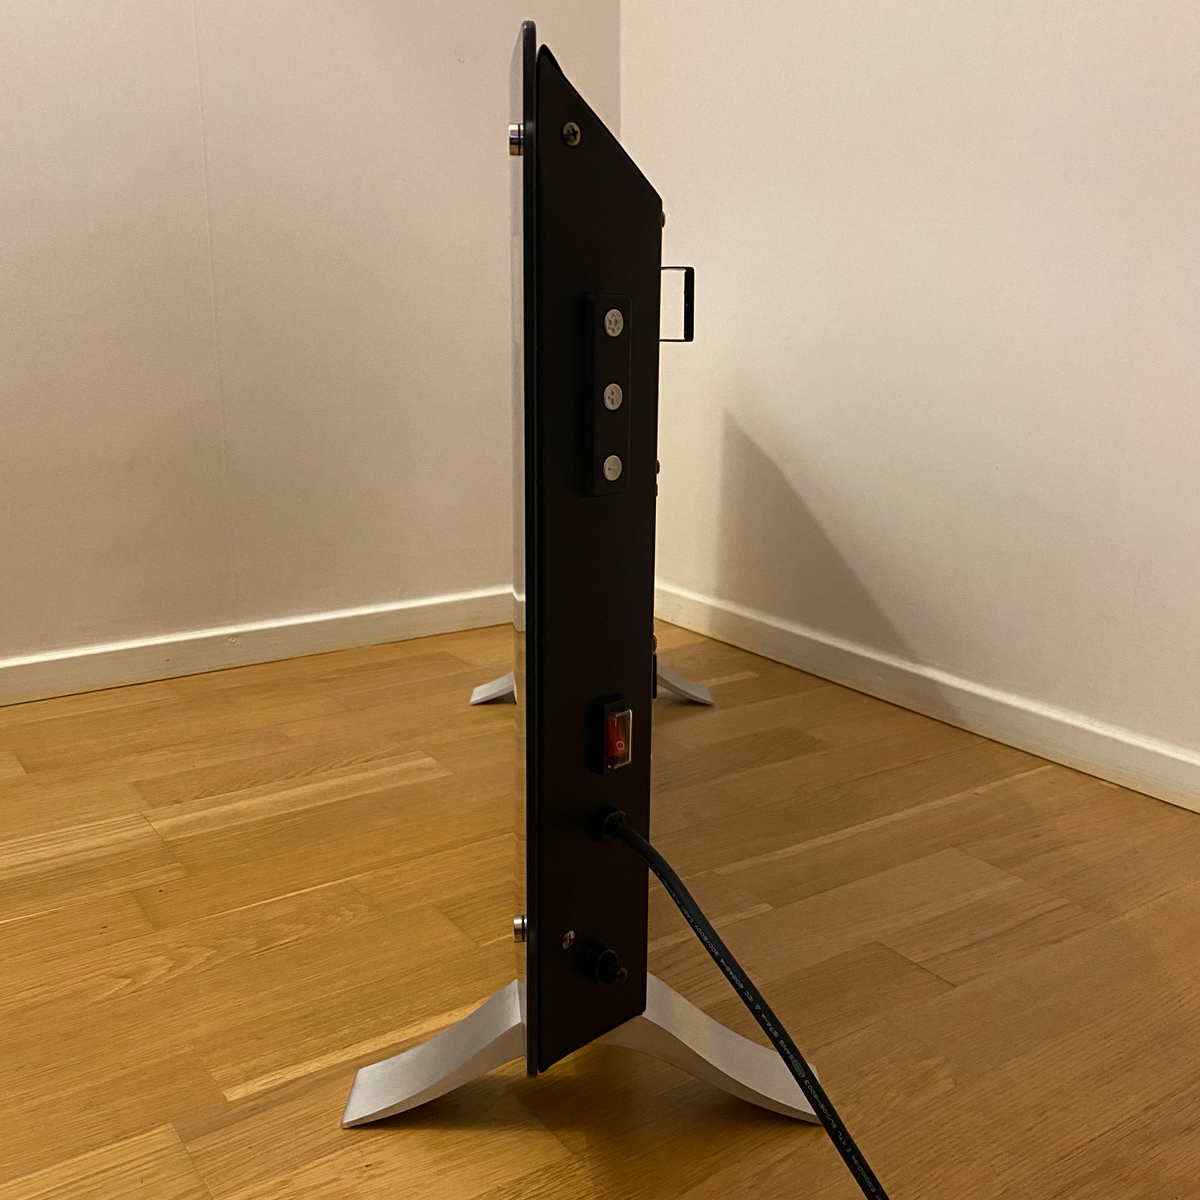
The size of the Rio Arc itself doesn’t differ much from the size of an average household radiator, although its 100 mm thickness means that for this type of device the Rio Arc is relatively quite thin, meaning it doesn’t take up as much space. The Rio Arc gives one the impression of very careful craftsmanship with an exclusive look, and, apart from its basic heating function, it can also be a nice decoration for the home.

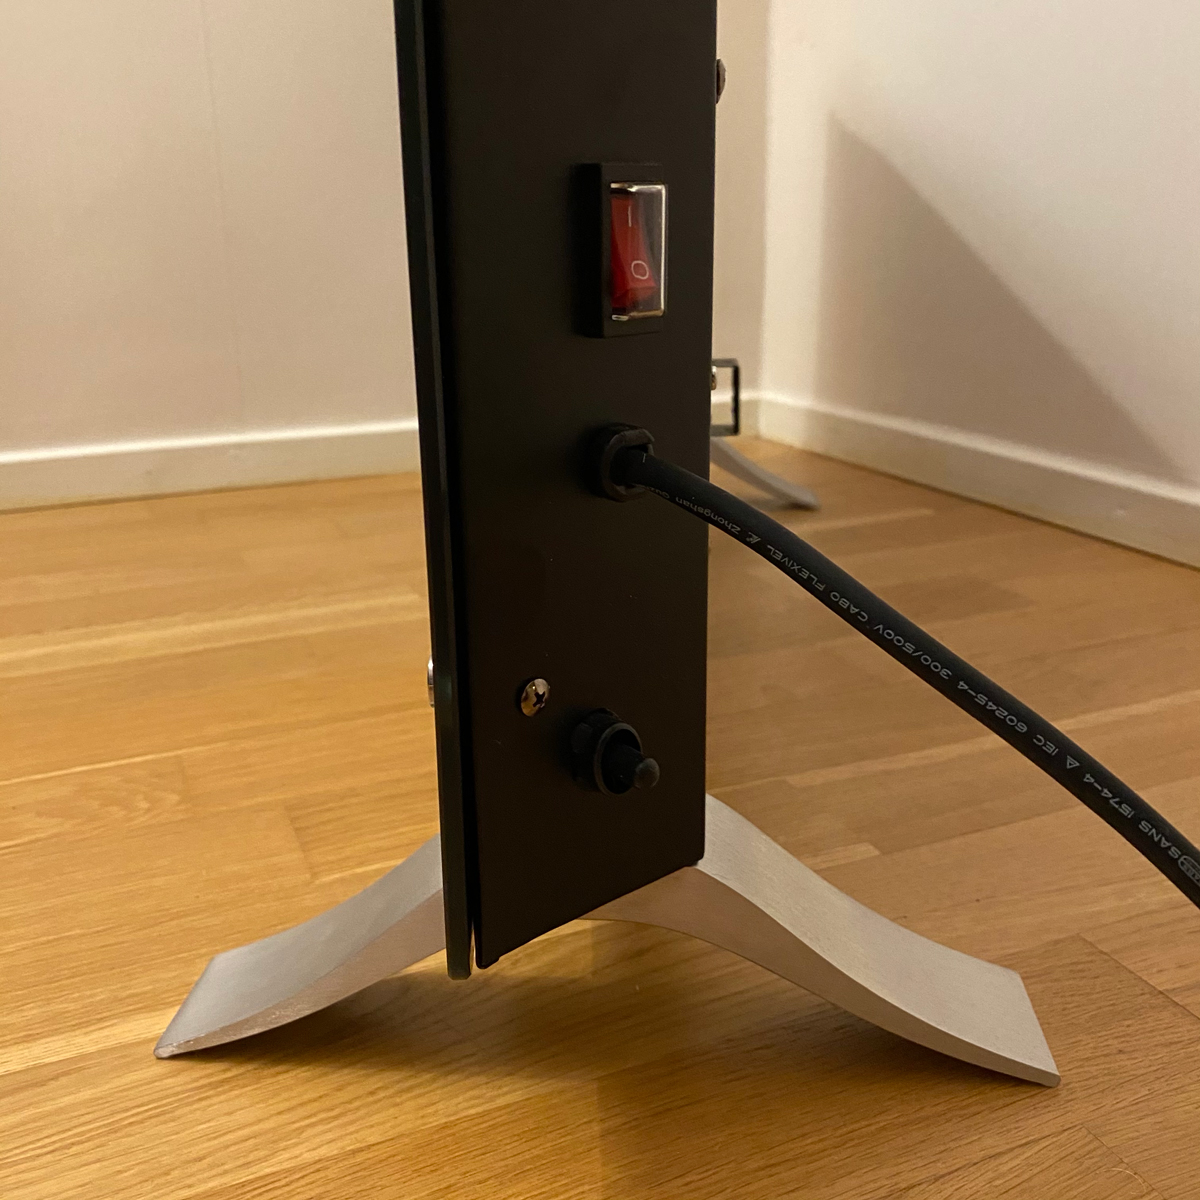
The Rio Arc power supply is built directly into the device itself so you connect it to the power supply via a cable permanently attached to the device, along with a dedicated power button that it protected by a transparent plastic lid to avoid inadvertently turning it off, which would result it the Rio Arc being both disconnected from your network and HomeKit. The version tested by me has a UK plug, so I had to use an adapter to connect it to an EU socket, although our voltage requirements here are the same as the UK. The forthcoming US version will be powered by 110-120V.
Earlier this summer, Rio Heating introduced the Rio Arc to retail, but only initially in the UK. However, versions with EU and US plugs are already in preparation and should be available for sale in Q4 of 2020, starting with the US version. We also received information from Rio Heating that the finish for the Rio Arc, in addition to black, will also be available in red, white and grey. Additionally, the company plan to introduce a smaller 1.5 kW version.

The Rio Arc set comes with two aluminium feet in case we want to put it on the floor as opposed to wall mounting it. The appropriate screws are also provided for mounting the Rio Arc to a wall. Also included, as you’d expect, is an English-language user manual with information on safety and the general operation of the Rio Arc. Mounting the feet is very easy and simply involves screwing them to the device with a few screws. I personally haven’t tried hanging the Rio Arc on the wall but the back cover is well designed for that, and there should be no problems provided you know how to properly screw holes into brick or masonry. Detailed instructions can be found in the operating instructions. The built-in 1.5m cable may not seem long enough for some situations, but Rio Heating does not recommend the use of extension cords, so it is worth planning where you want to place the Rio Arc. This device is intended only for domestic use and not in rooms with high humidity or near water or other liquids.
INITIAL SETUP
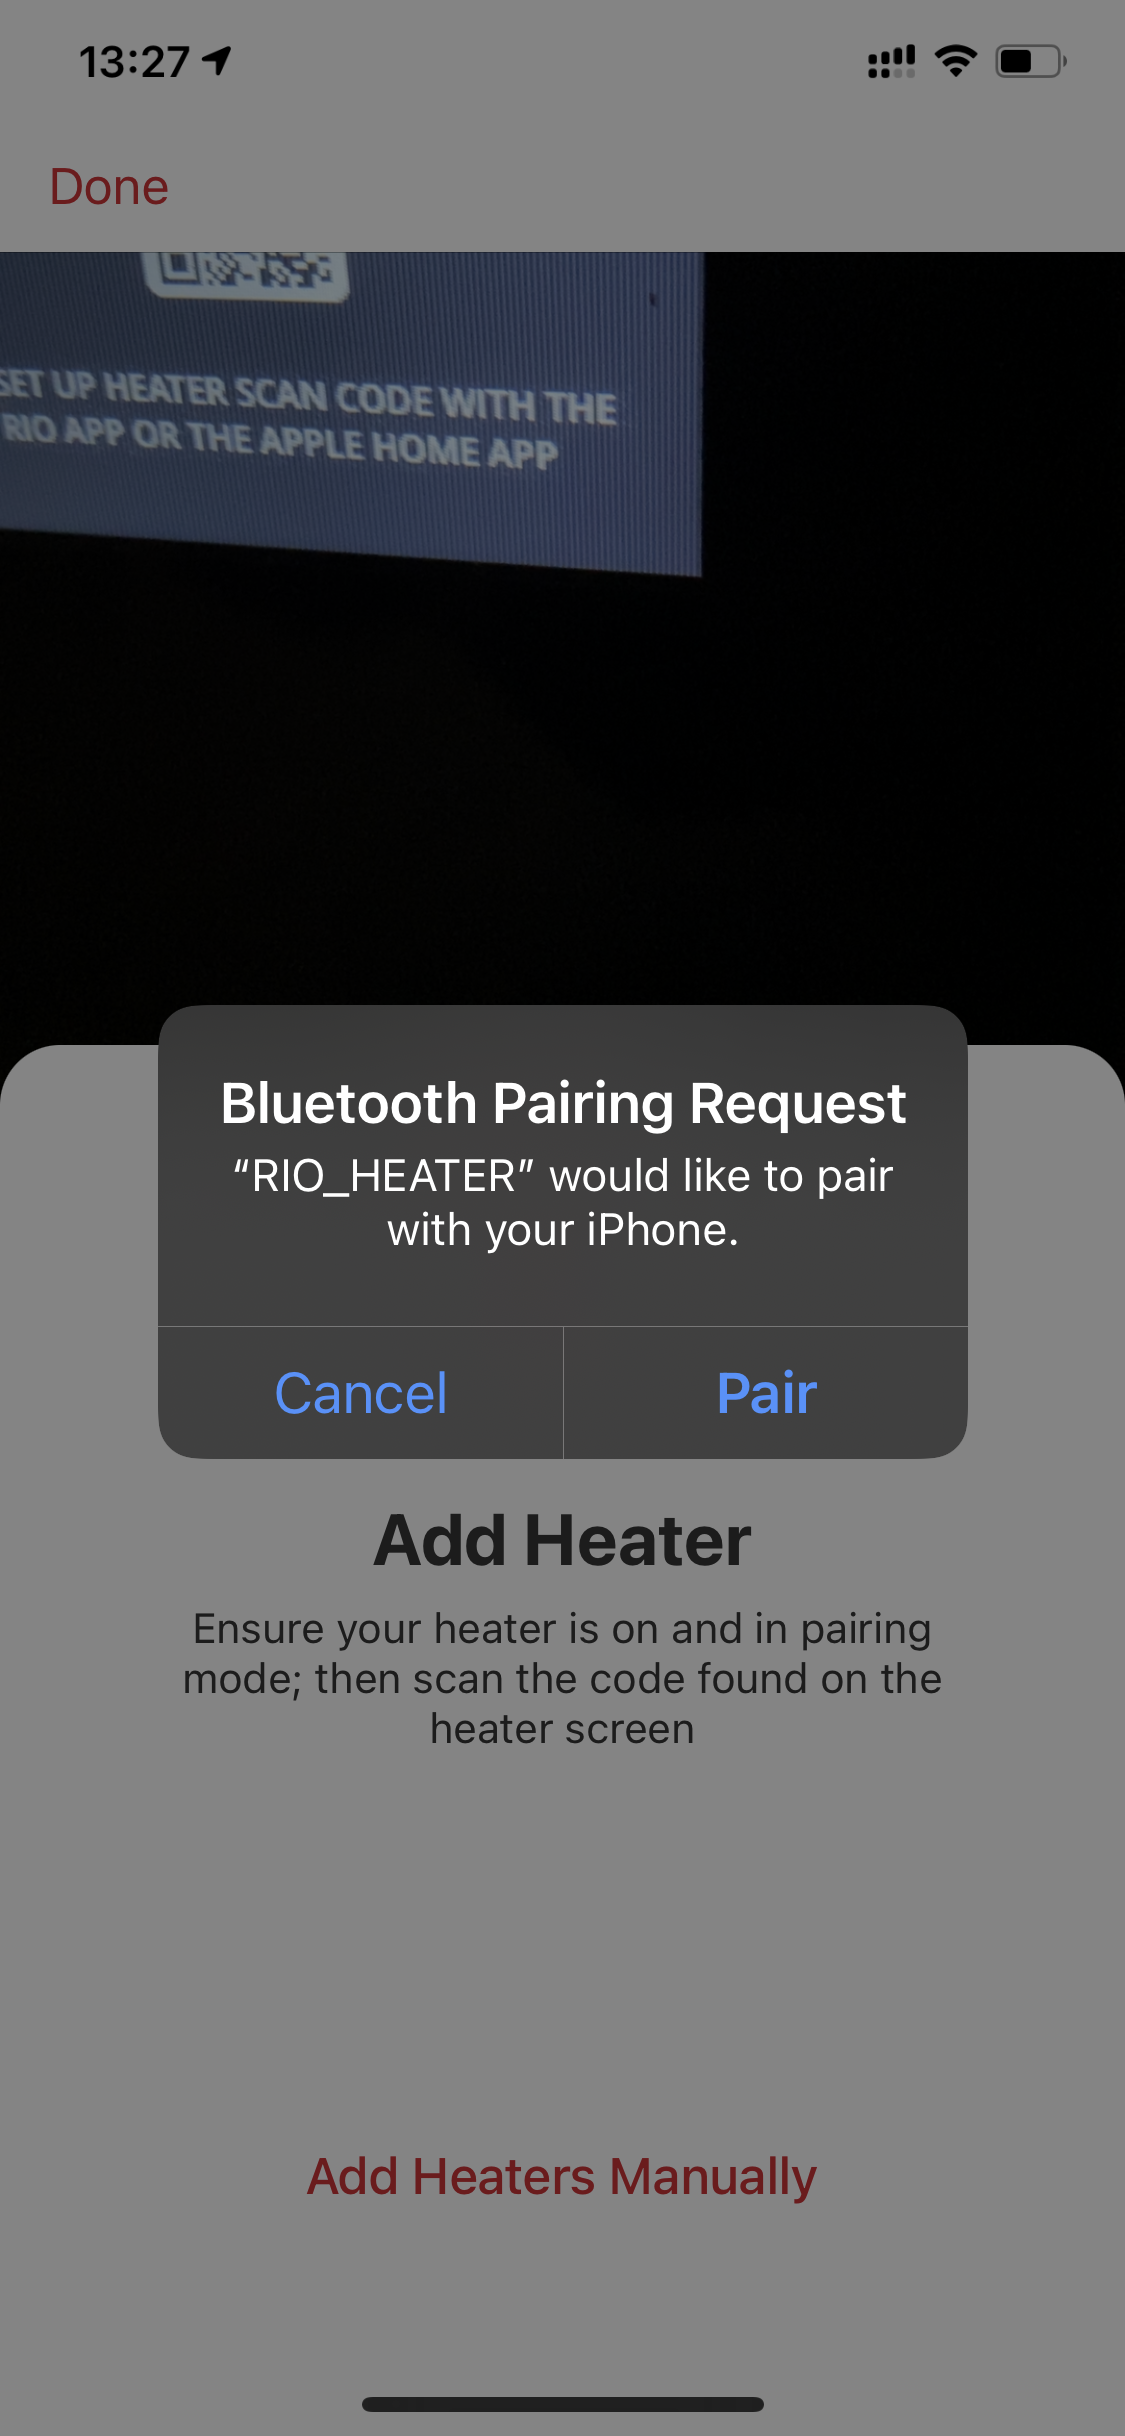
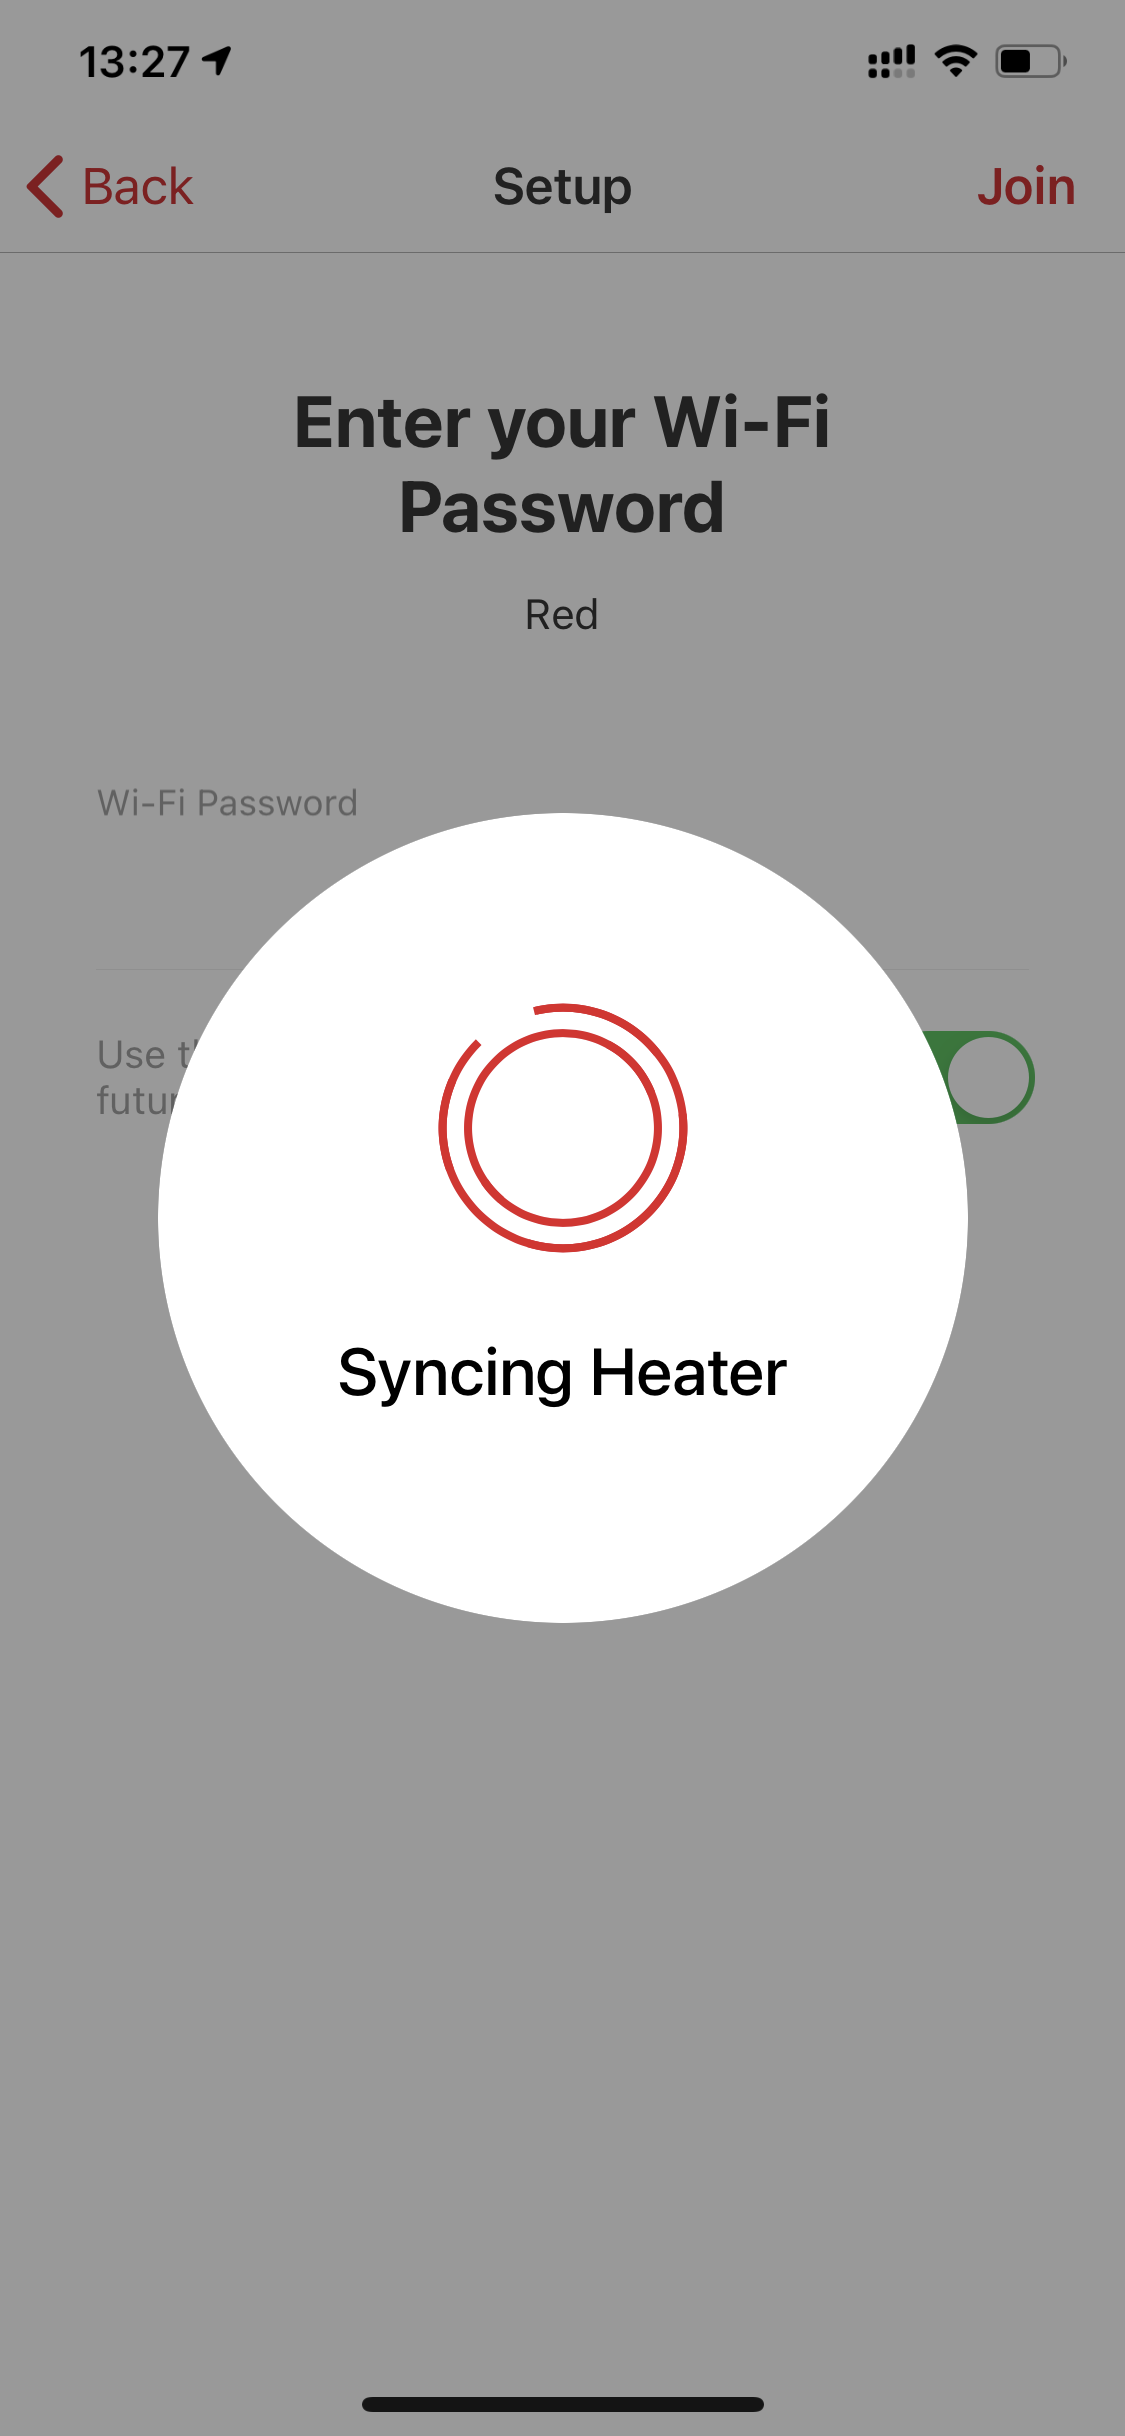

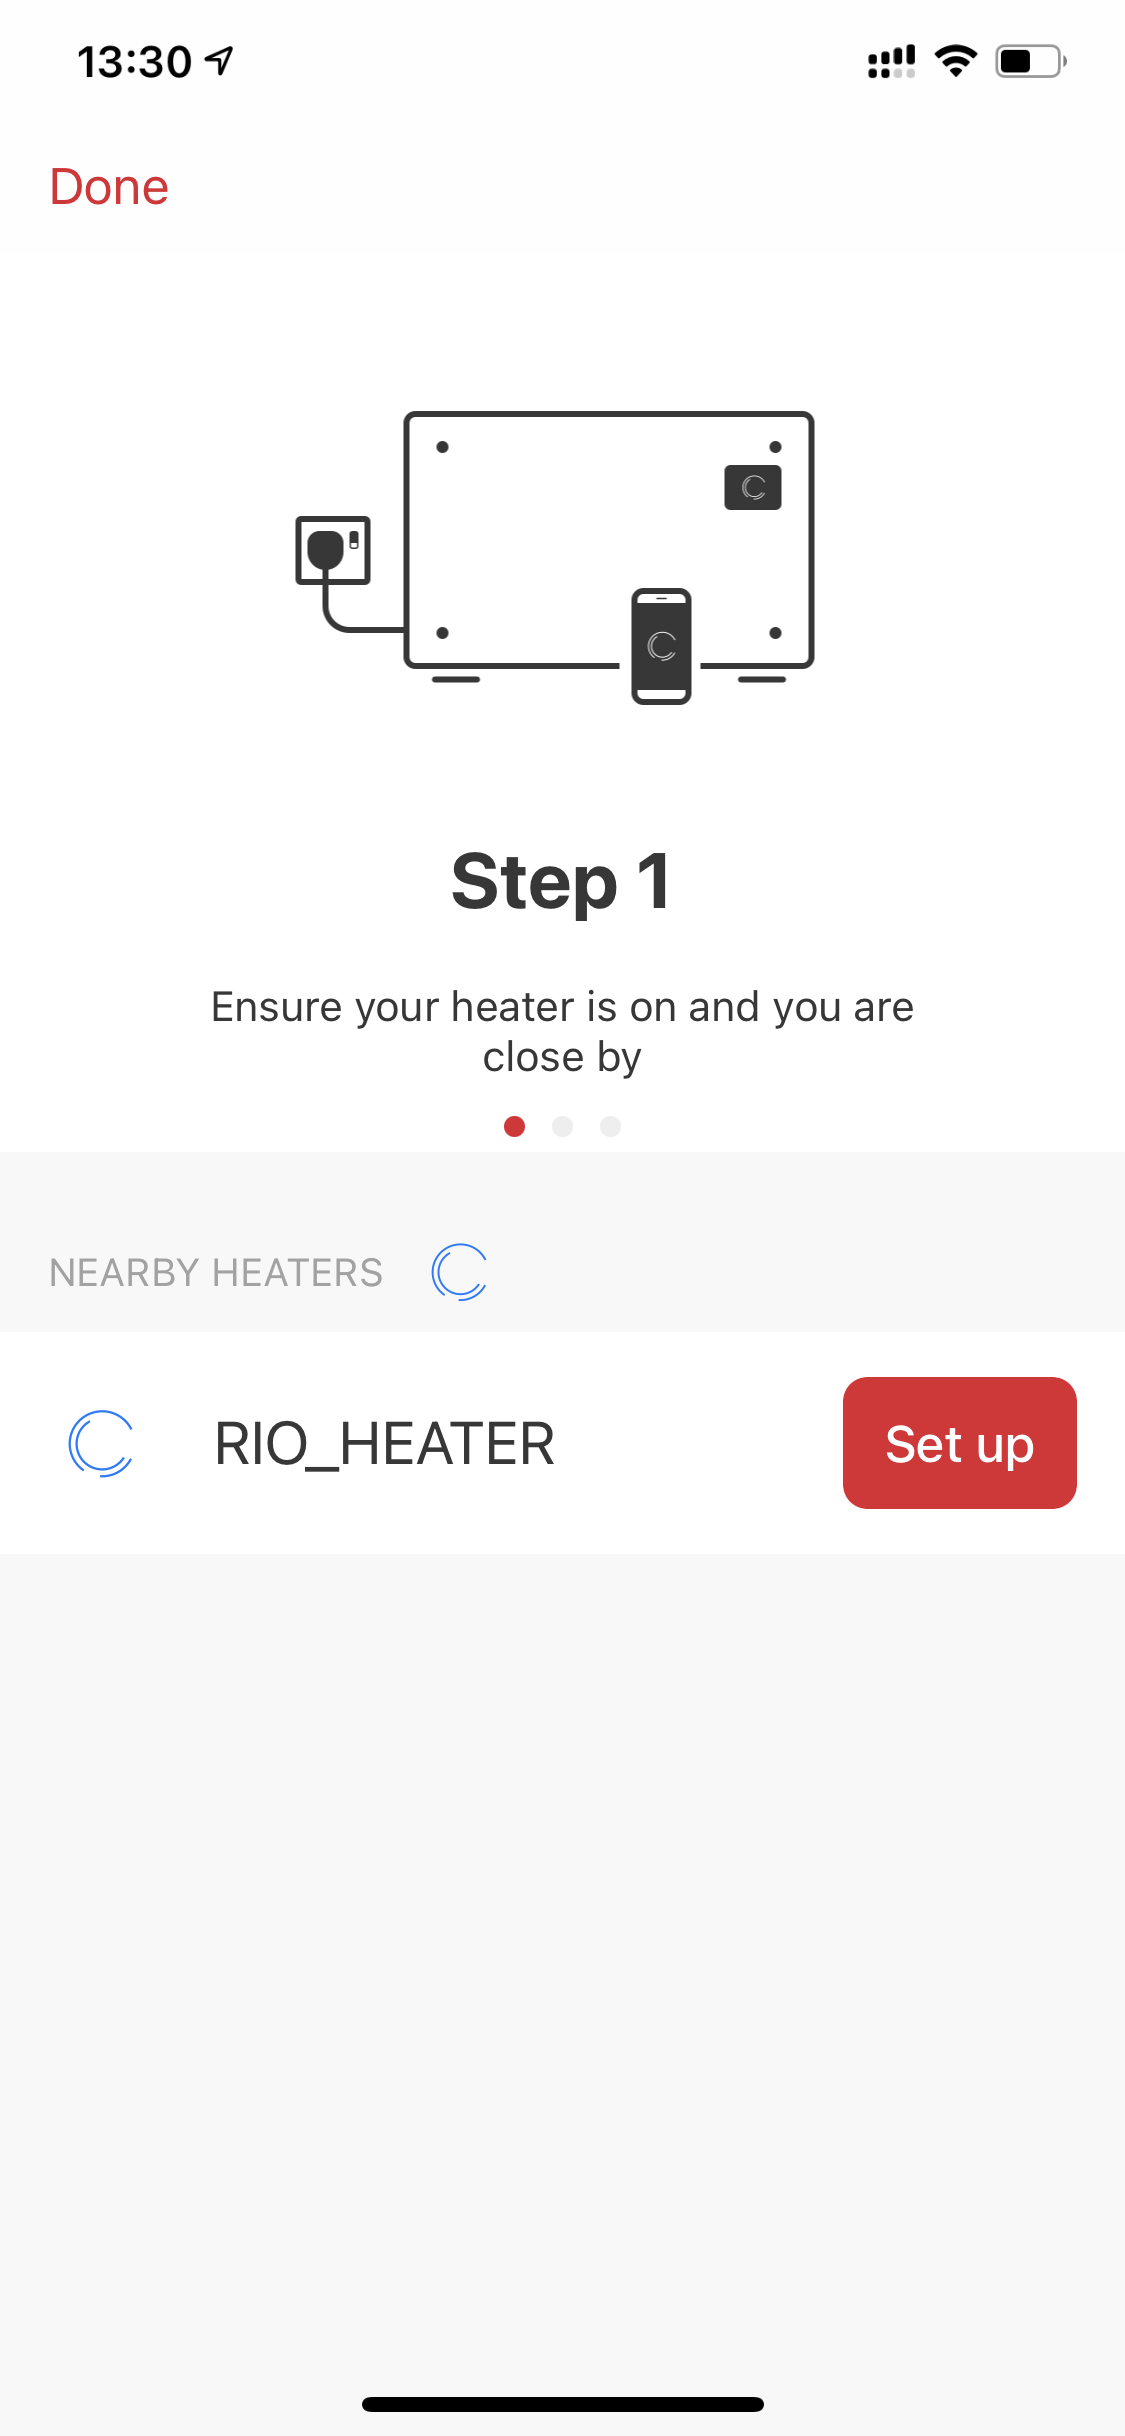
For communication, the Rio Arc uses a WIFI connection, so during the initial configuration of the Rio Arc you must connect the device to your Wifi network and initially use the Rio Heating app, available for download from the App Store or Google Play. On iOS, you can also set it up directly using the Apple Home app, as is standard for nearly all HomeKit compatible products. During the process of connecting Rio Arc to your Wifi network, a bluetooth connection is used, so remember and make sure that Bluetooth is active on your phone. Apart from initially adding the device, the Bluetooth connection is not used anywhere else.
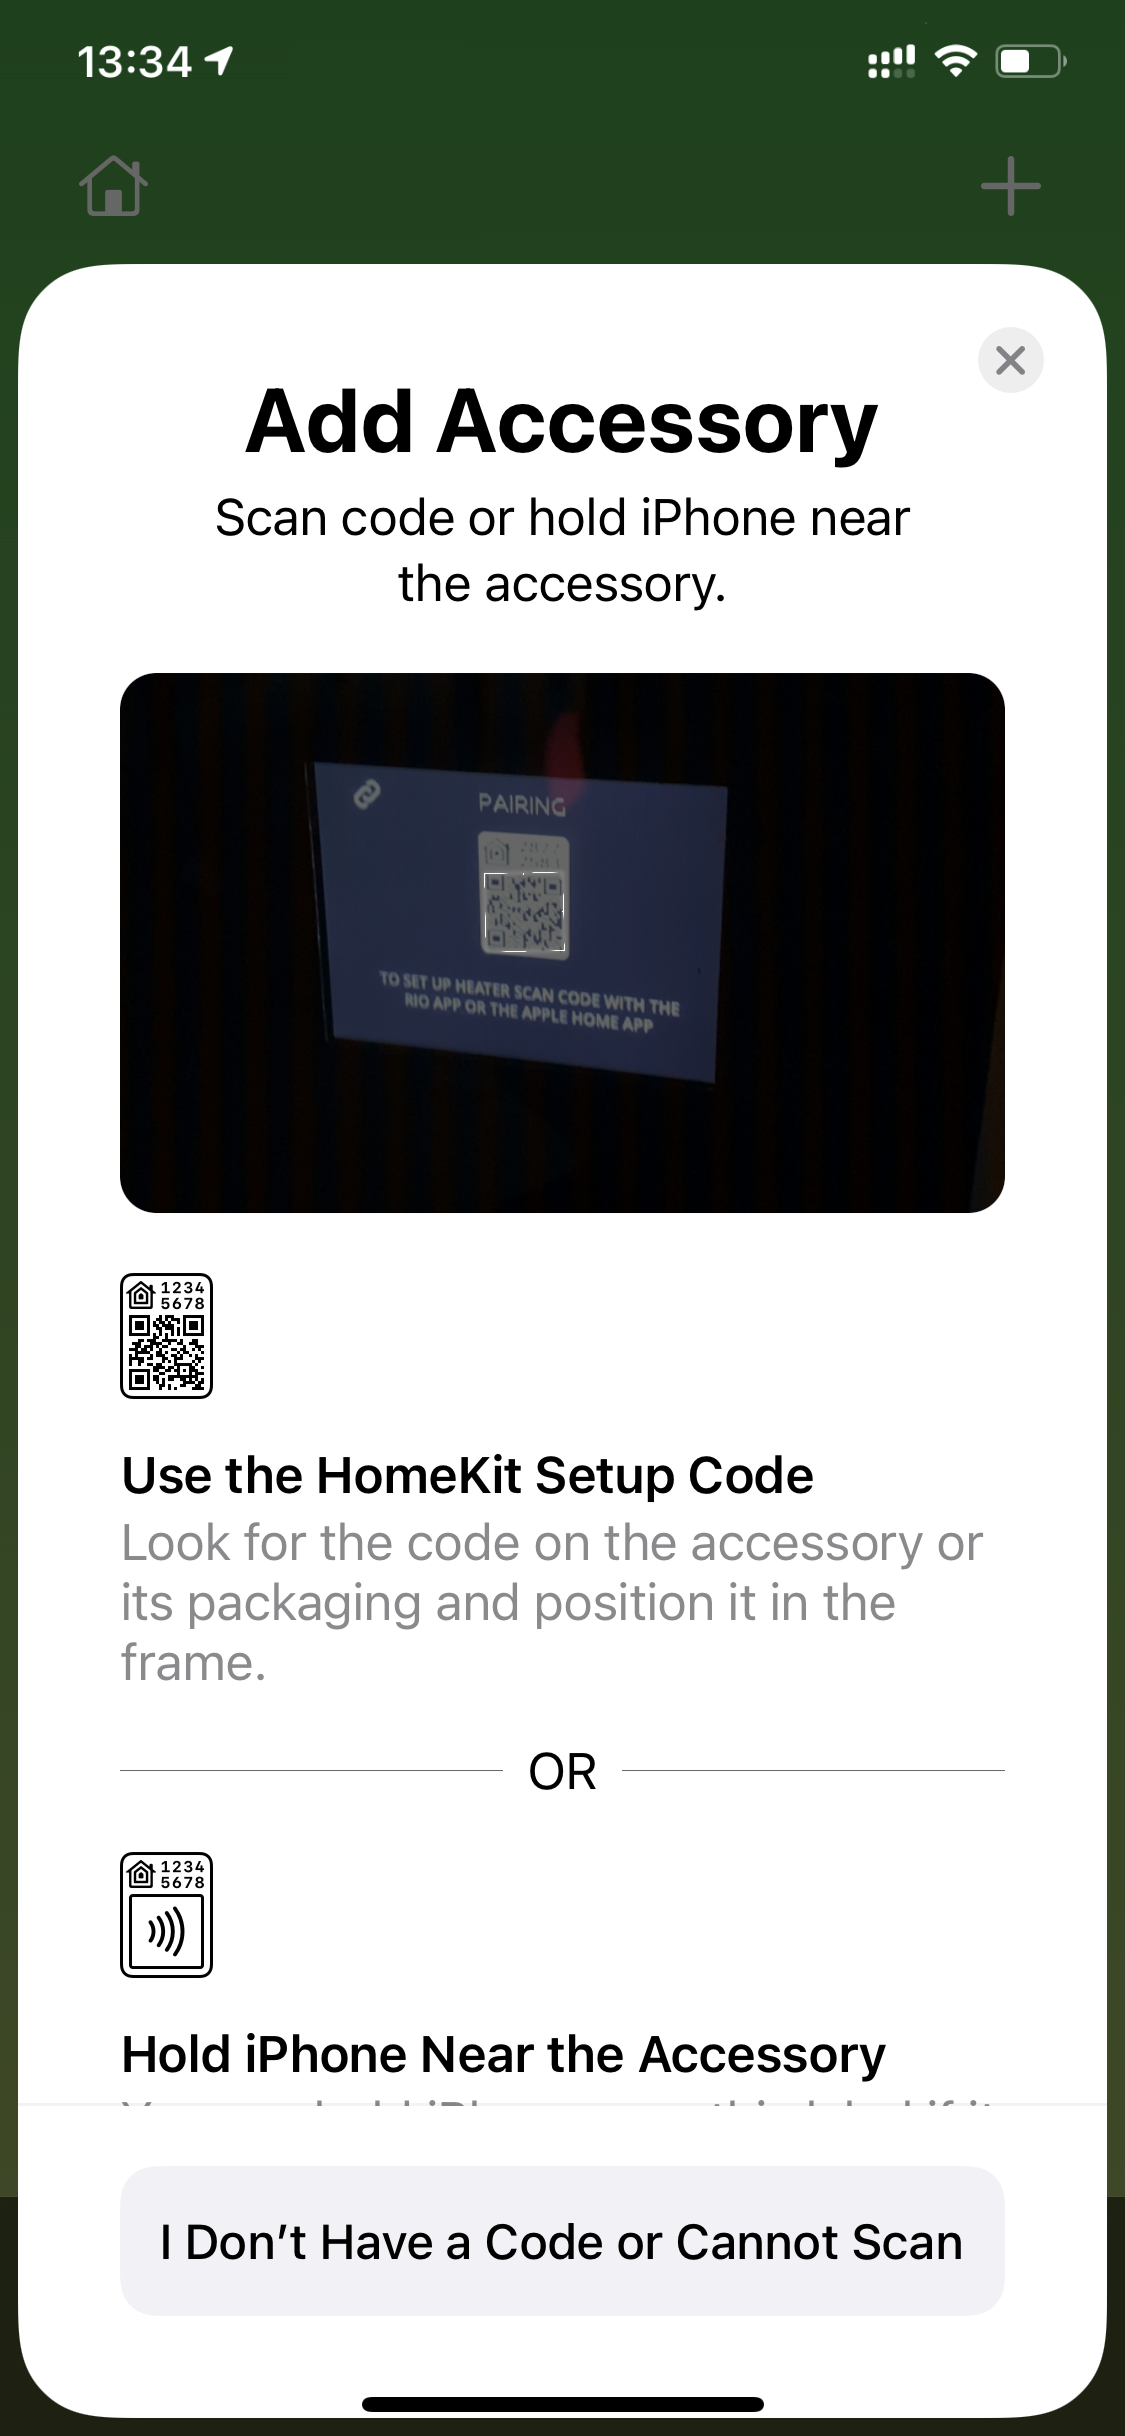
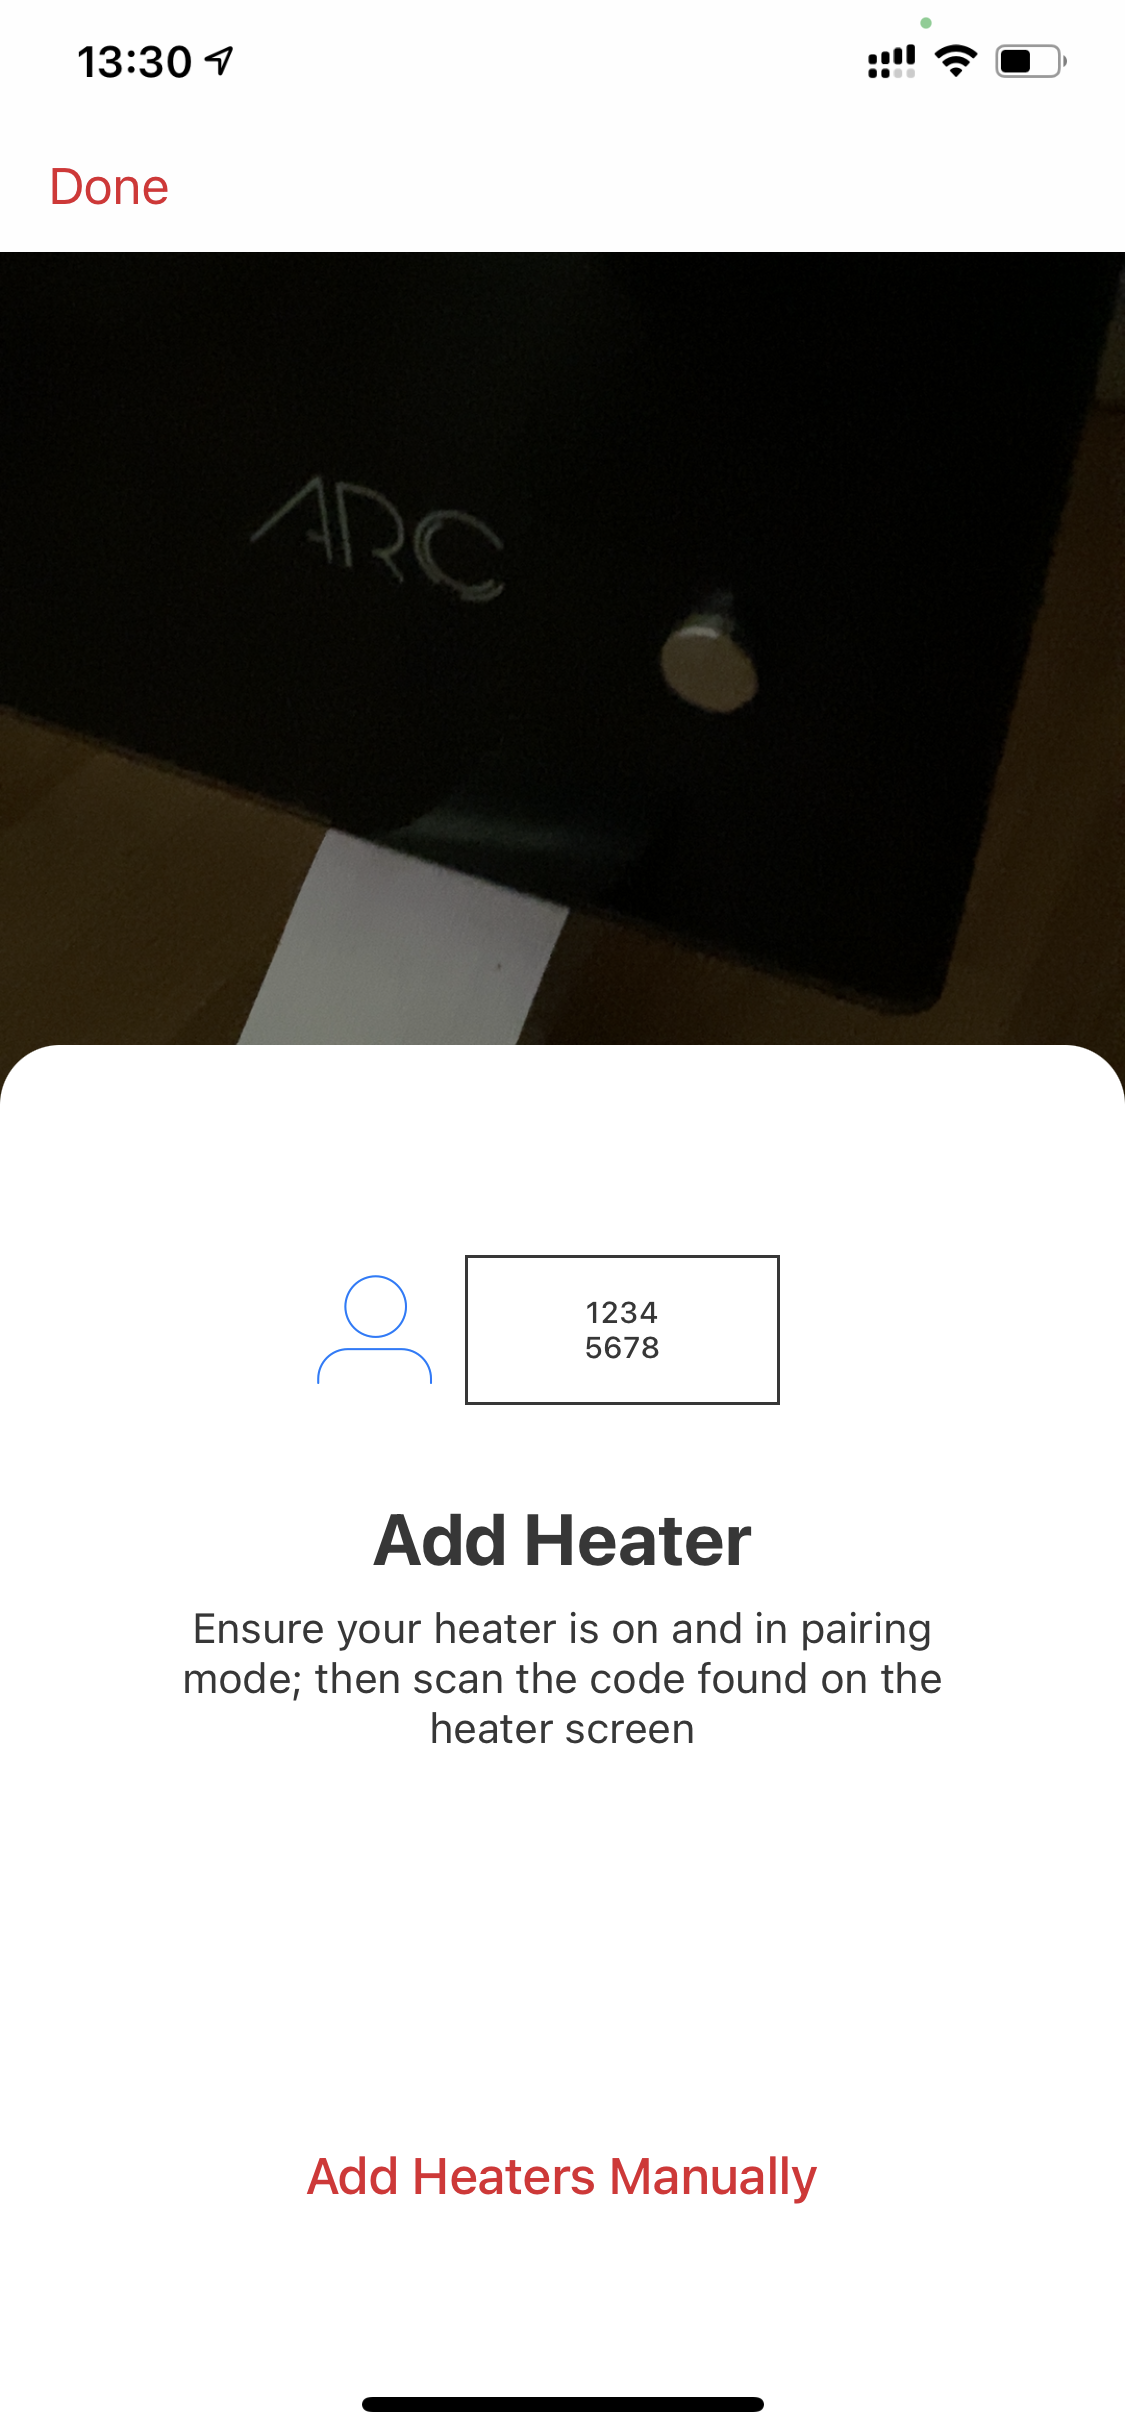
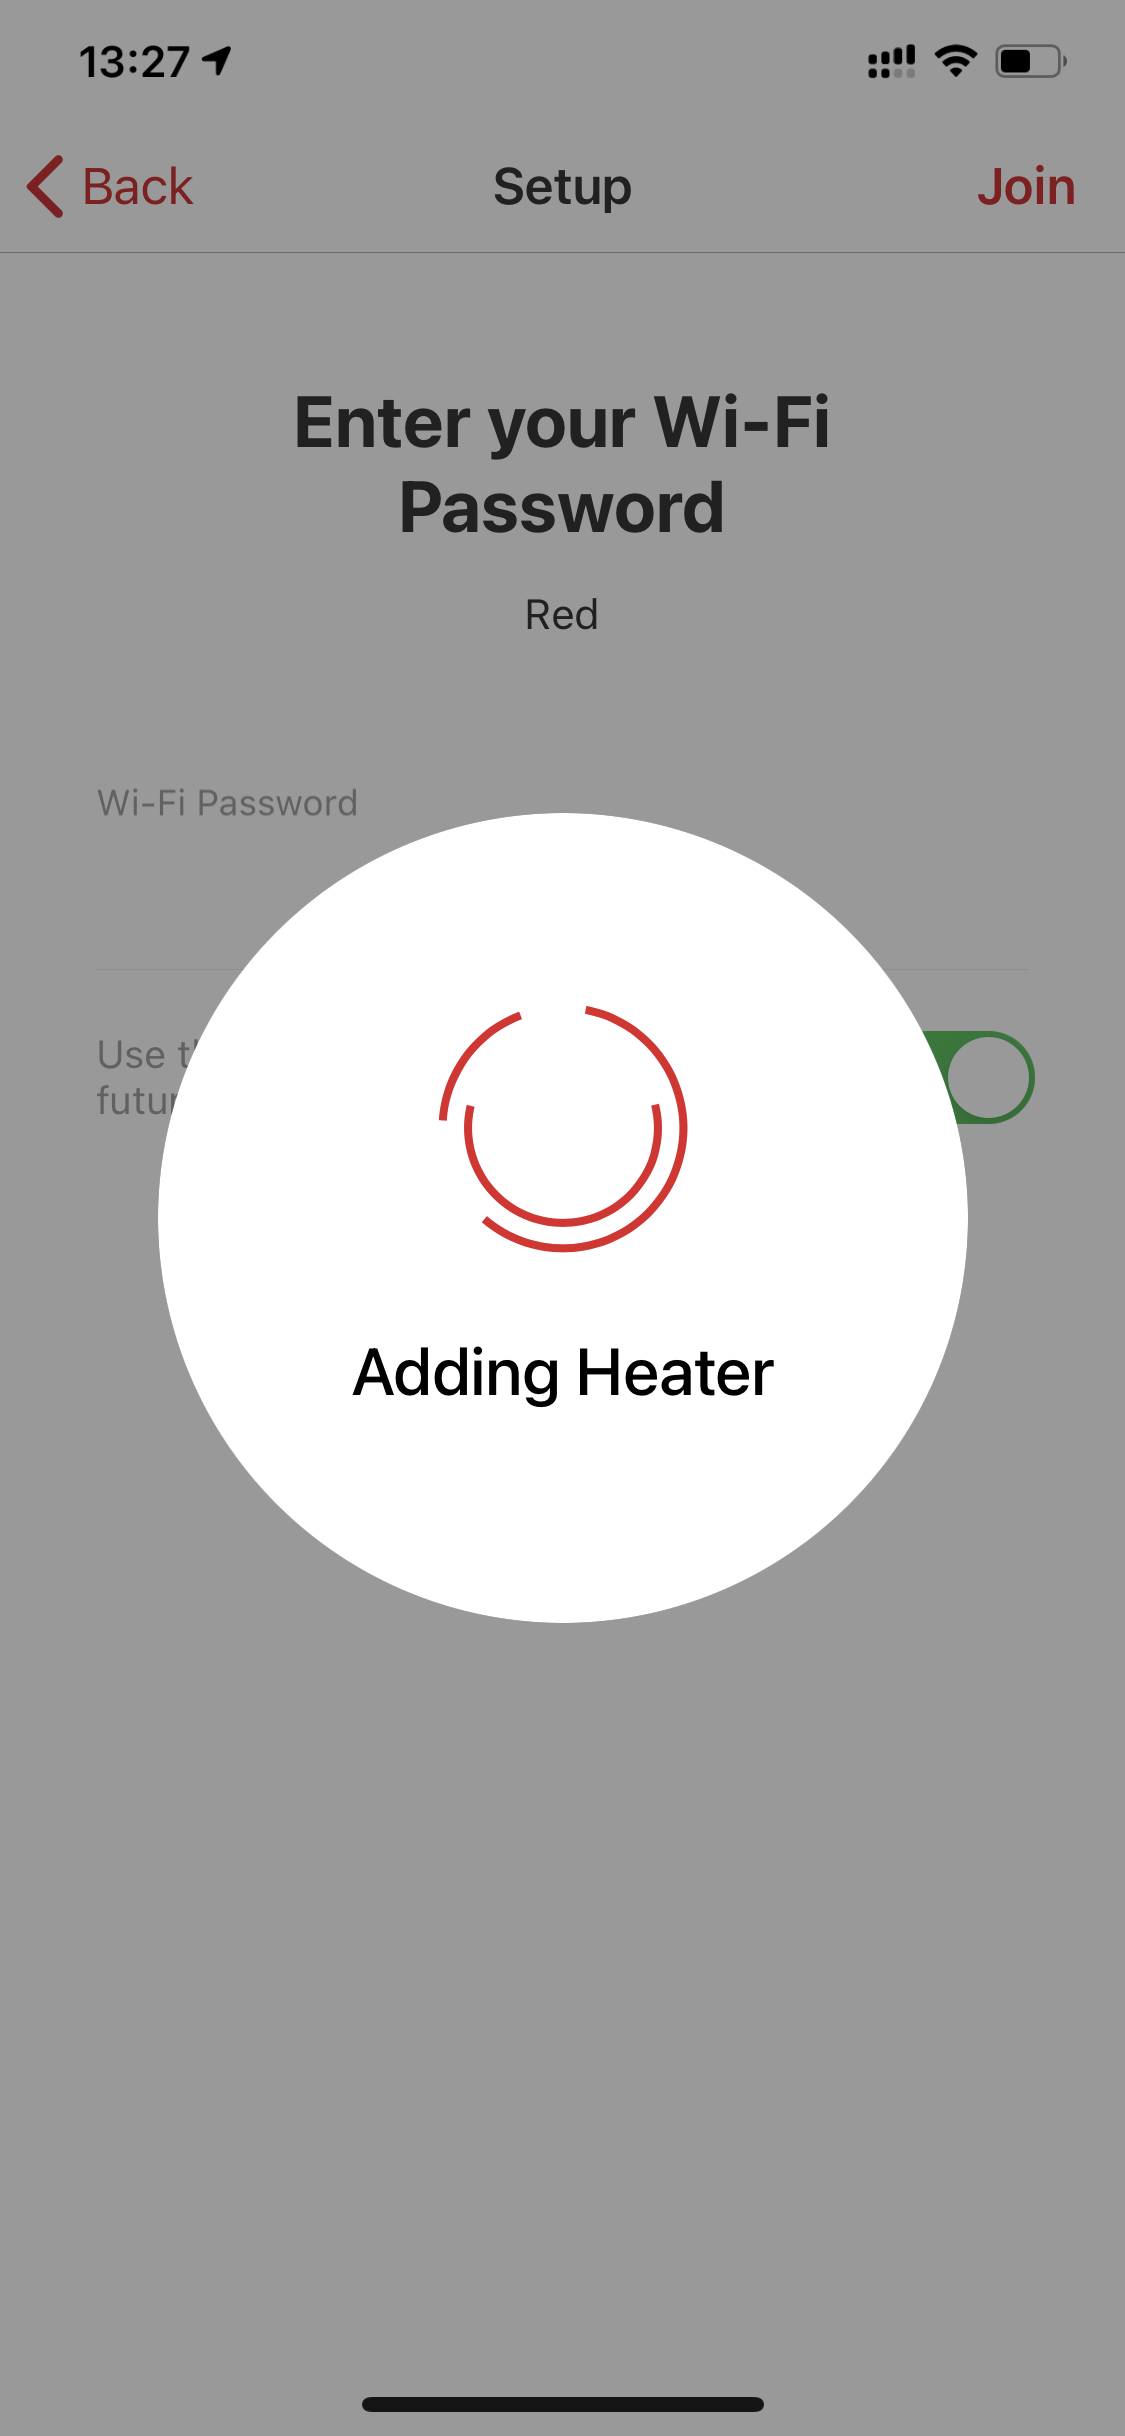
If we want to use the Rio Arc simultaneously with the Rio Heating and HomeKit applications, the device should be added to both applications. In this case, Rio Heating recommends that you add Rio Arc to the Rio Heating app first, and then to the Home app. The process of adding to both applications is not much different. In both cases you need to scan the QR code displayed on the Rio Arc screen. Along with the QR code, a digital HomeKit code is also displayed in case you have problems scanning the code from the screen. The code is displayed by holding the top button for five seconds. In the case of the Home application, you will be automatically logged in to your currently used network, while in the case of the Rio Heating application, you must select the appropriate WiFi network and enter the password.
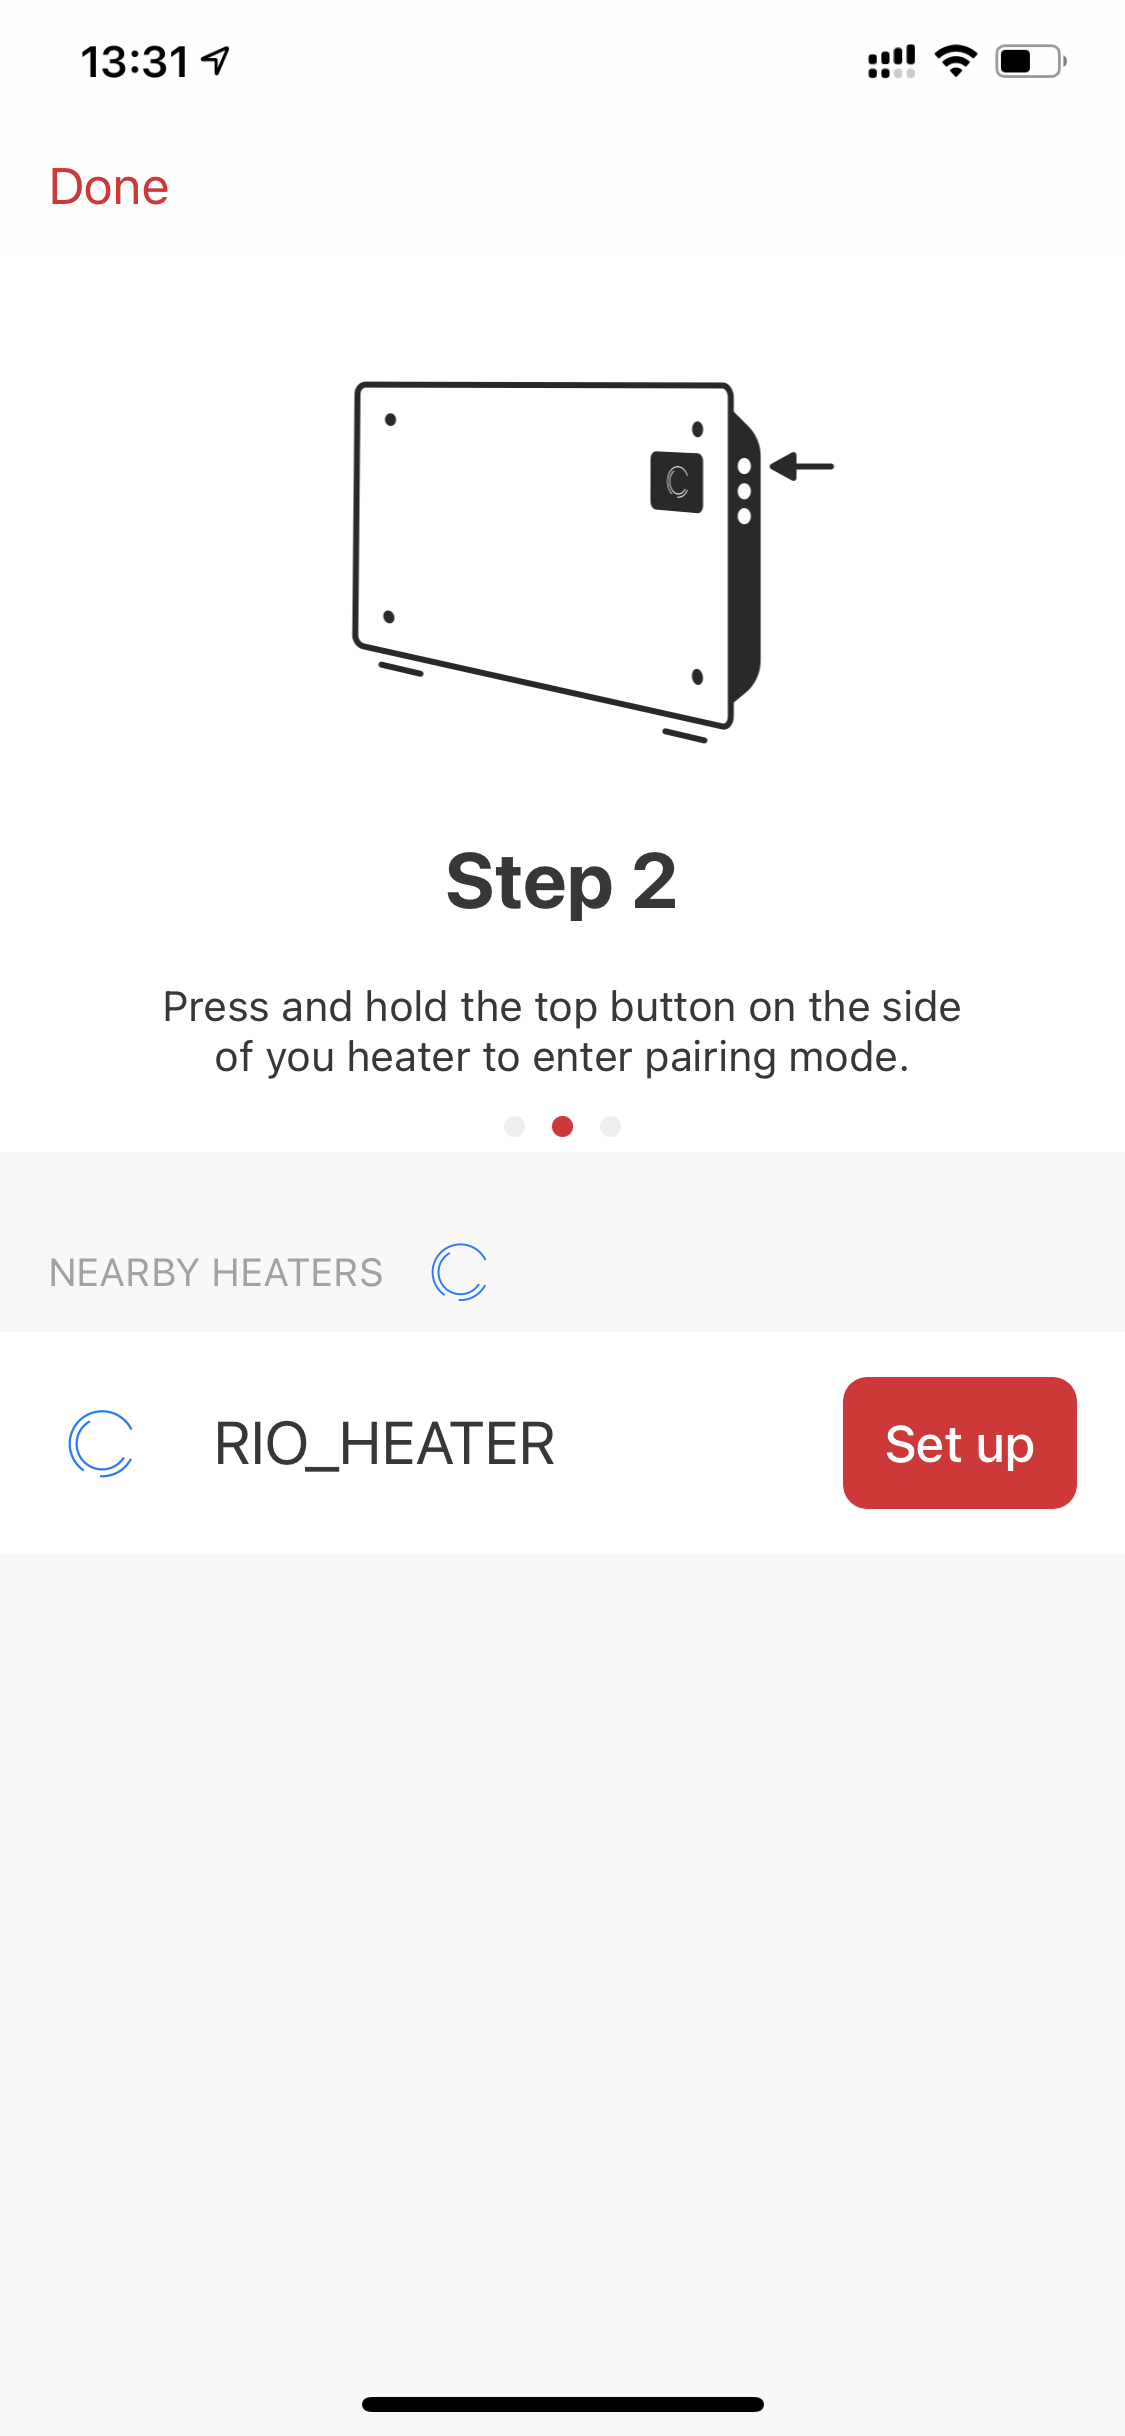

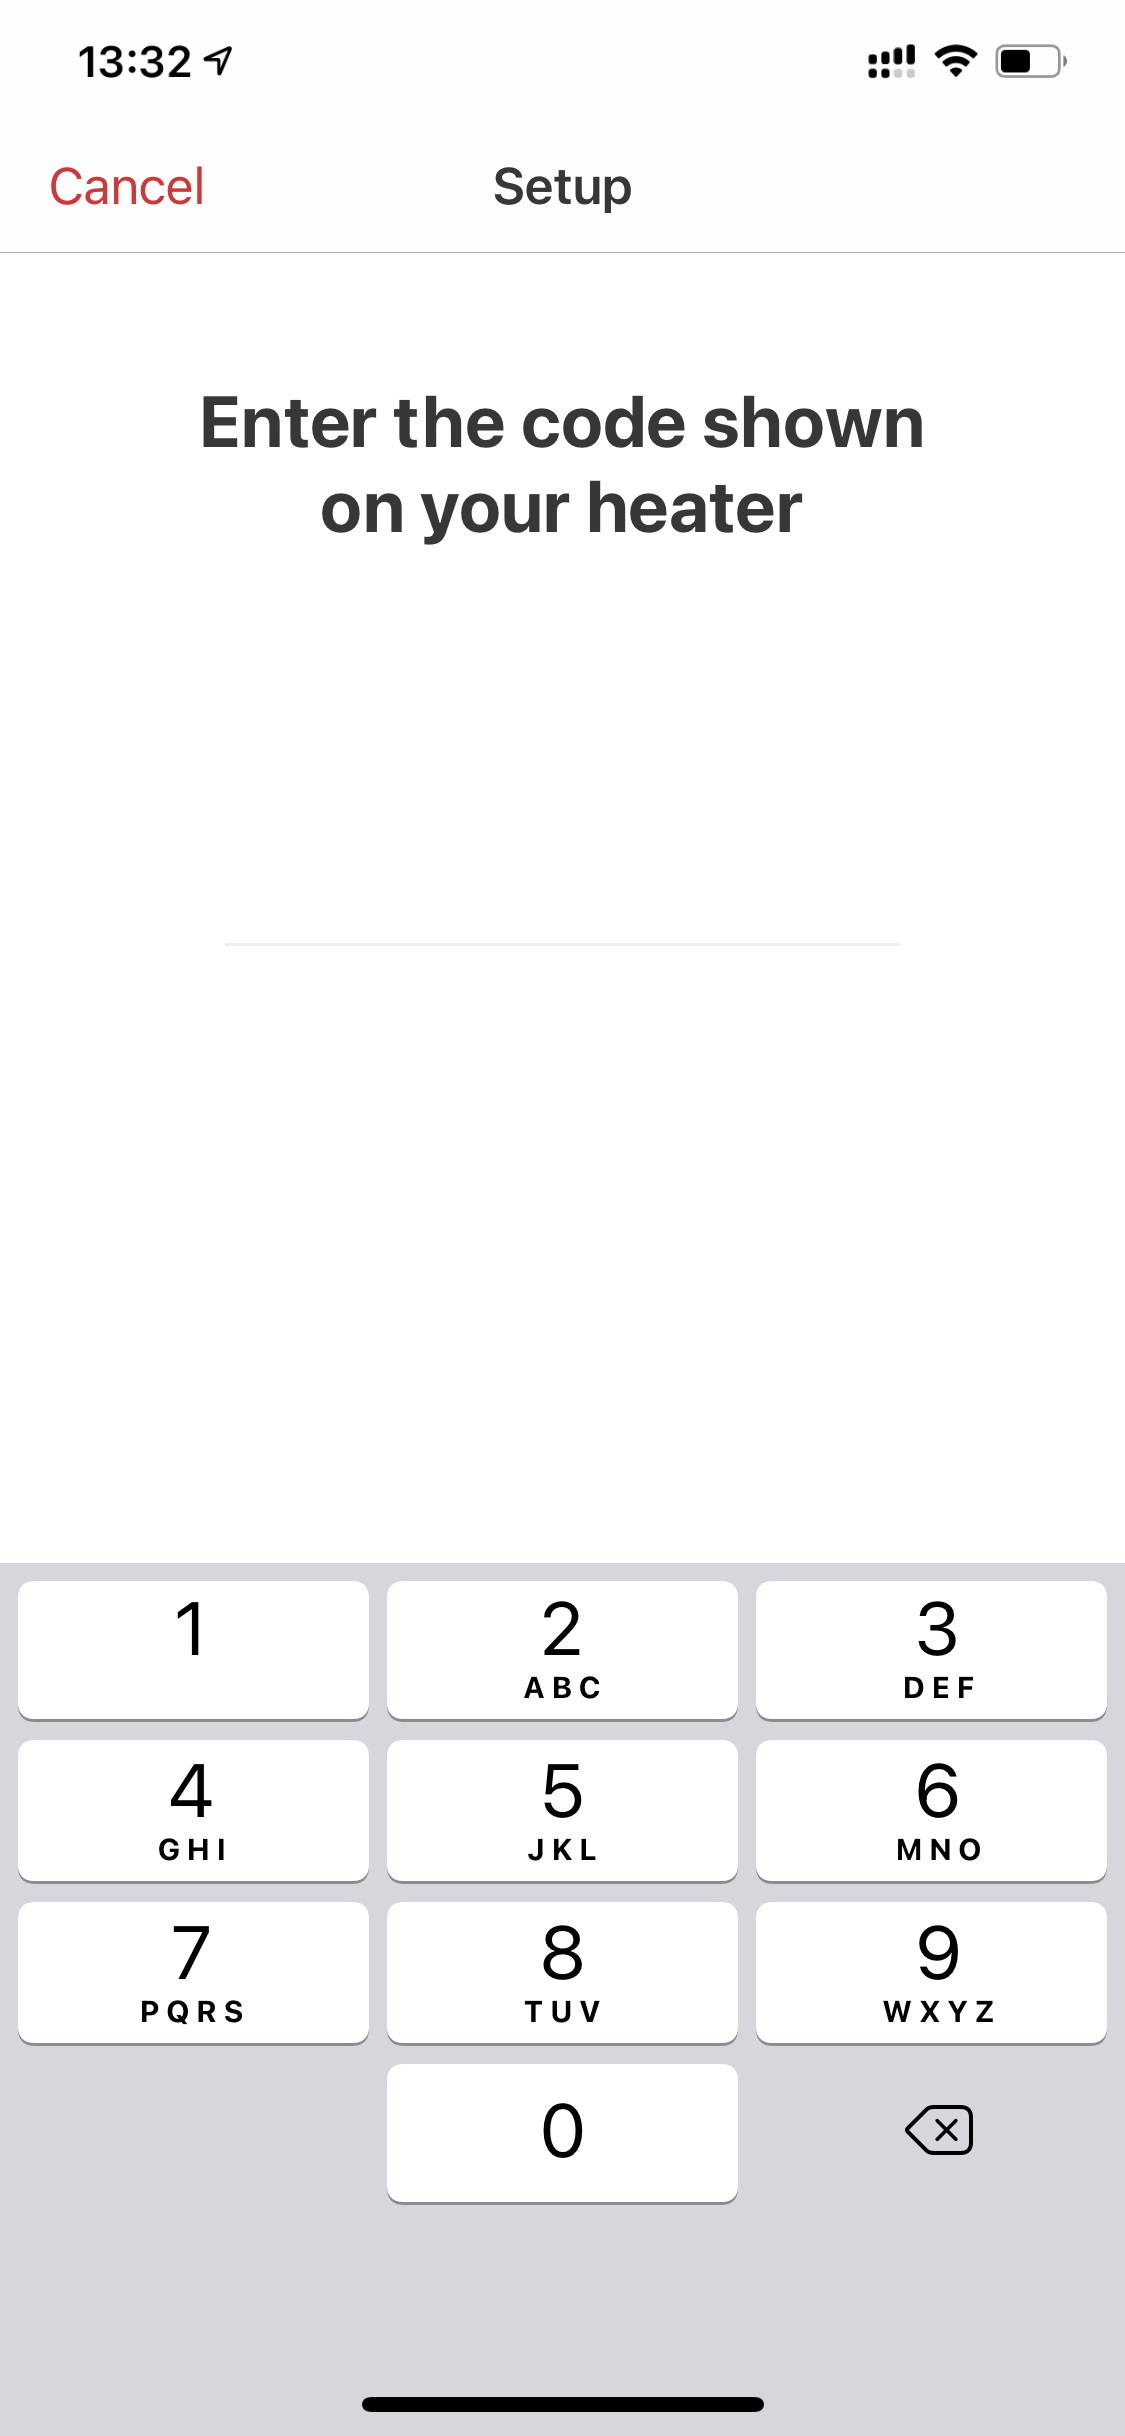
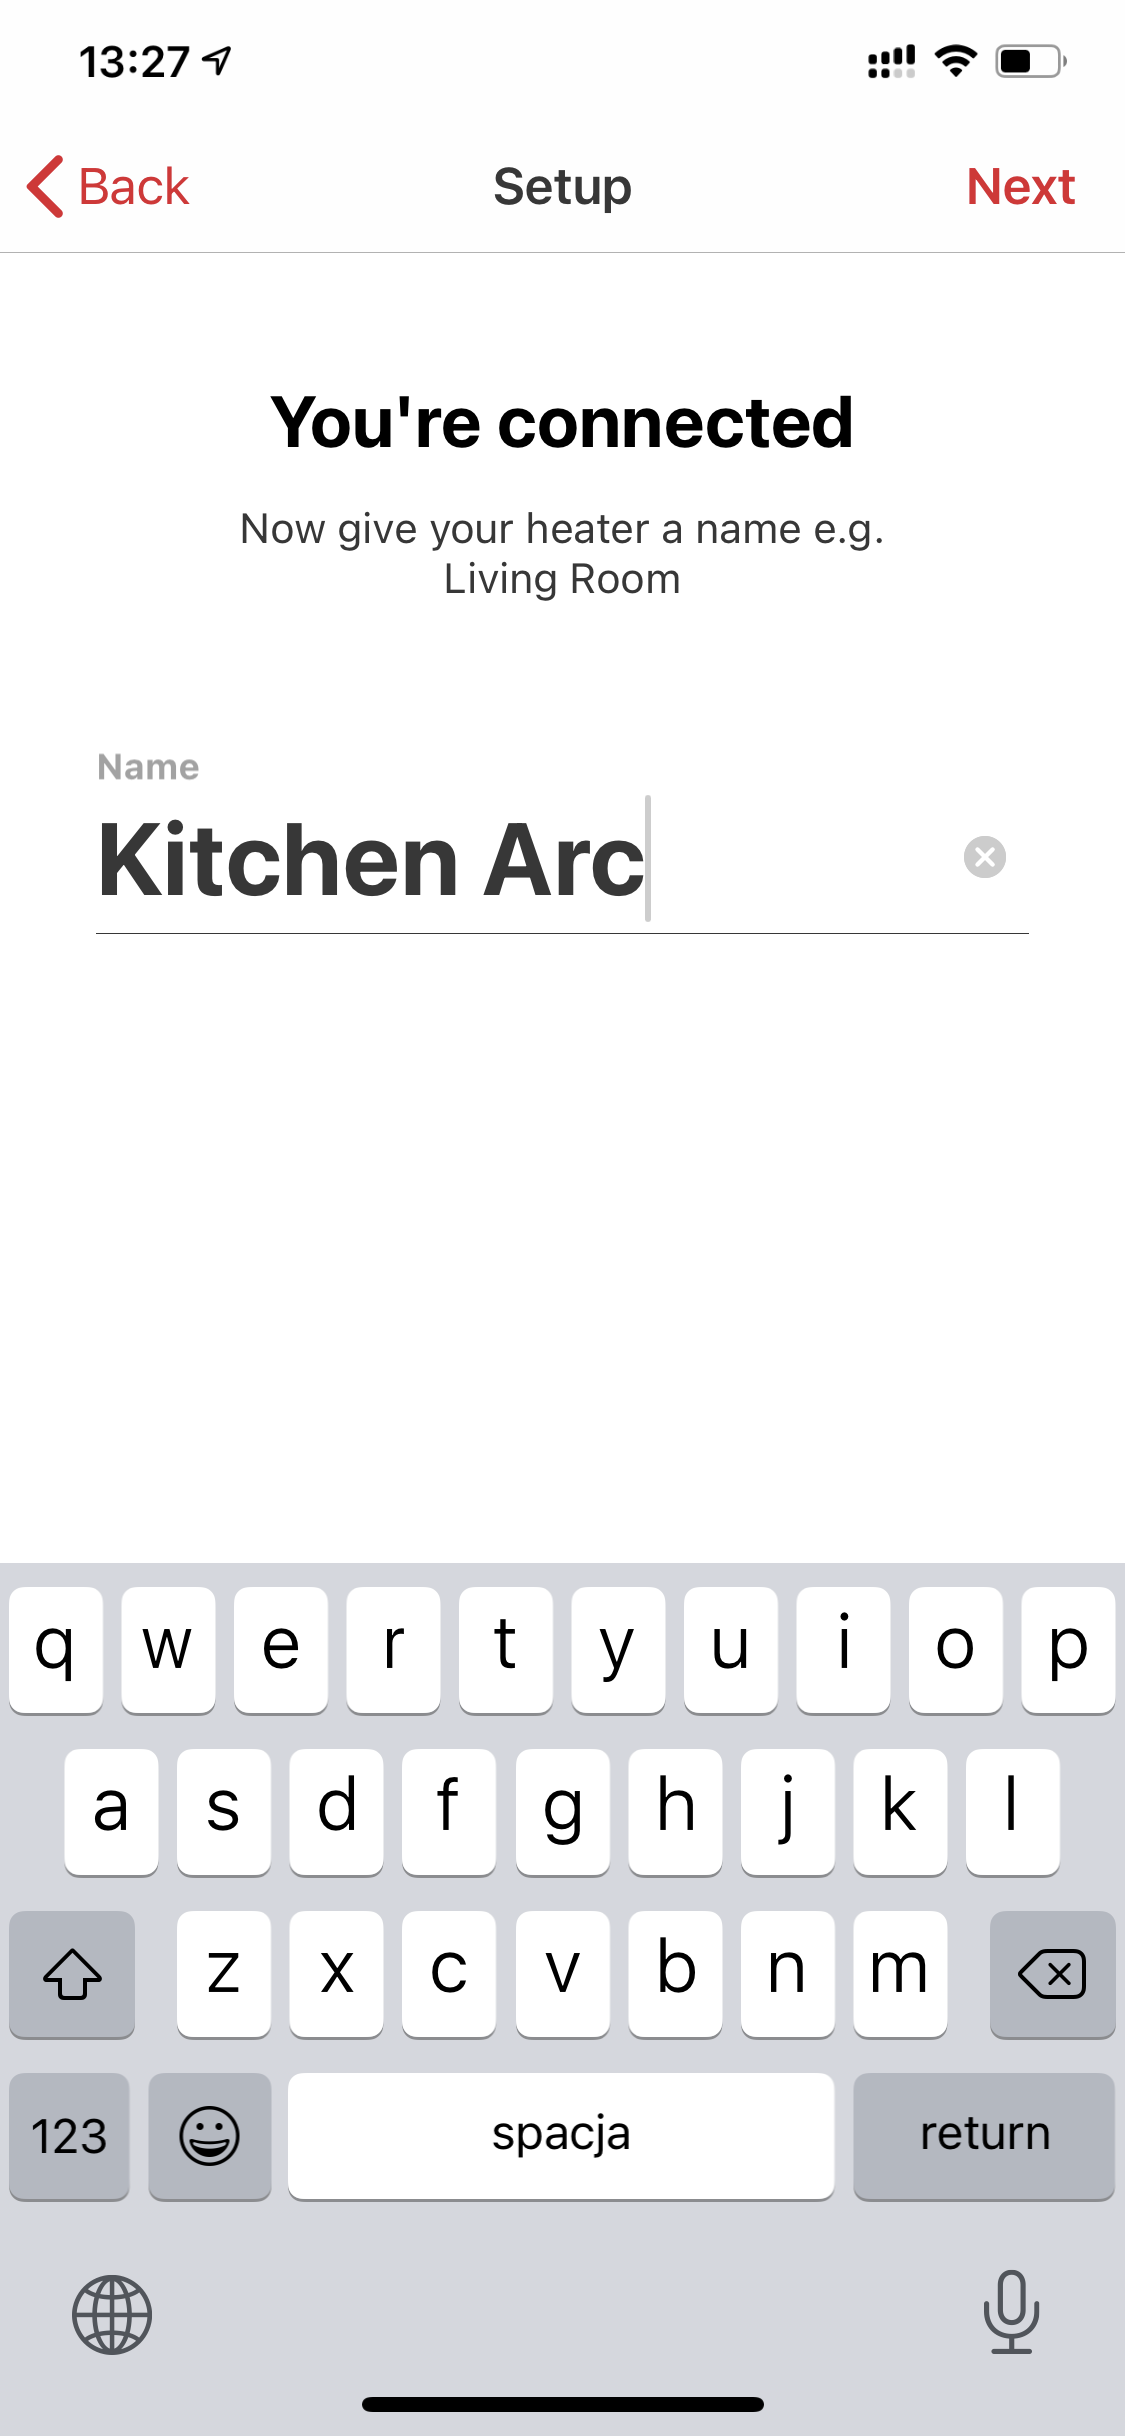
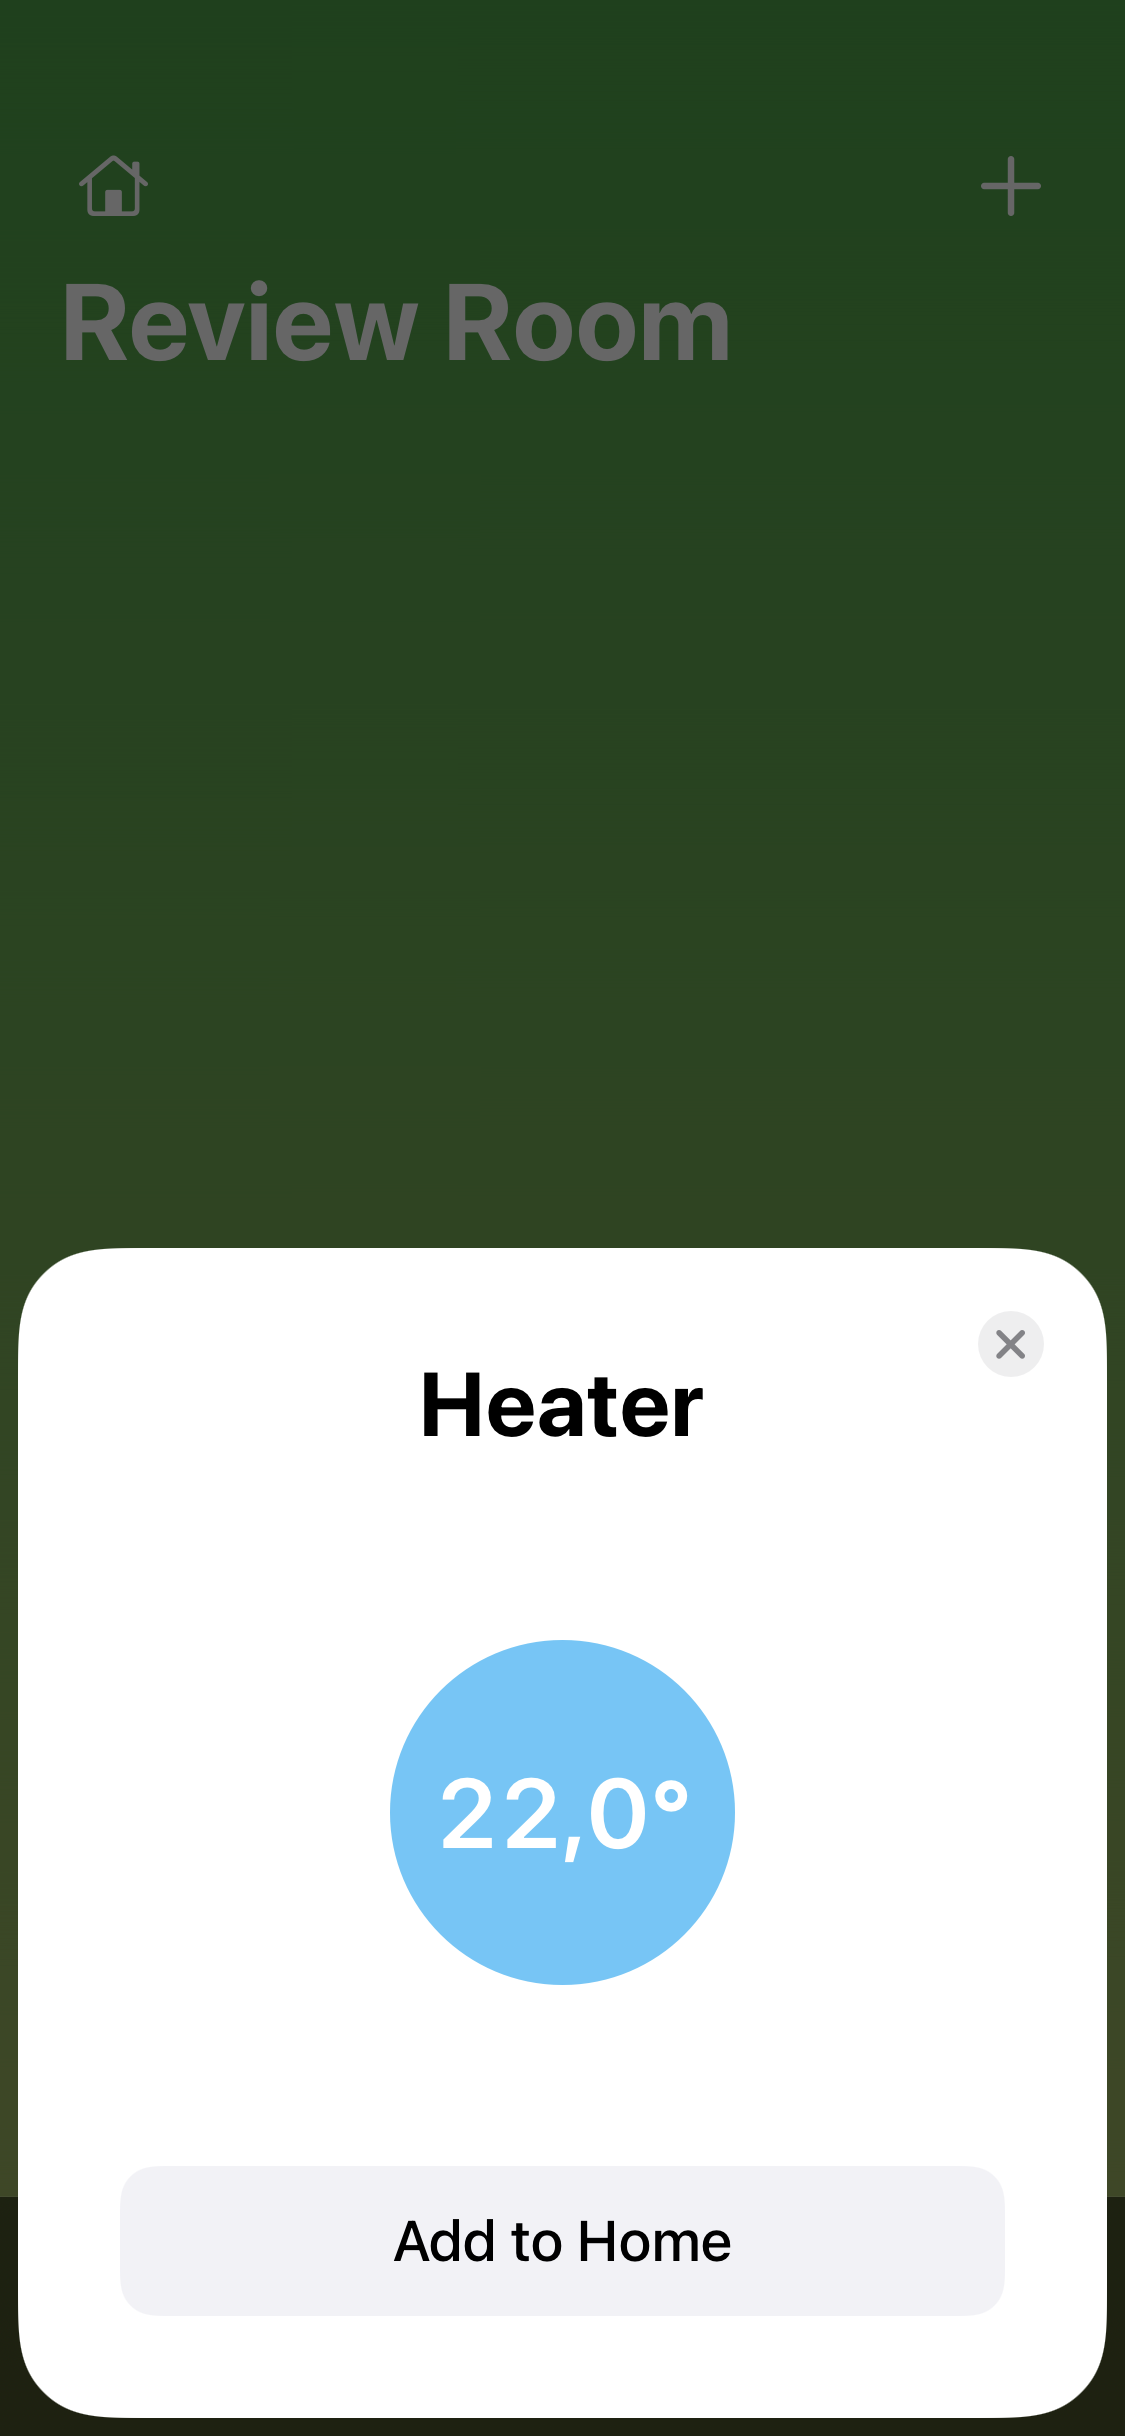
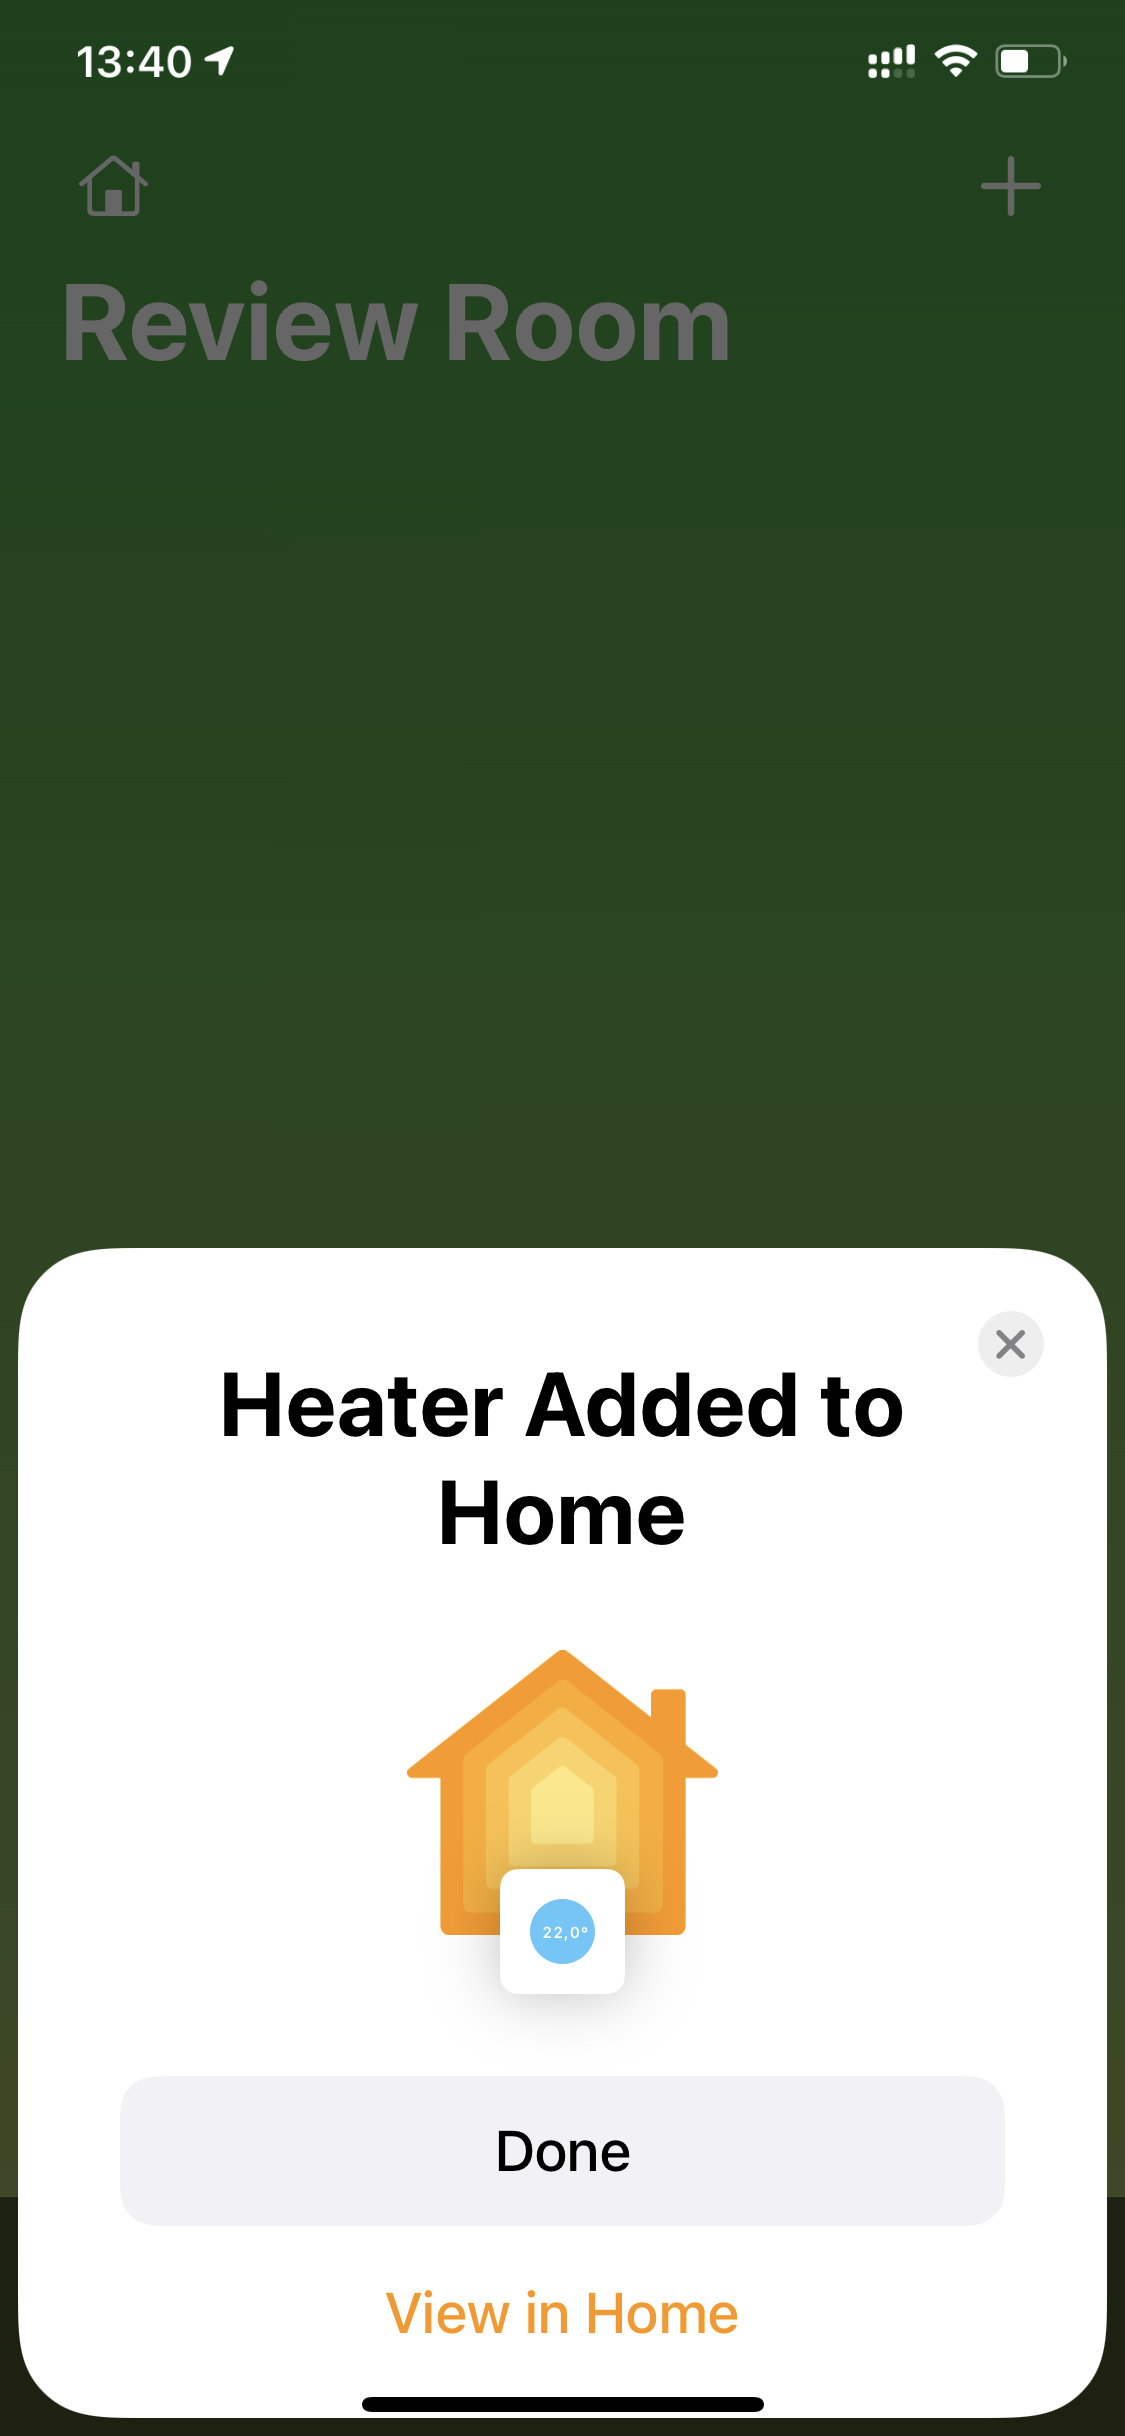
Additionally, in the Rio Heating app, there is an option to bypass the QR code, which instead requires authorisation, by entering a 2-digit code into the app that is displayed on the Rio Arc’s own screen. Back to the Home app briefly, and the next step during configuration is to name the device and assign it to the appropriate room in HomeKit. The Rio Heater app does not use room division and does not synchronise names with the HomeKit system.
CONTROL VIA THE HOME APP
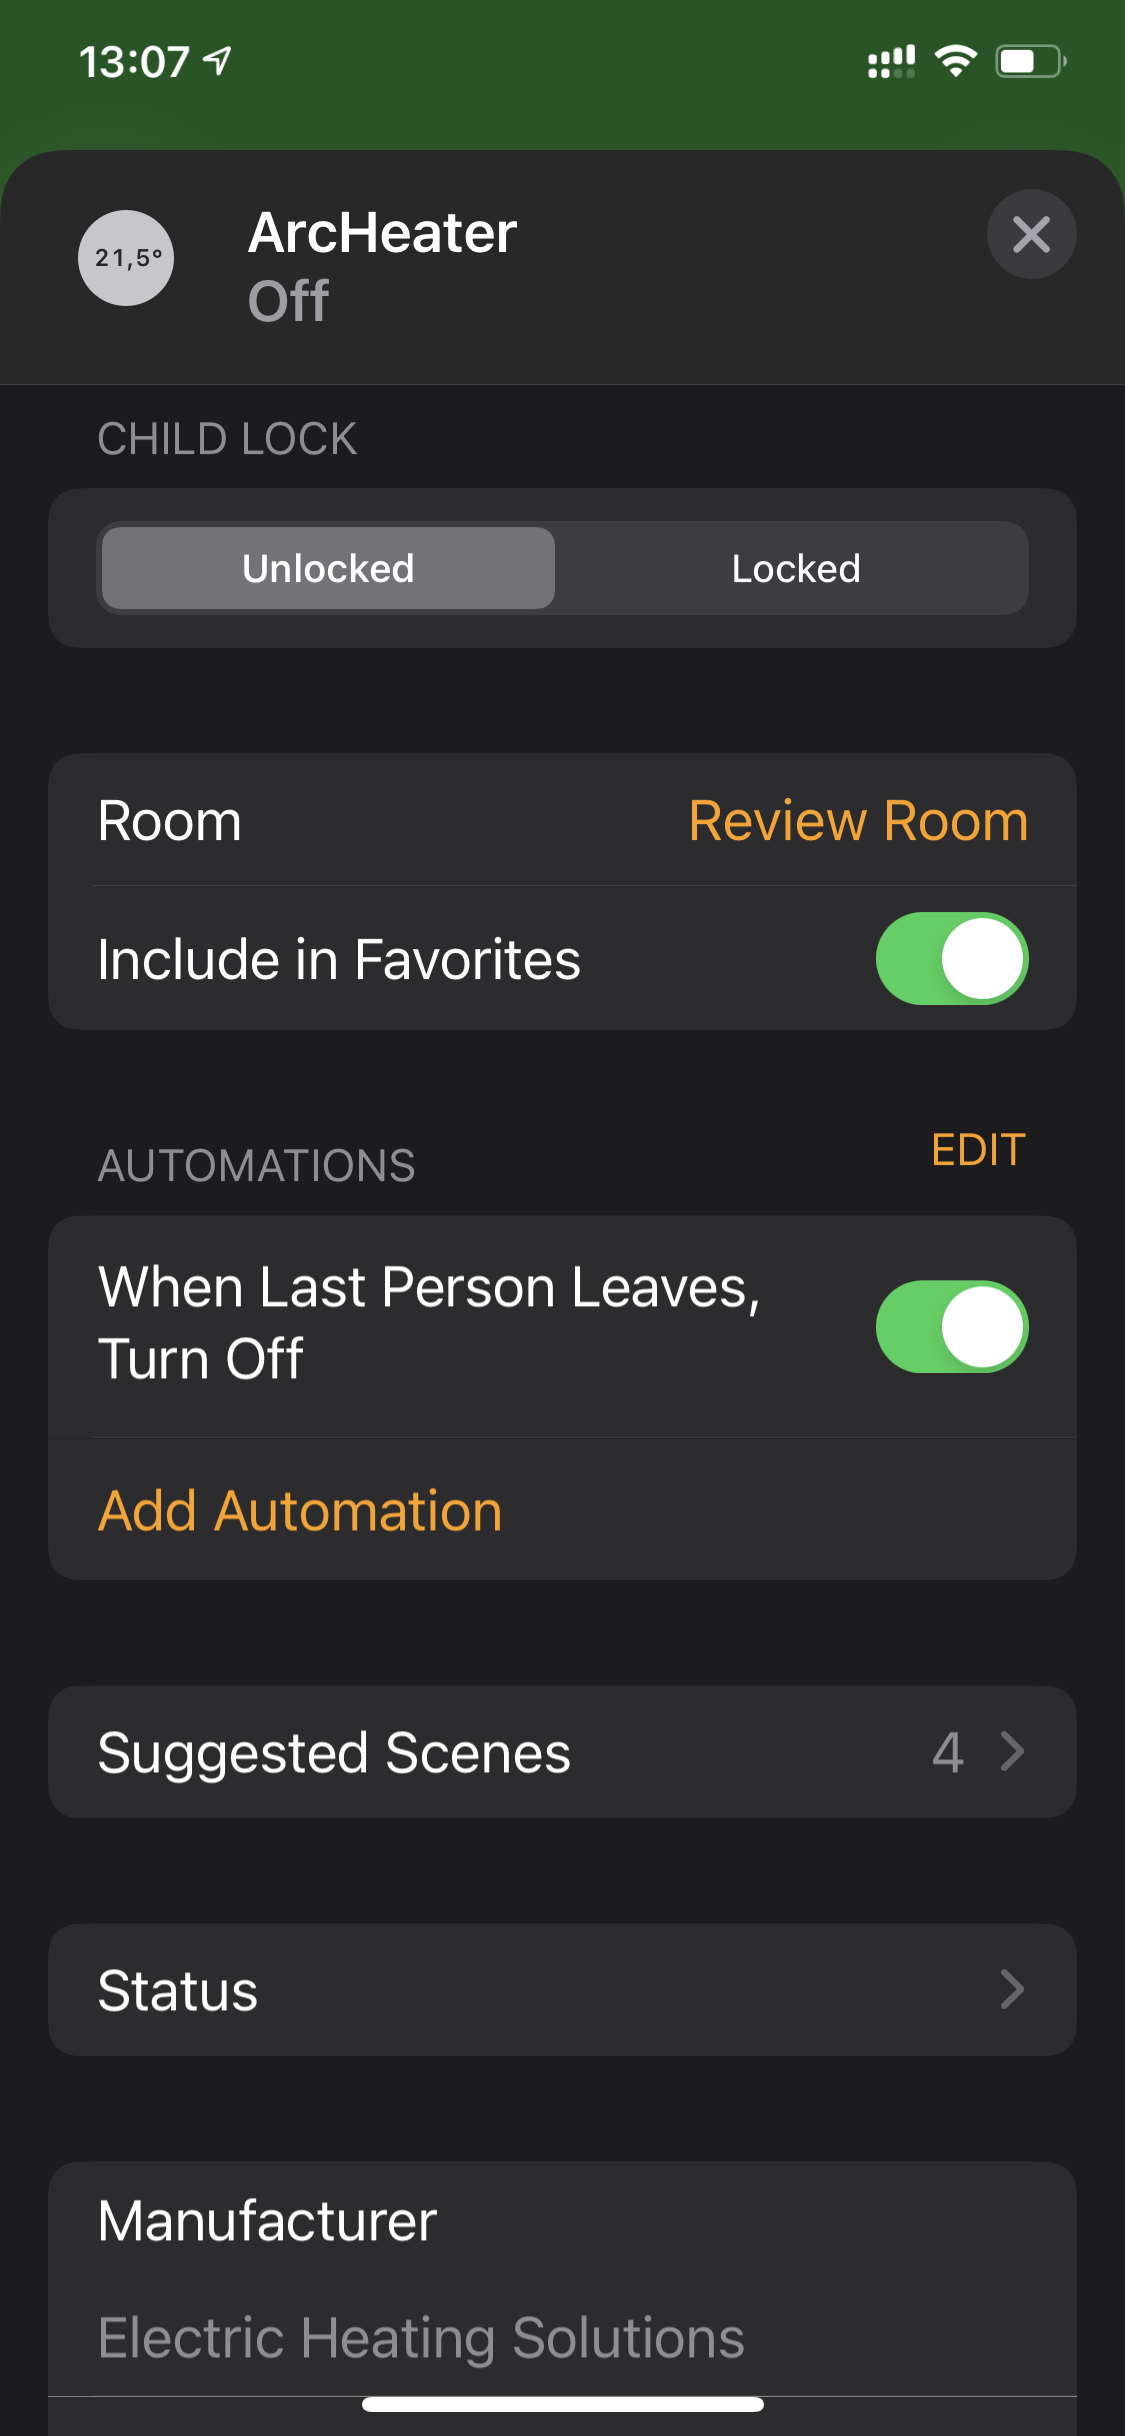
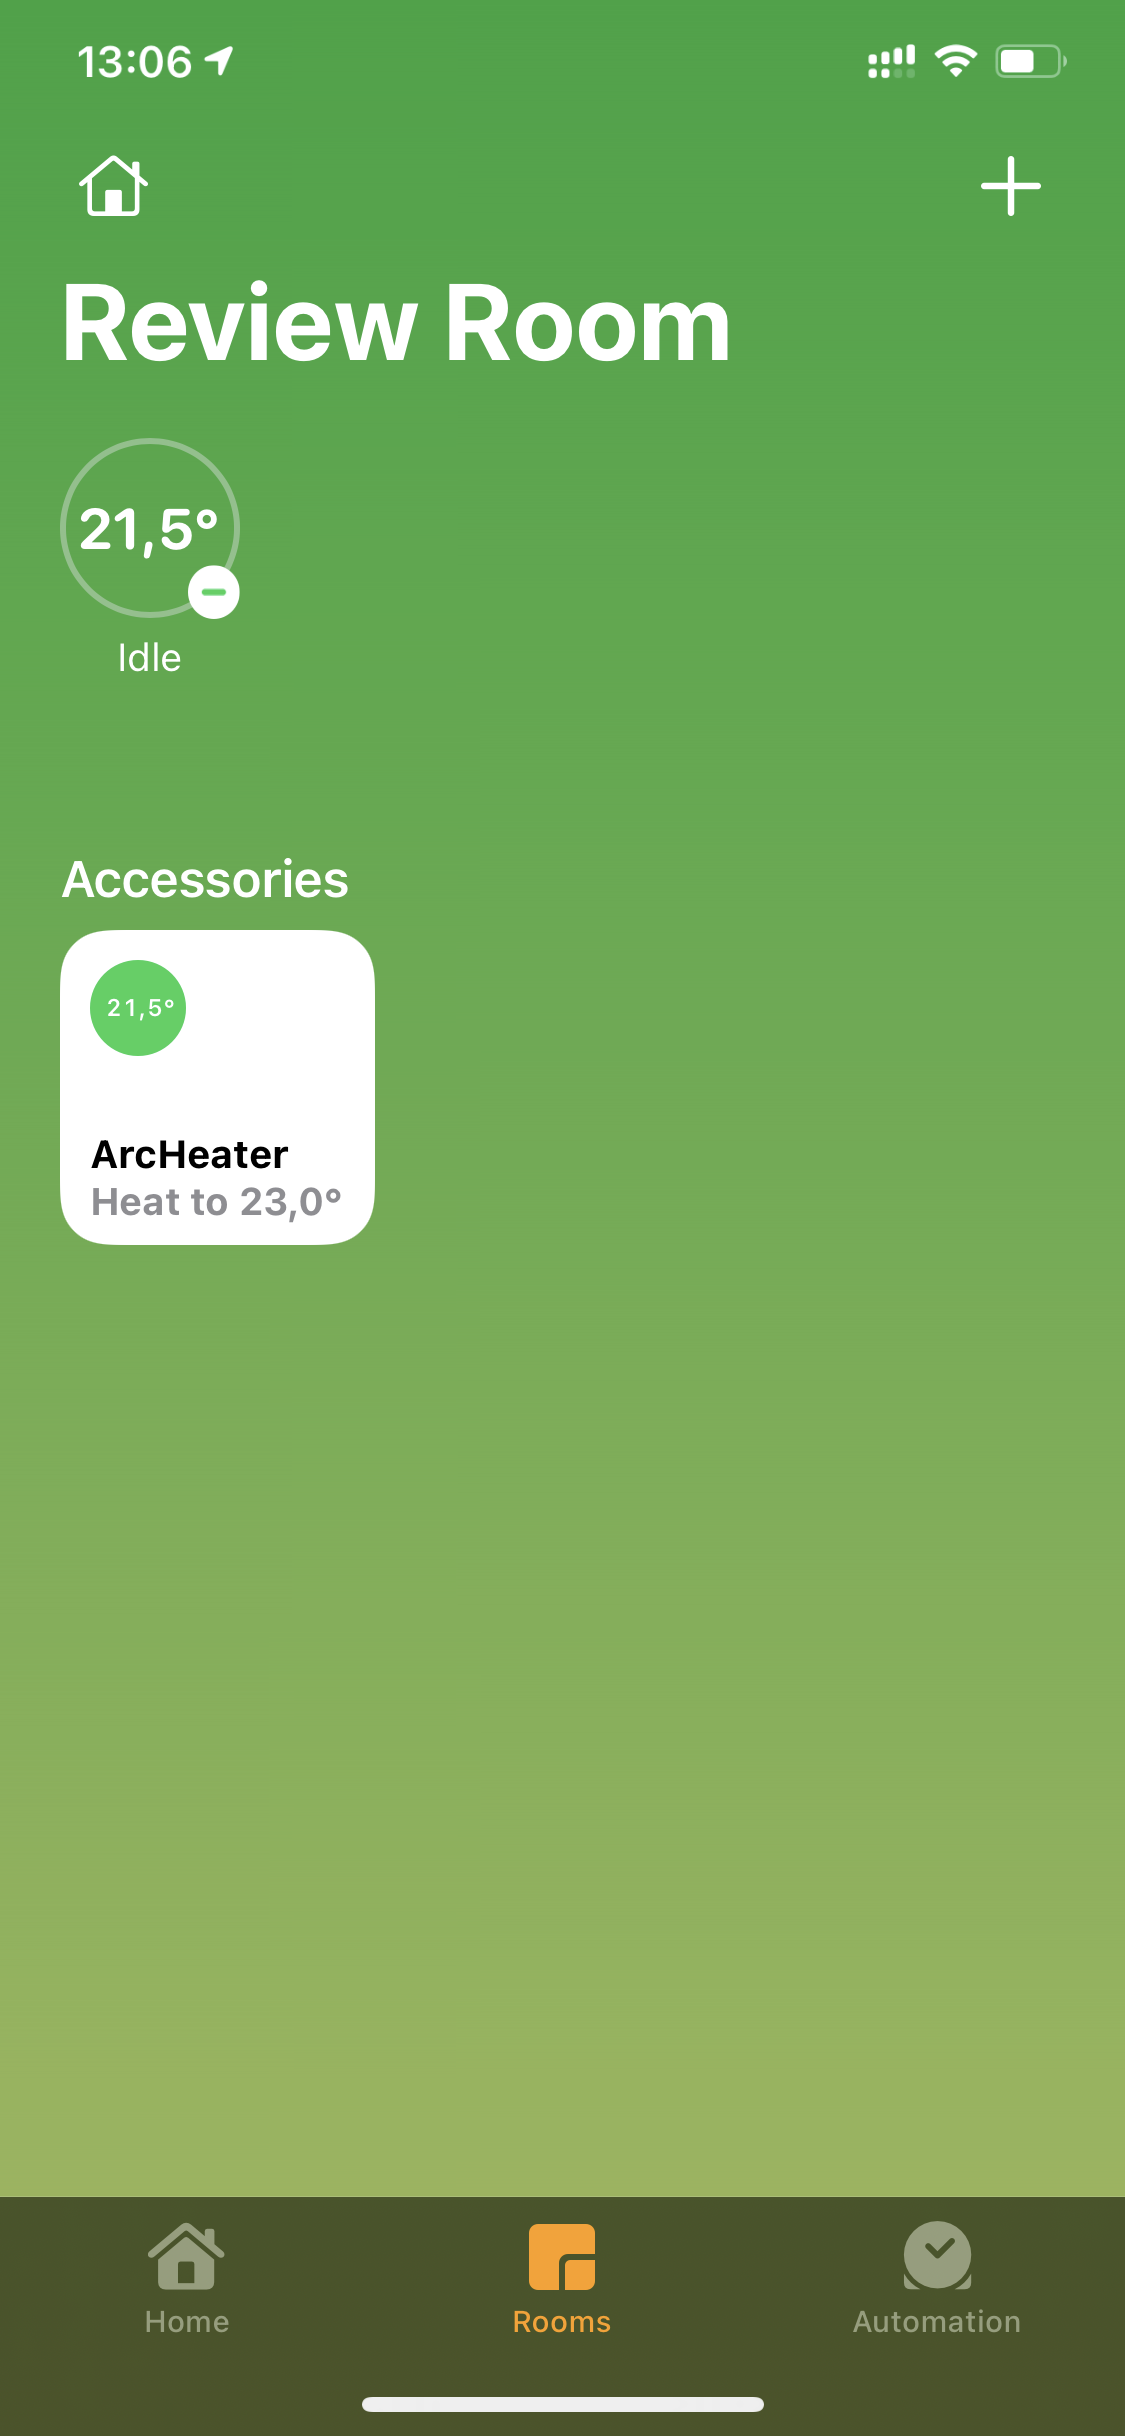
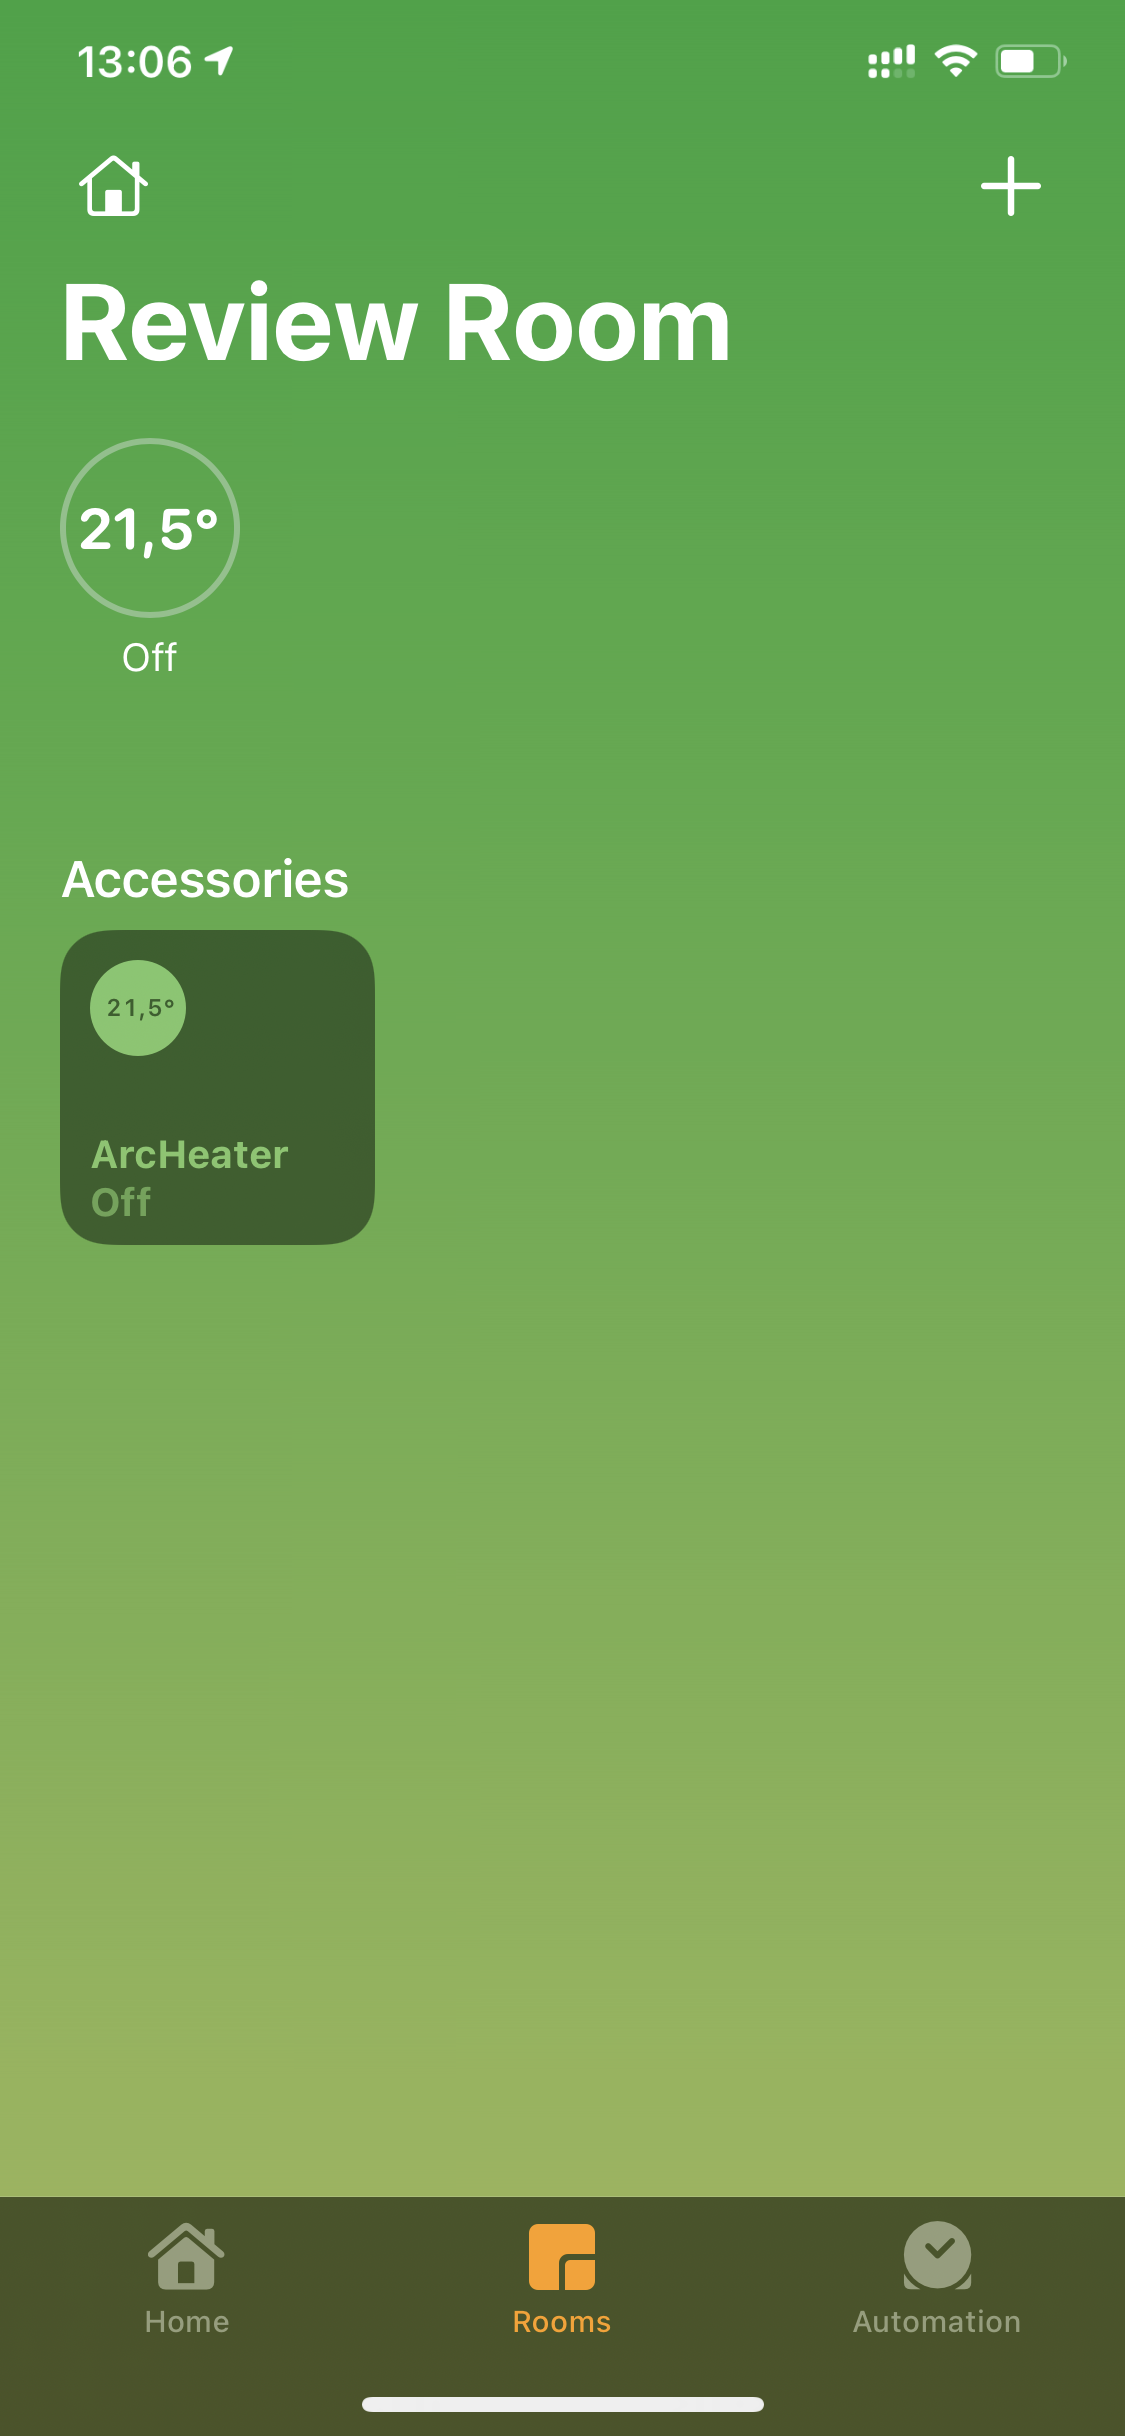
The most interesting way to control the Rio Arc is with HomeKit automations. You can use any triggers and conditions available for each device in the HomeKit system to do this. The commands that Rio Arc can perform in automations in conjunction with triggers, are turning the device on and off, and setting the target temperature. This gives you a lot of possibilities. For example, you can program the Rio Arc to turn on or off at a given time, or at different times, depending on the days of the week. You can also make the Rio Arc turn on or off depending on the temperature, not only from the temperature measured using the built-in sensor, but any sensor available in your HomeKit system. You can also use geo-location and program your automation in such a way that Rio Arc will turn itself off after the last person leaves the house, or it can turn on when one of the household members is on the way home, because you can use any location for this, not only home, which affords you the time and opportunity for the Rio Arc to heat the room before you actually arrive home. There are many possibilities, and you can use almost everything that is available in HomeKit. However, it should be remembered that the Home app itself, unfortunately, does not support all automation options (like temperature) that are available in HomeKit, and for this purpose we often have to reach for other HomeKit apps from third parties. One such example, apart from the automation options already mentioned, is the ‘Child Lock’ feature in the Rio Arc. Unfortunately, this feature is not available for automations in the Home app even if you can toggle it on and off in the settings, but is available when using other HomeKit apps.
Additionally, HomeKit allows you to check the status of the device and control it from remotely, when we are away from home. You can also change, delete or create automations remotely. for this you will, of course, need access to the internet and one of the devices that act as an active Home Hub – an Apple TV, HomePod, or iPad, logged into the same iCloud account.
CONTROL VIA THE RIO HEATING APP

Simultaneously, or completely independently of the HomeKit system, you can use the Rio Arc with the company’s own app that uses a cloud-based system from Rio Heating. The Rio Heating App is designed very clearly, which makes it very easy to use. As with any cloud-based system that allows you to manage devices from outside the home, firmware/hardware updates, and receiving push messages, requires the setting up of an account within the app. As with most HomeKit devices, you will need the Rio Heating app for any firmware updates.
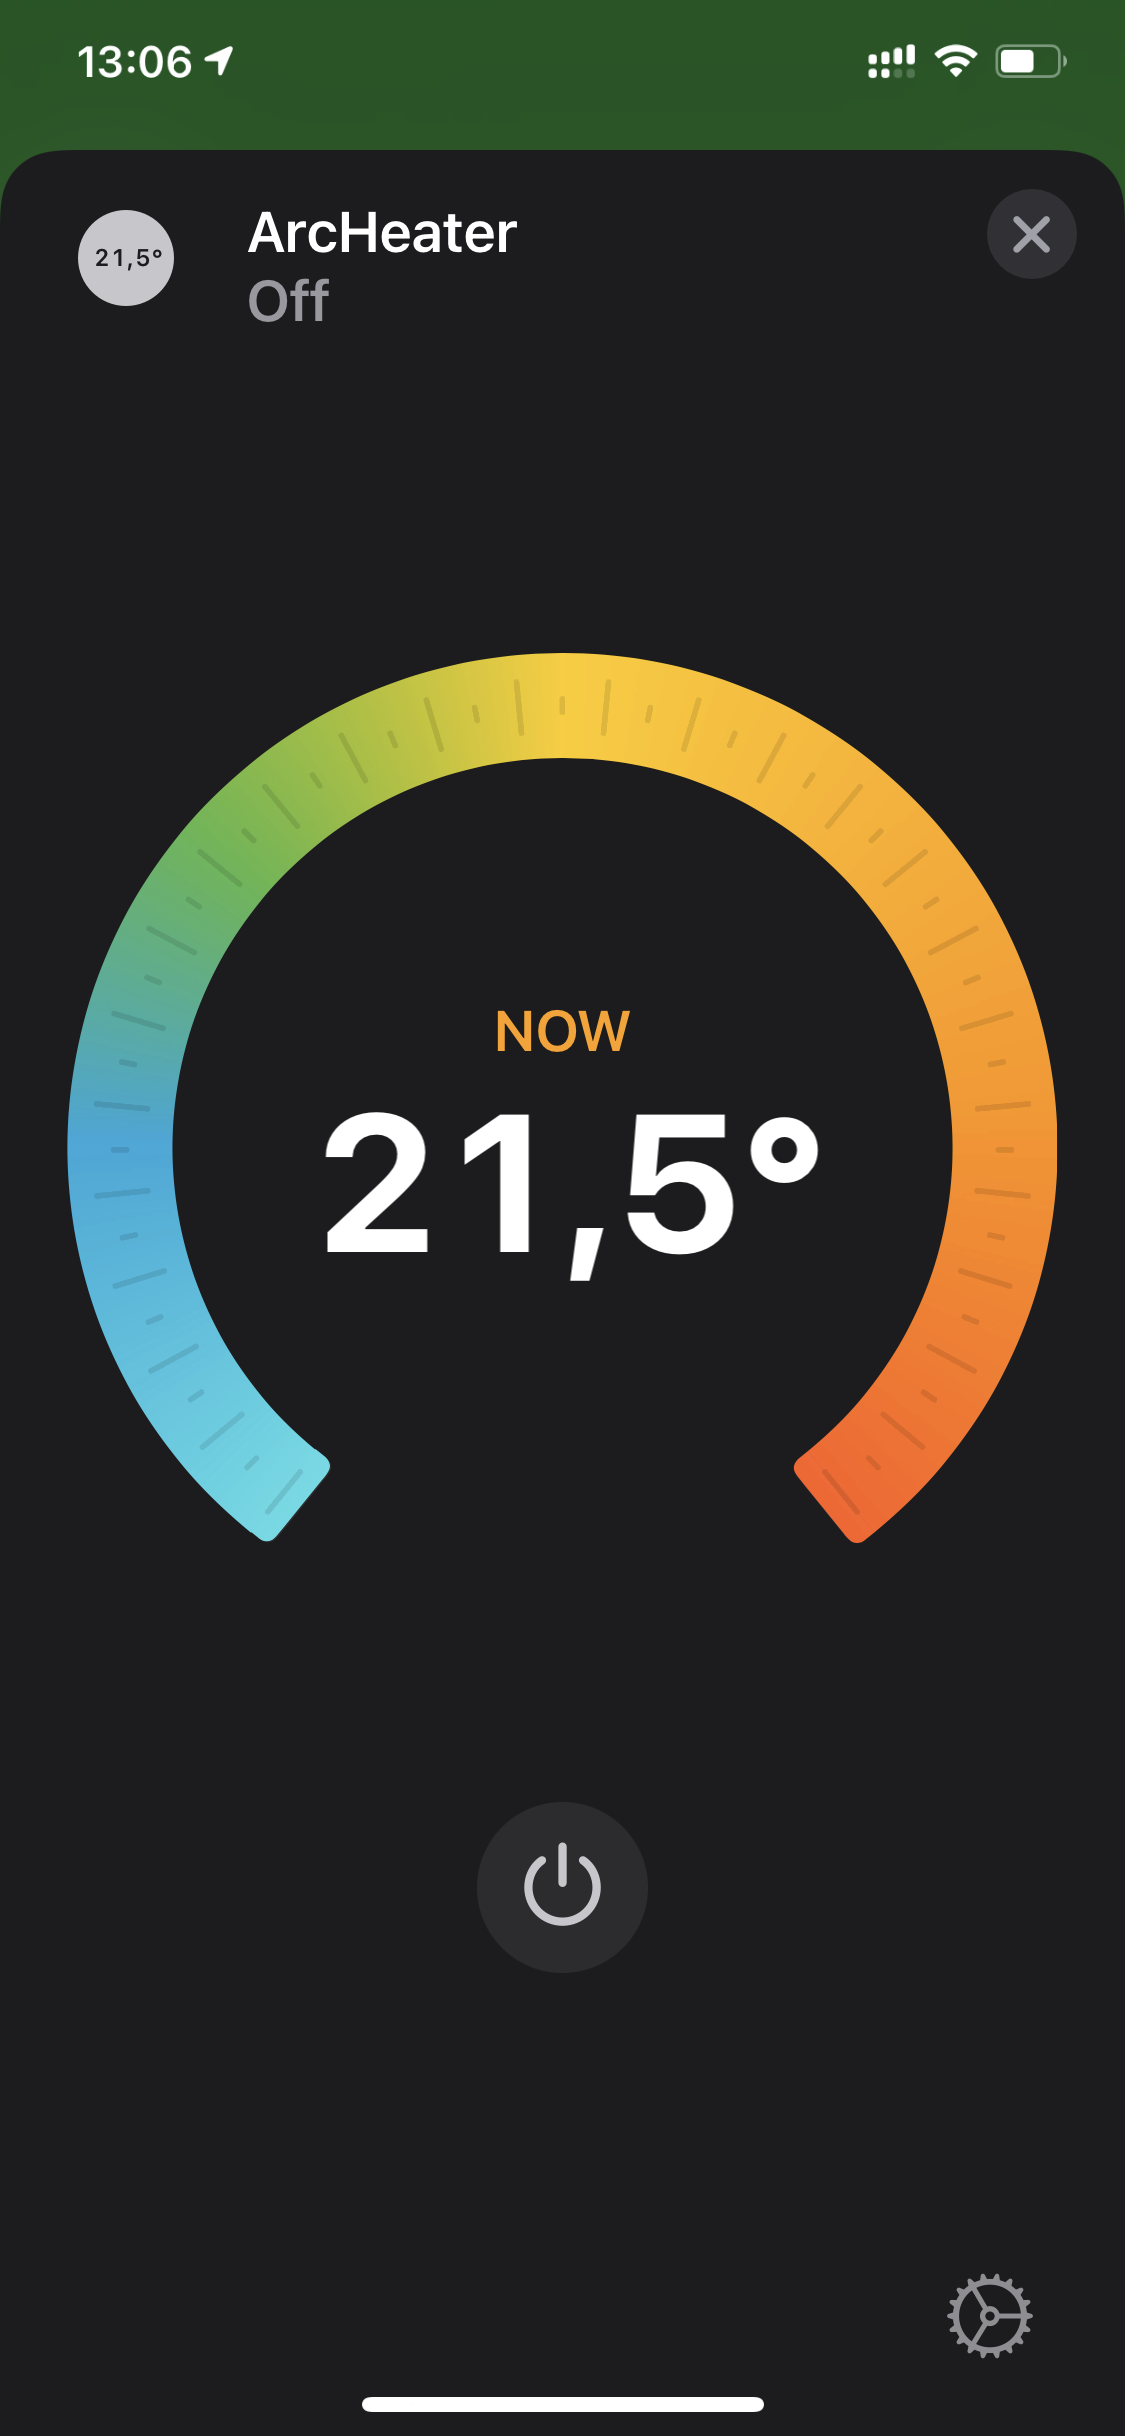
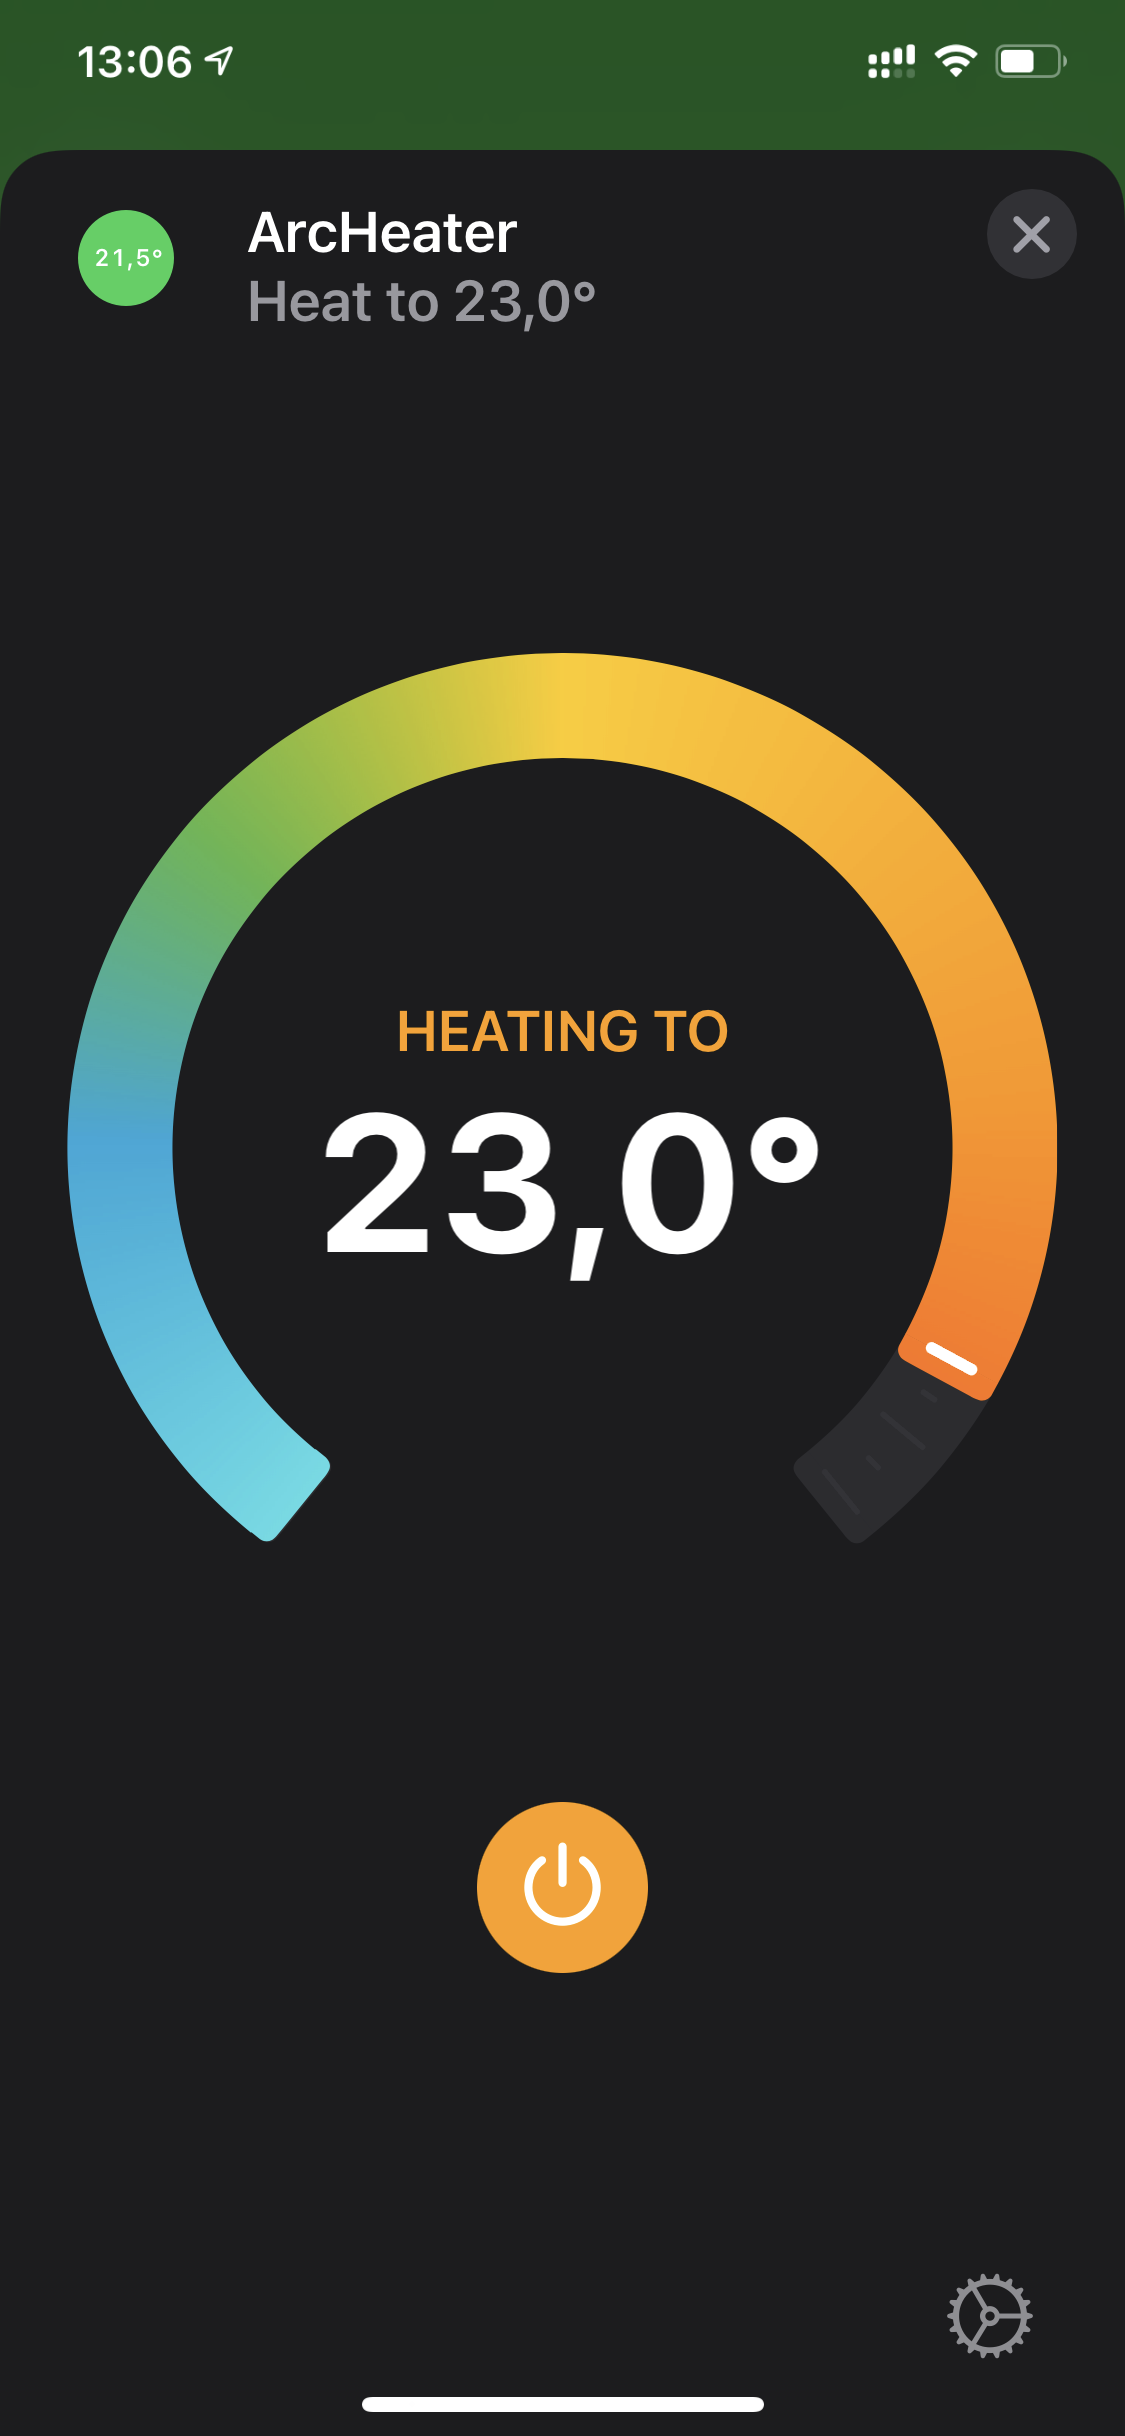
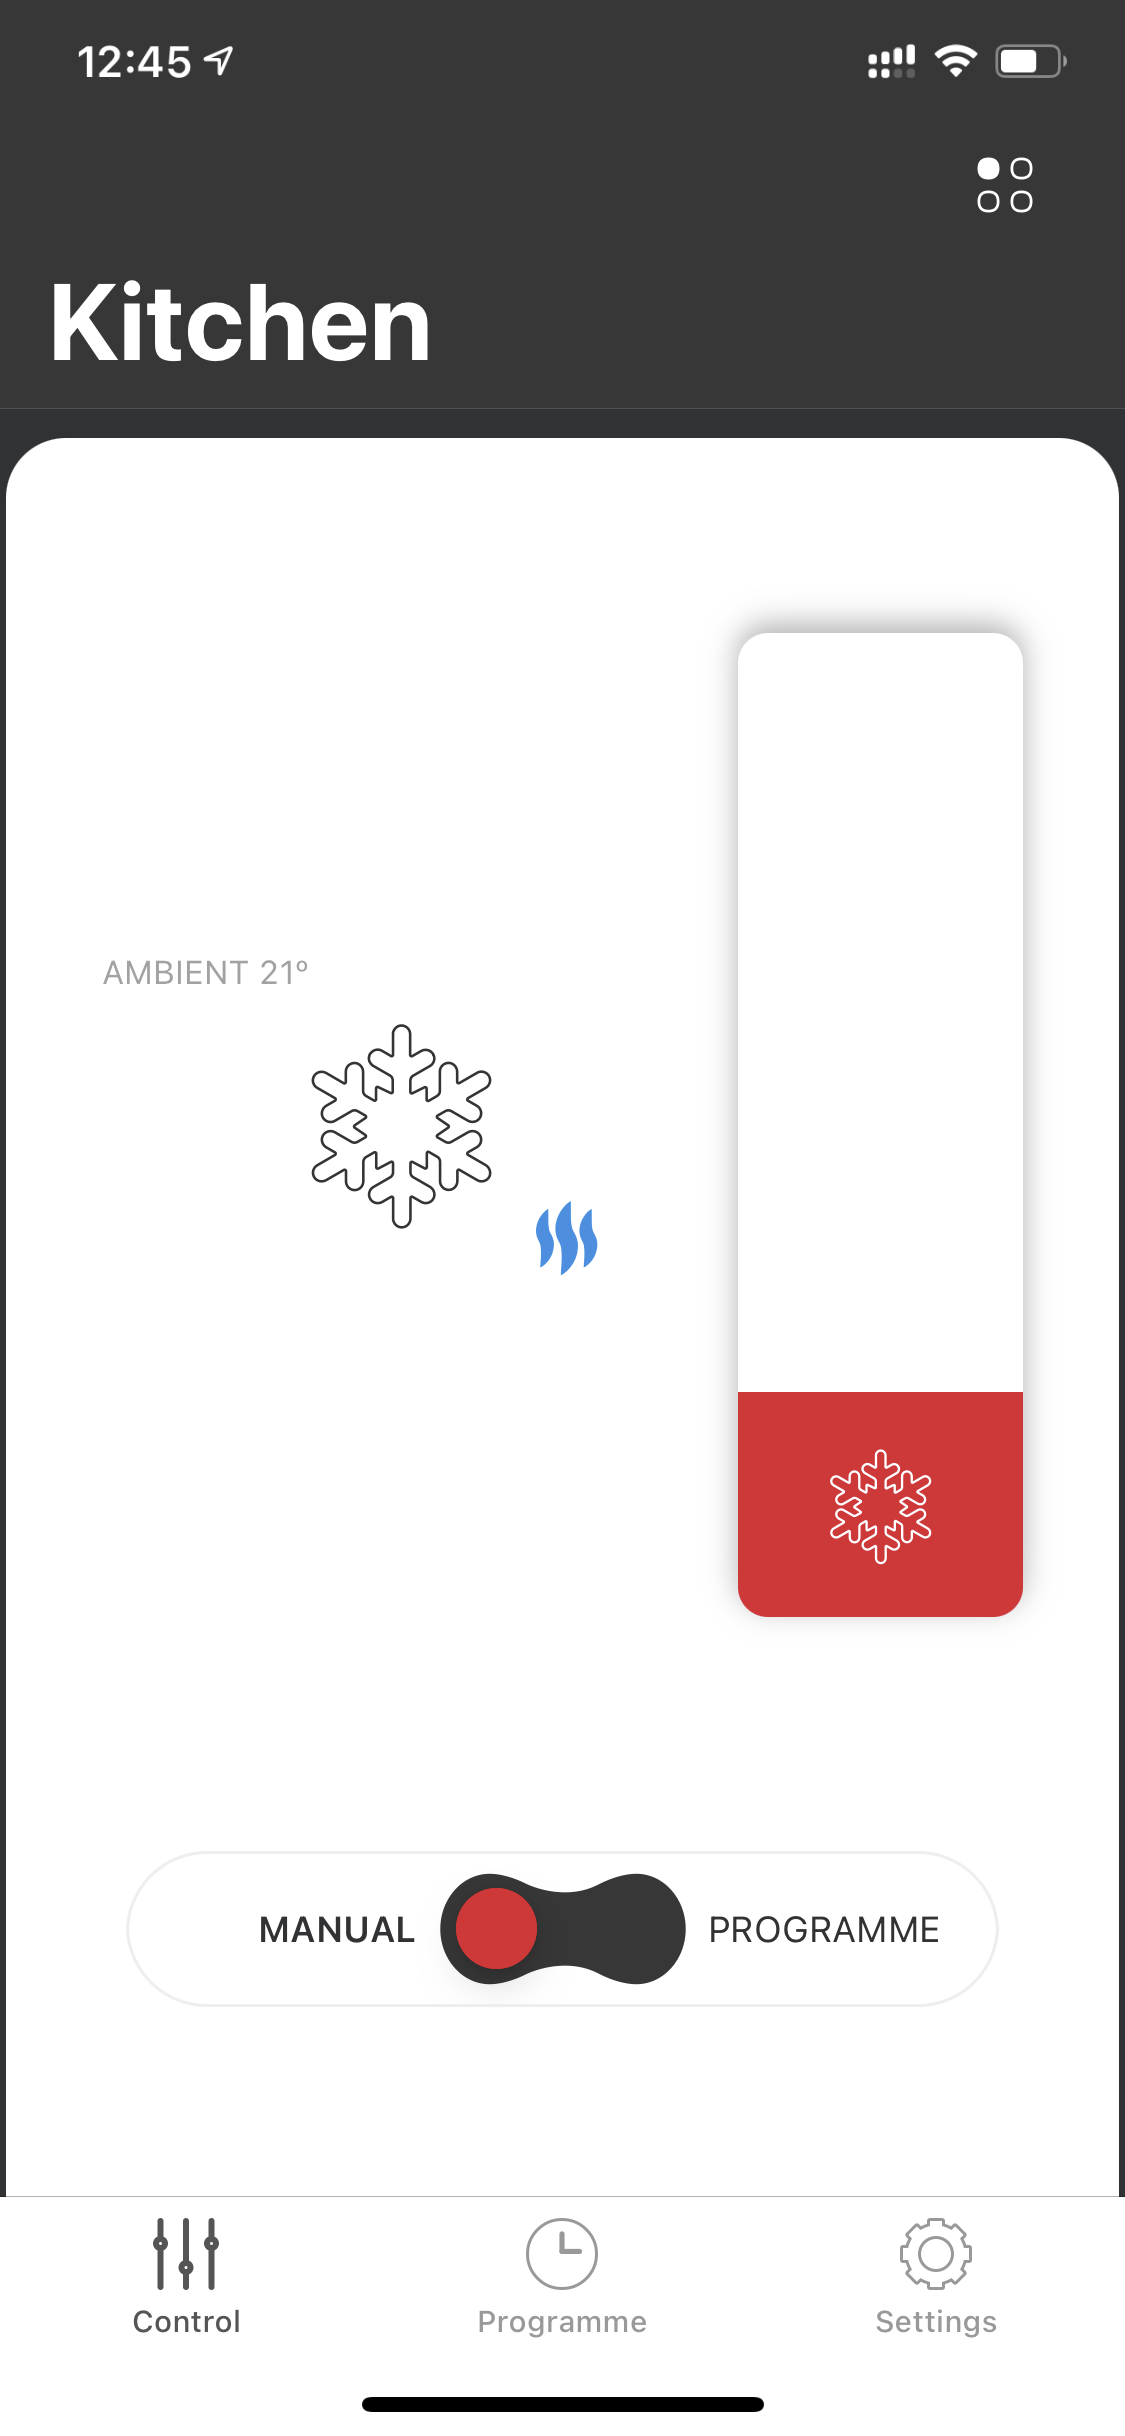
On the main screen, you can choose which device you want to control (if you have more than one) and from there, see the options and settings of the specific device, which are current temperature and target temperature, which have a slider for setting the target temperature along with switch to change the mode on the Rio Arc. A Manual mode is available so that you can control the device yourself, as well as the Program mode where pre-programmed programs are used.
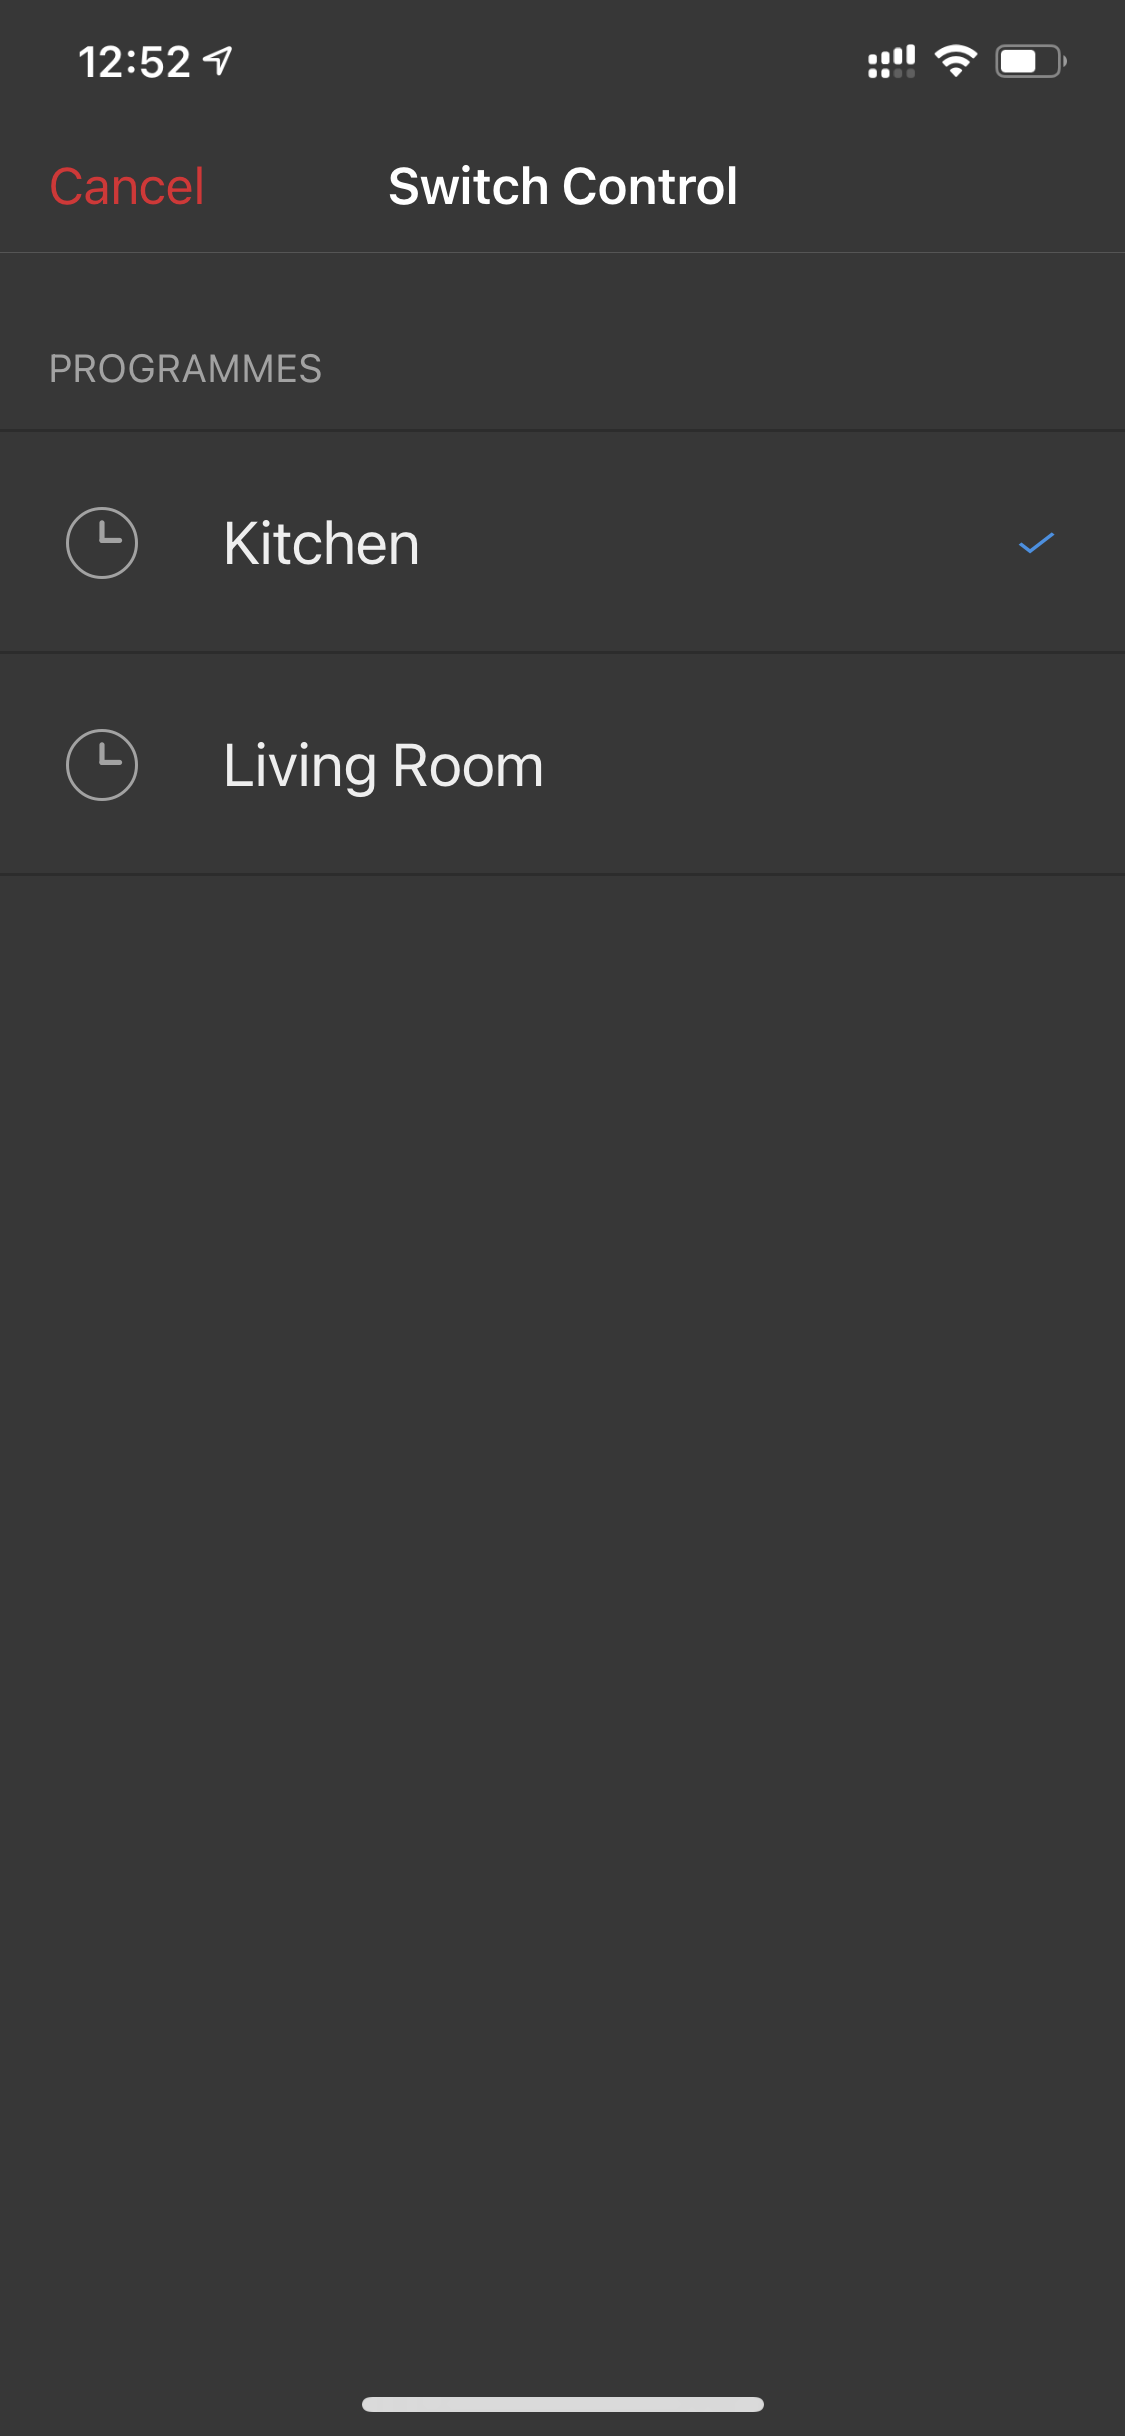
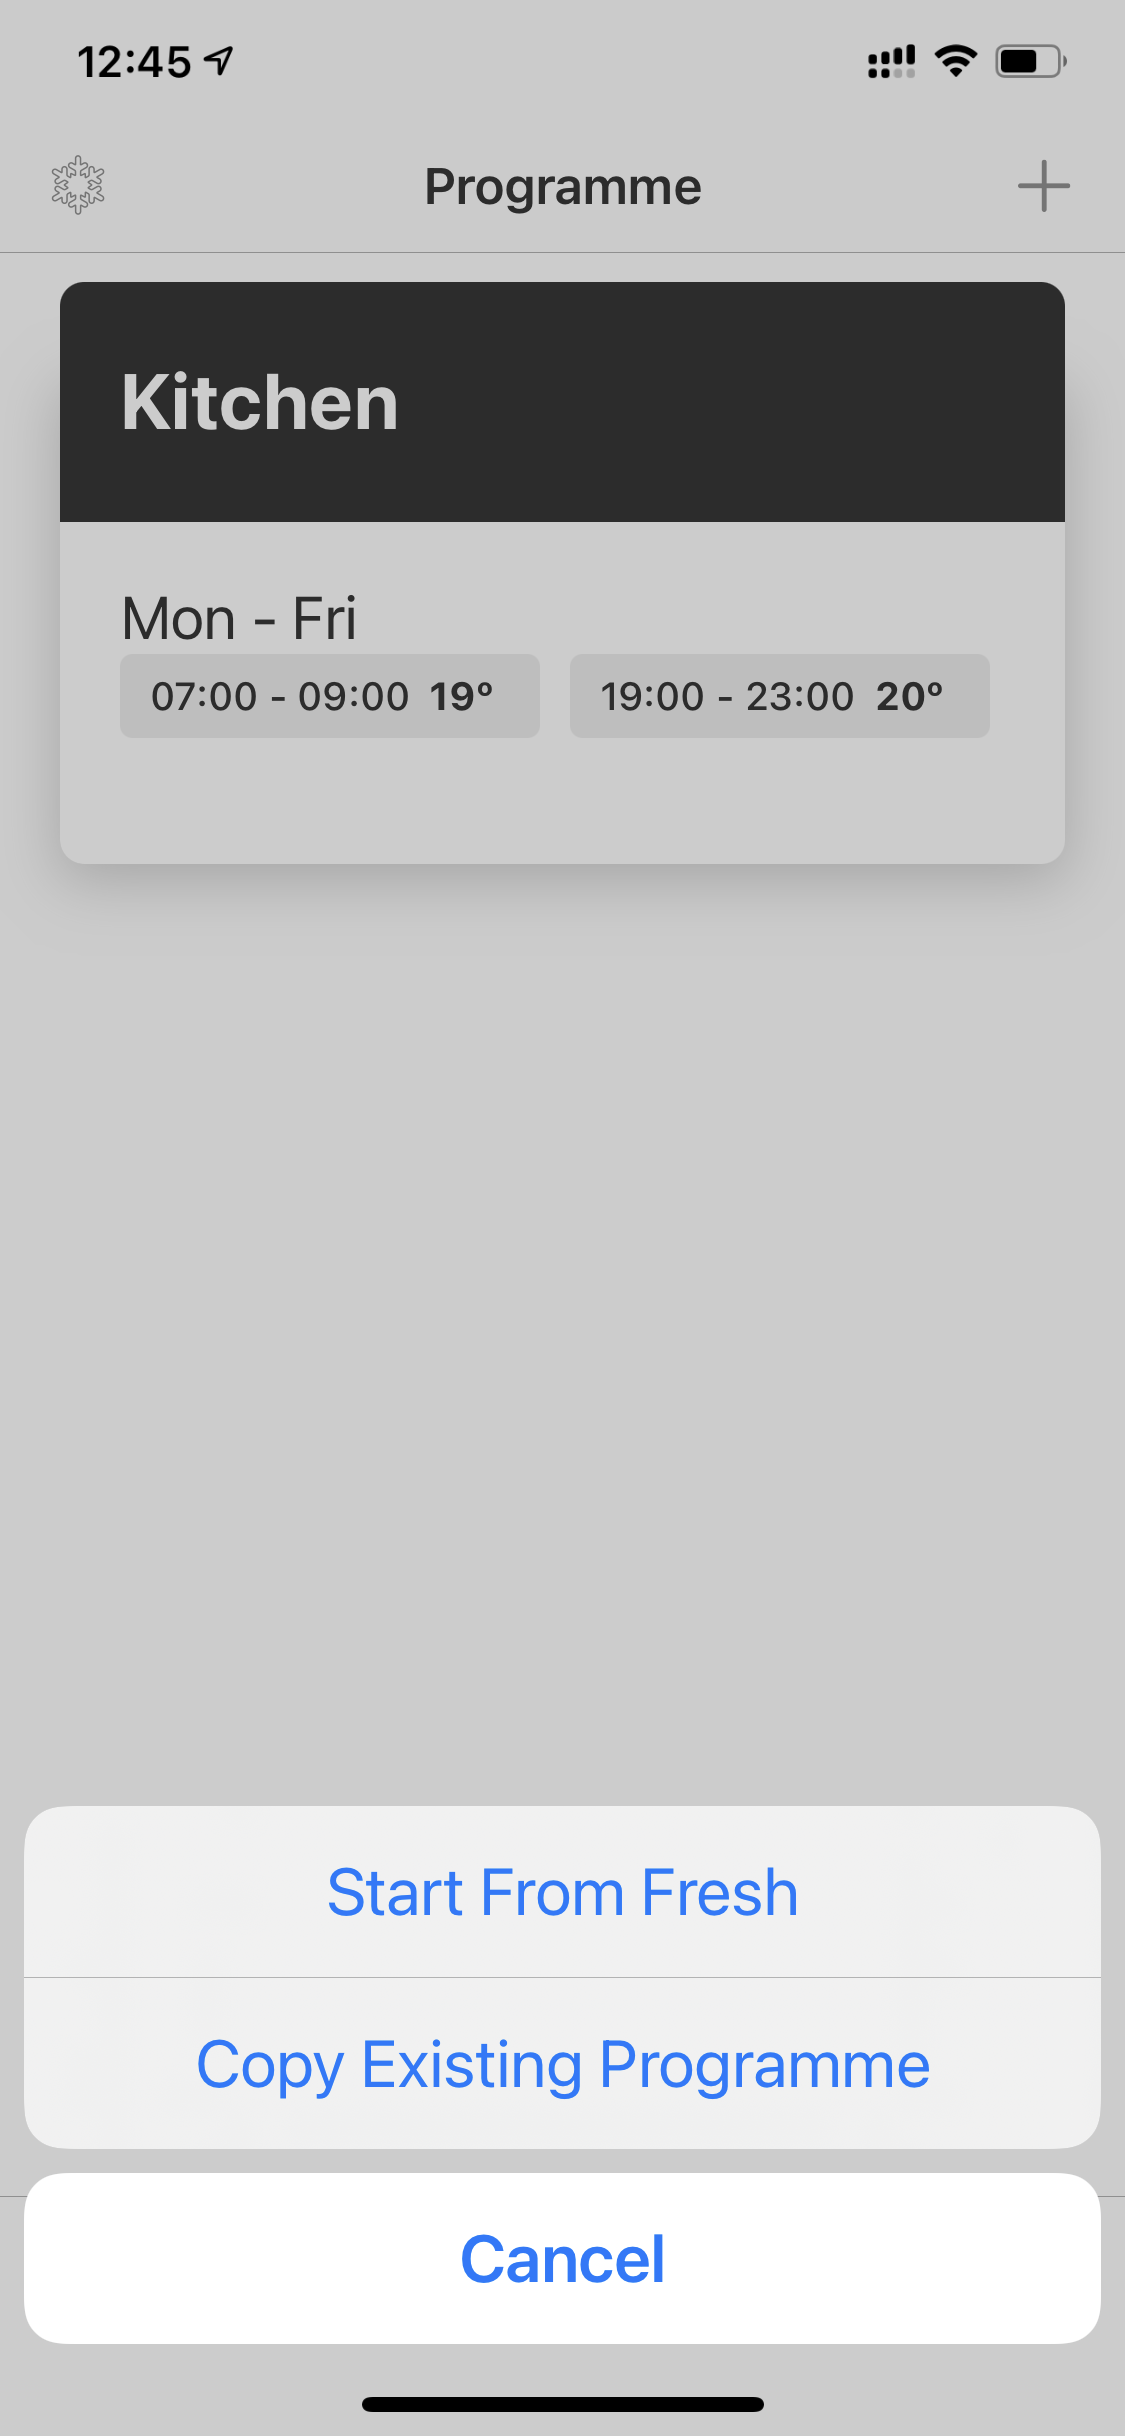
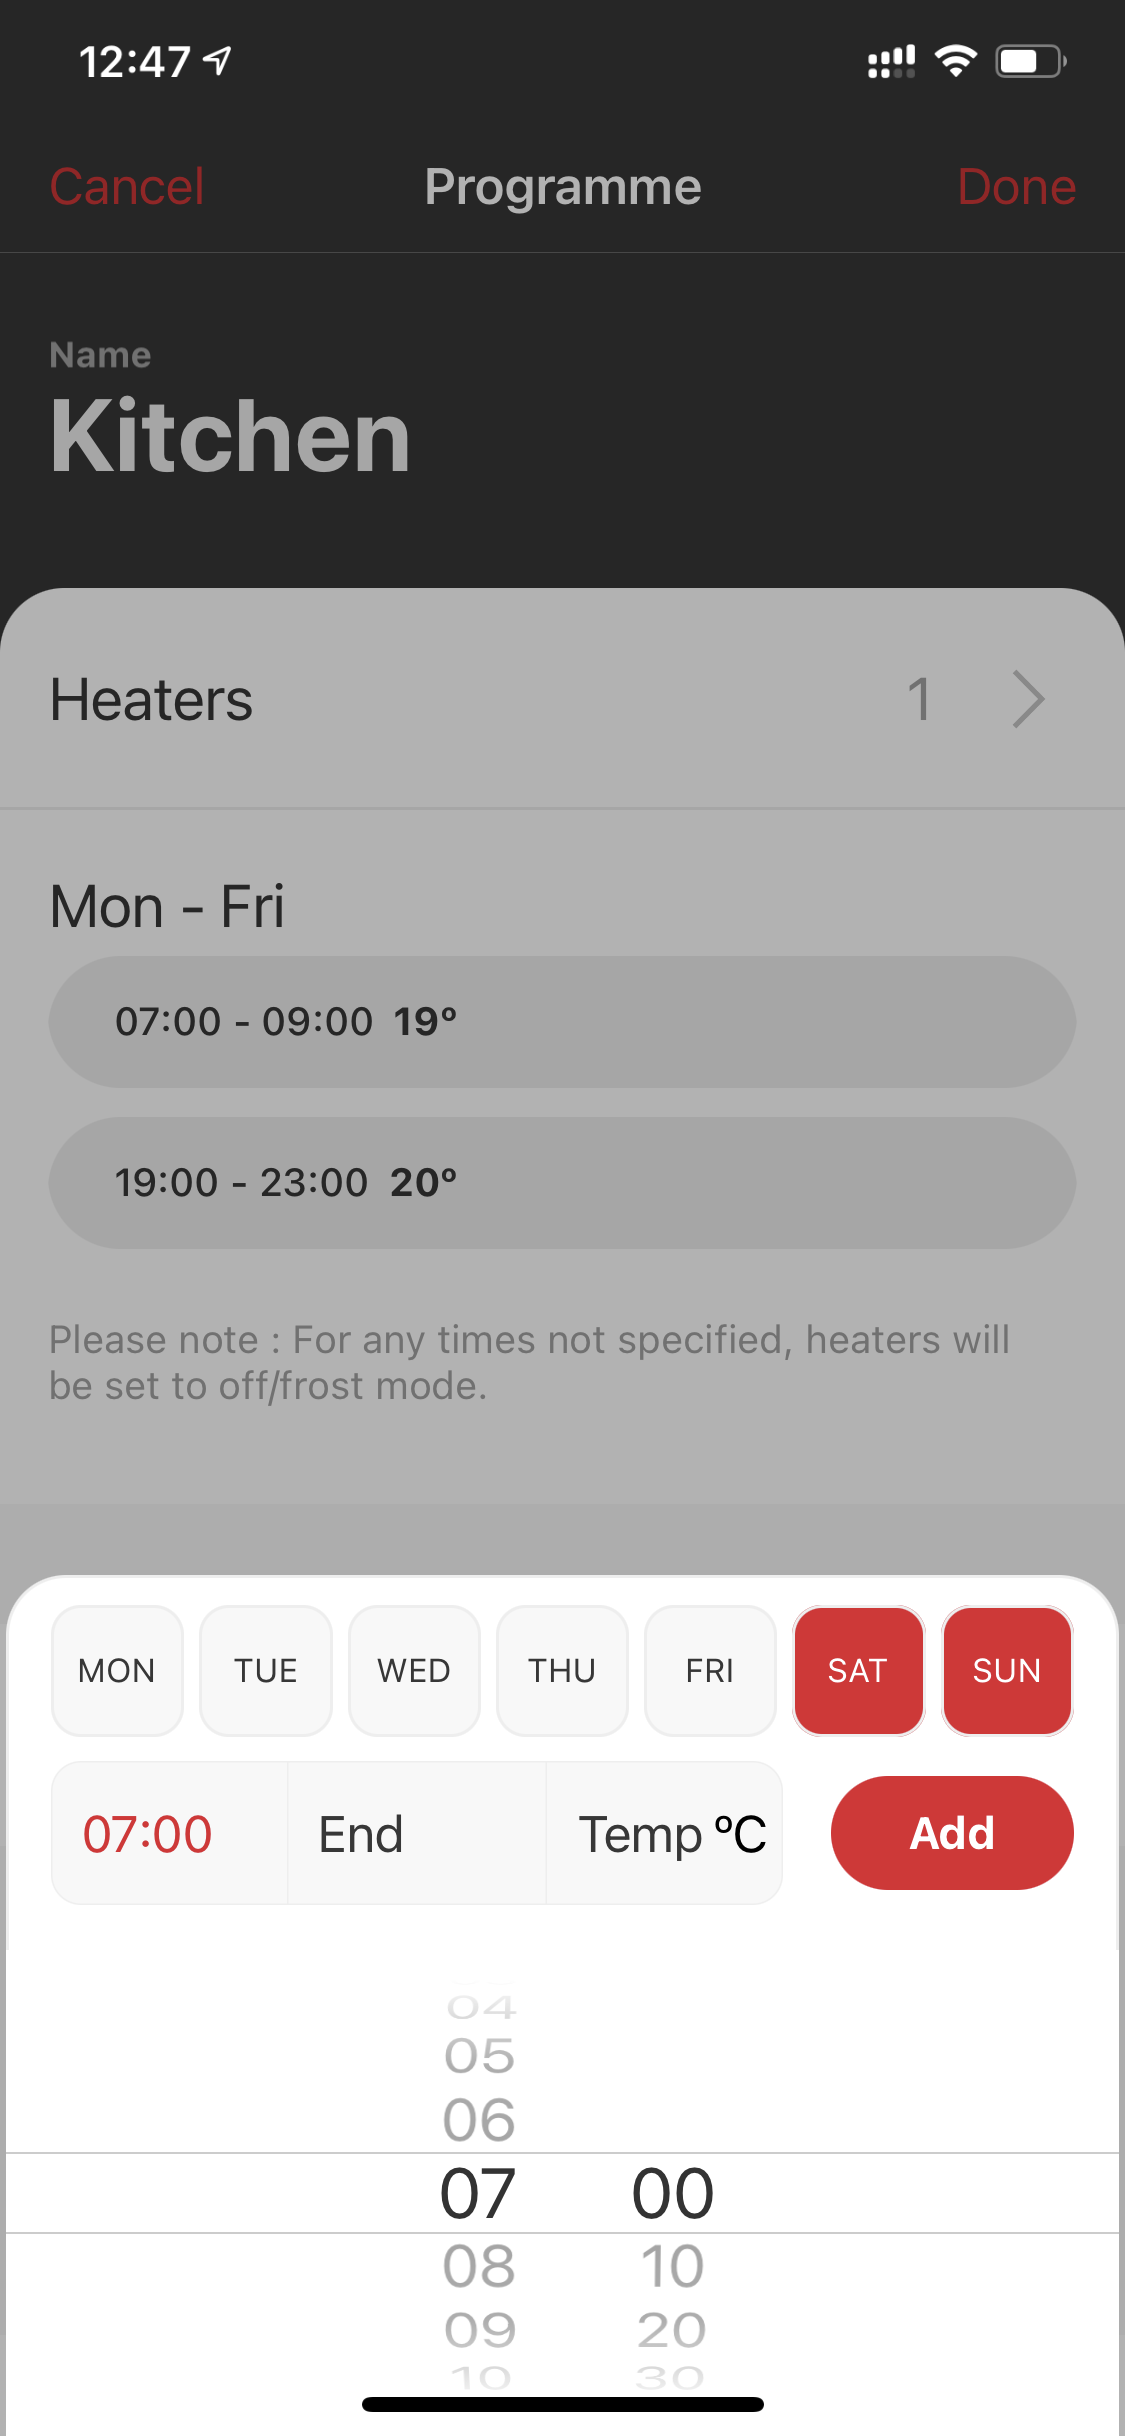


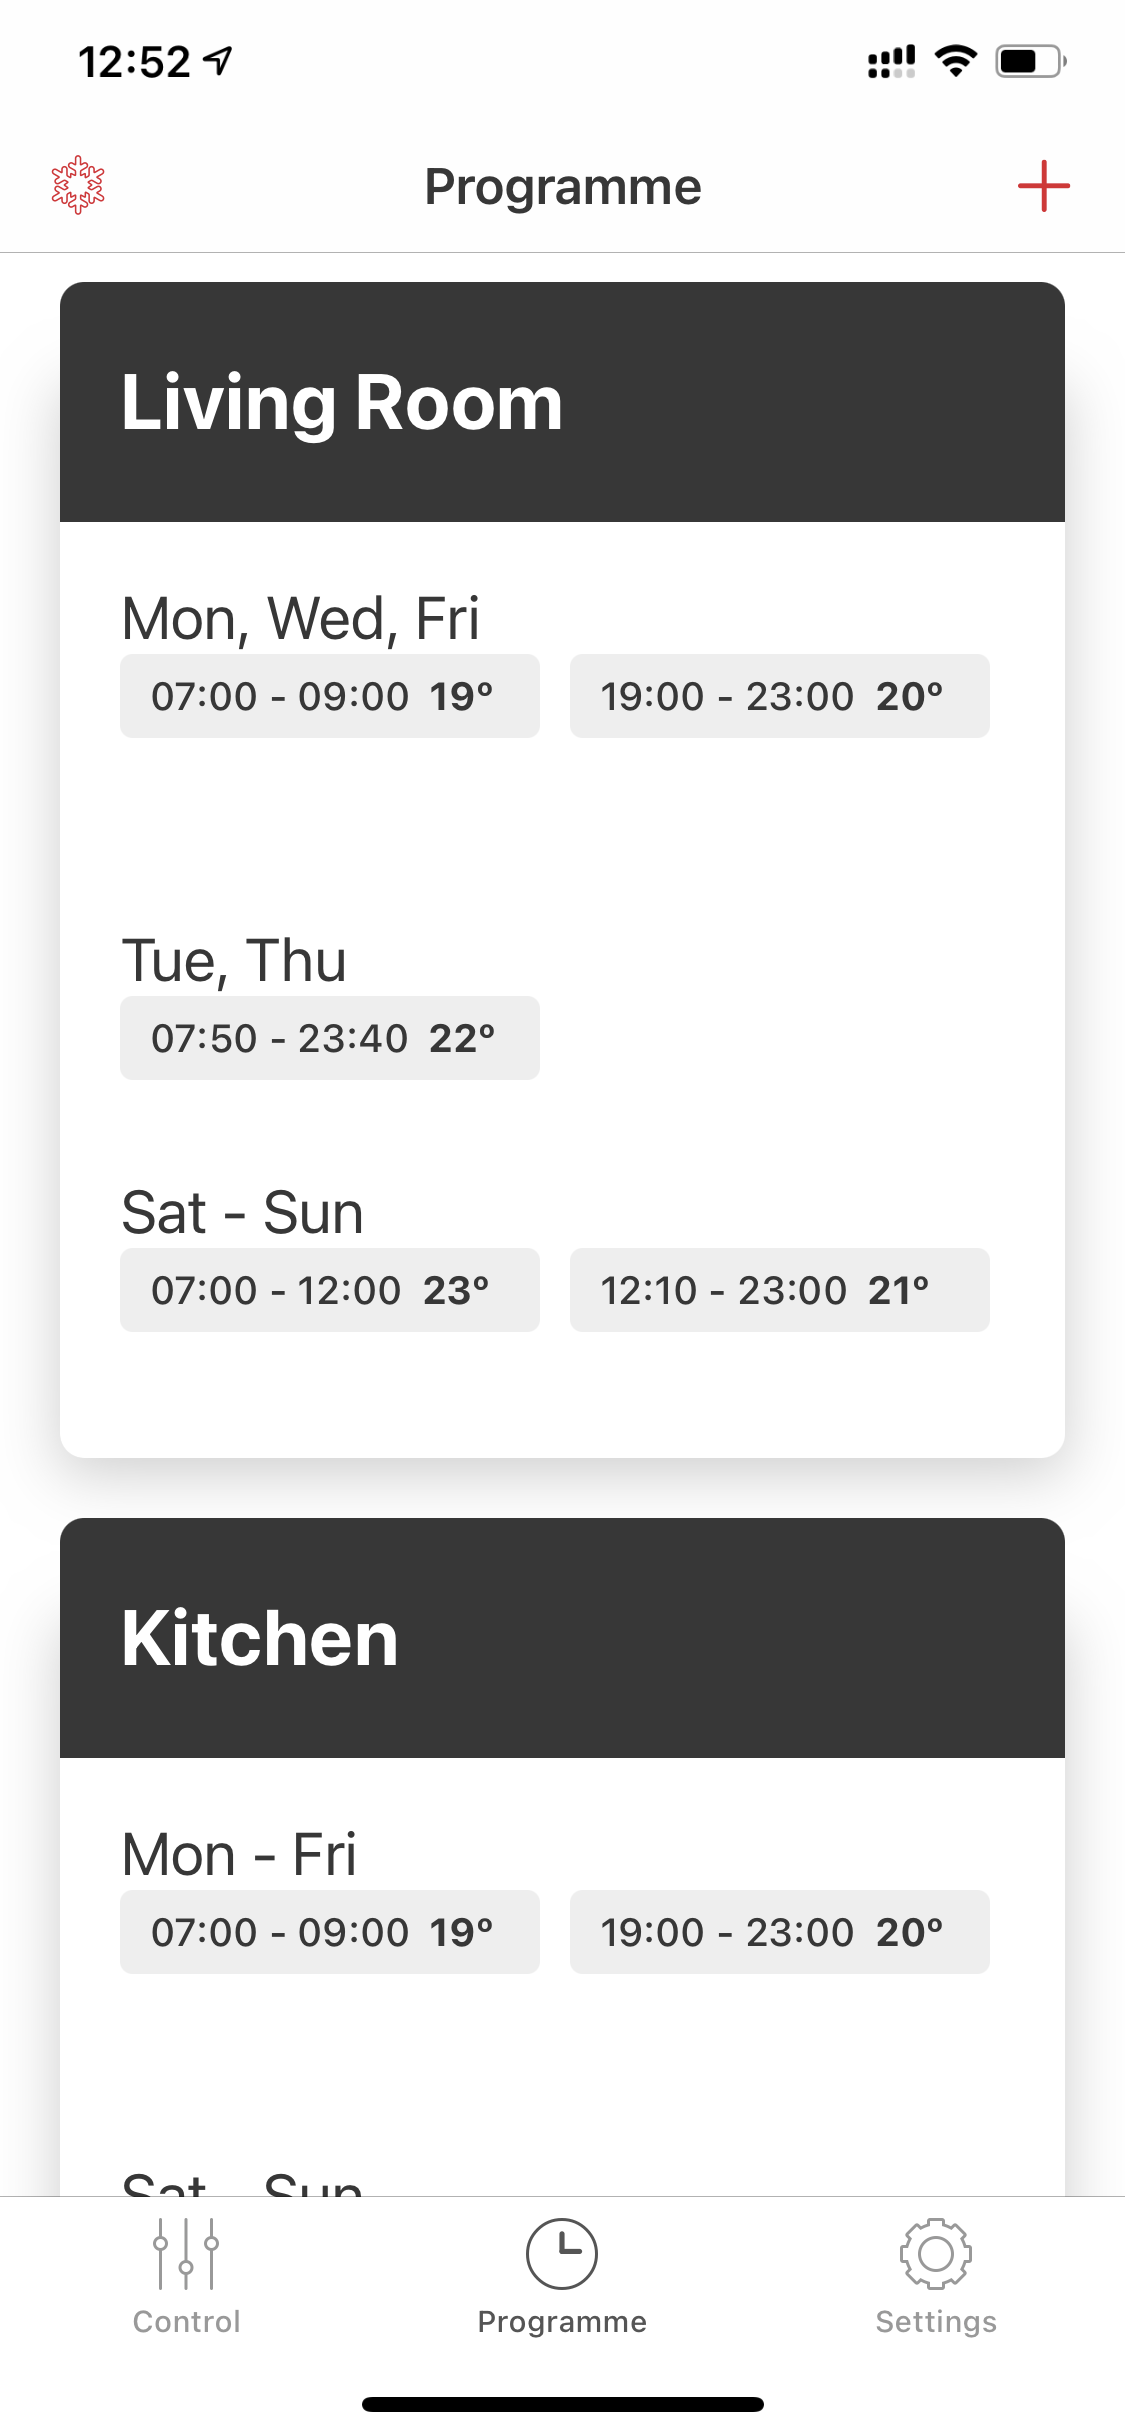

Programs can include one radiator or group of radiators, and can include any number of separate time-based ‘Scheduled’ on, off, and temperature adjustments for all devices that can be added to the program. If you want to have different schemes for each of the radiators then you have to create separate programs for the individual devices, as each device can only be added to one program. When creating schedules, you can choose any day or a selection of days, set the time in 10-minute increments, and choose a temperature in the range from 15º to 25ºC. For some reason unknown to myself, it is not currently possible to select a temperature lower than 15ºC in the program, as it is actually possible when using the manual controls on the Rio Arc or within HomeKit.


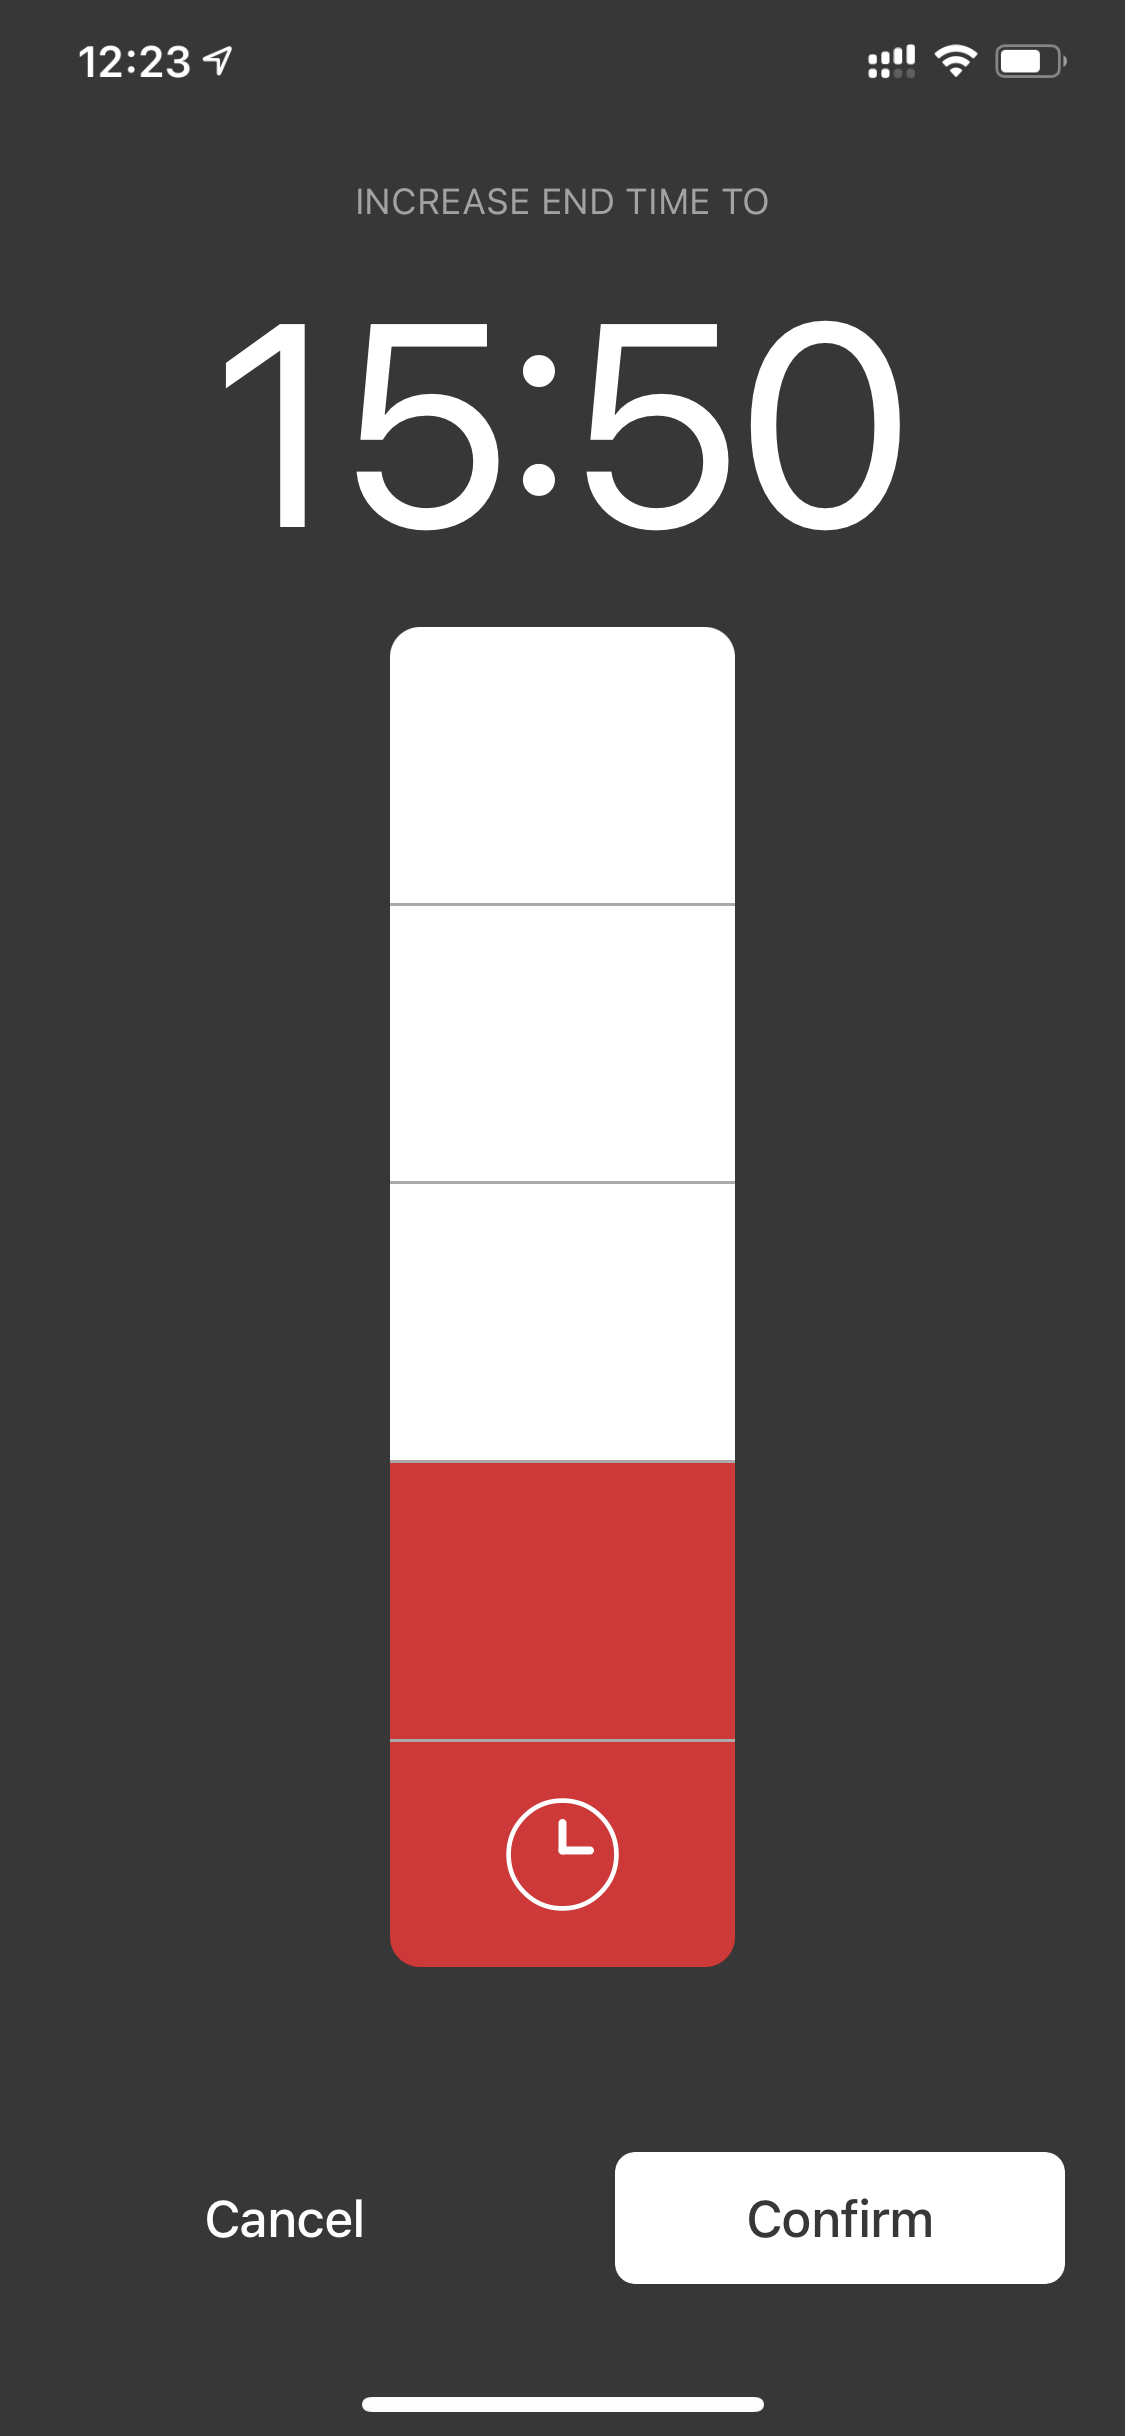
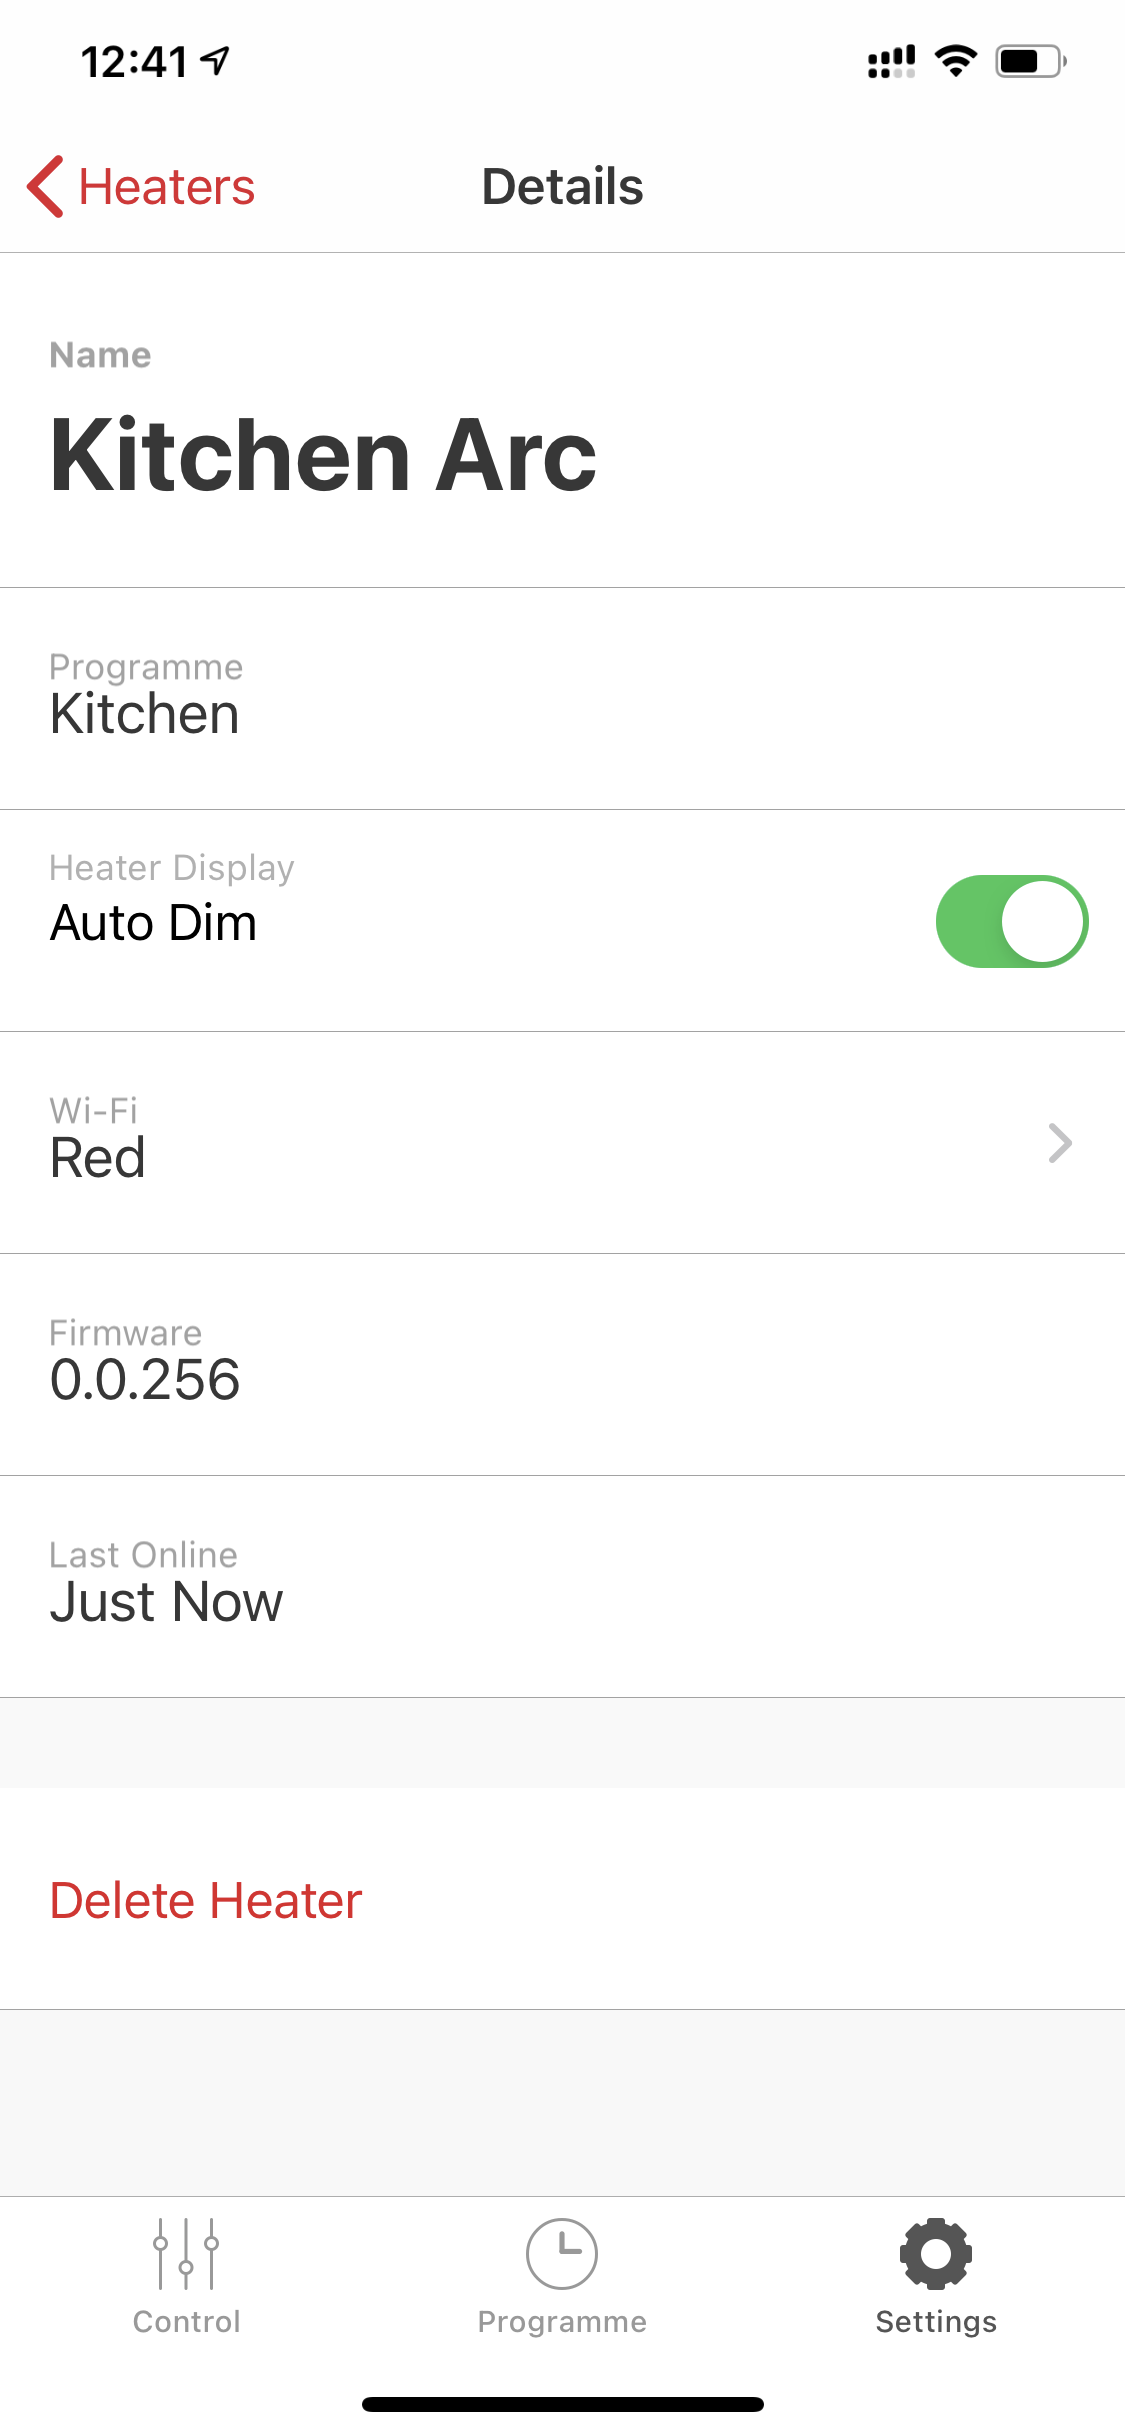

When using programs, there are also options to temporarily modify the programs by changing the temperature, extending the current program or directly running the next ‘Next Cycle’ schedule. In the device options, you’ll find information such as the name of the Wifi network to which the device is connected, the current firmware version, information about when the system had the last contact with a given device, and which programs the device is assigned to. In addition, there is an option called ‘Auto Dim’ which temporary turn the screen on, but only when manual changes are made from the Rio Heating app. When this feature is active and changes are made via HomeKit, the screen never turns on. In the same section, you’ll also find a button that allows you to remove a given device from the system. Managing the ‘Child Lock’ function is also available in the app’s settings. Activating or deactivating this function applies to all devices assigned to the system and cannot be used for selective devices.
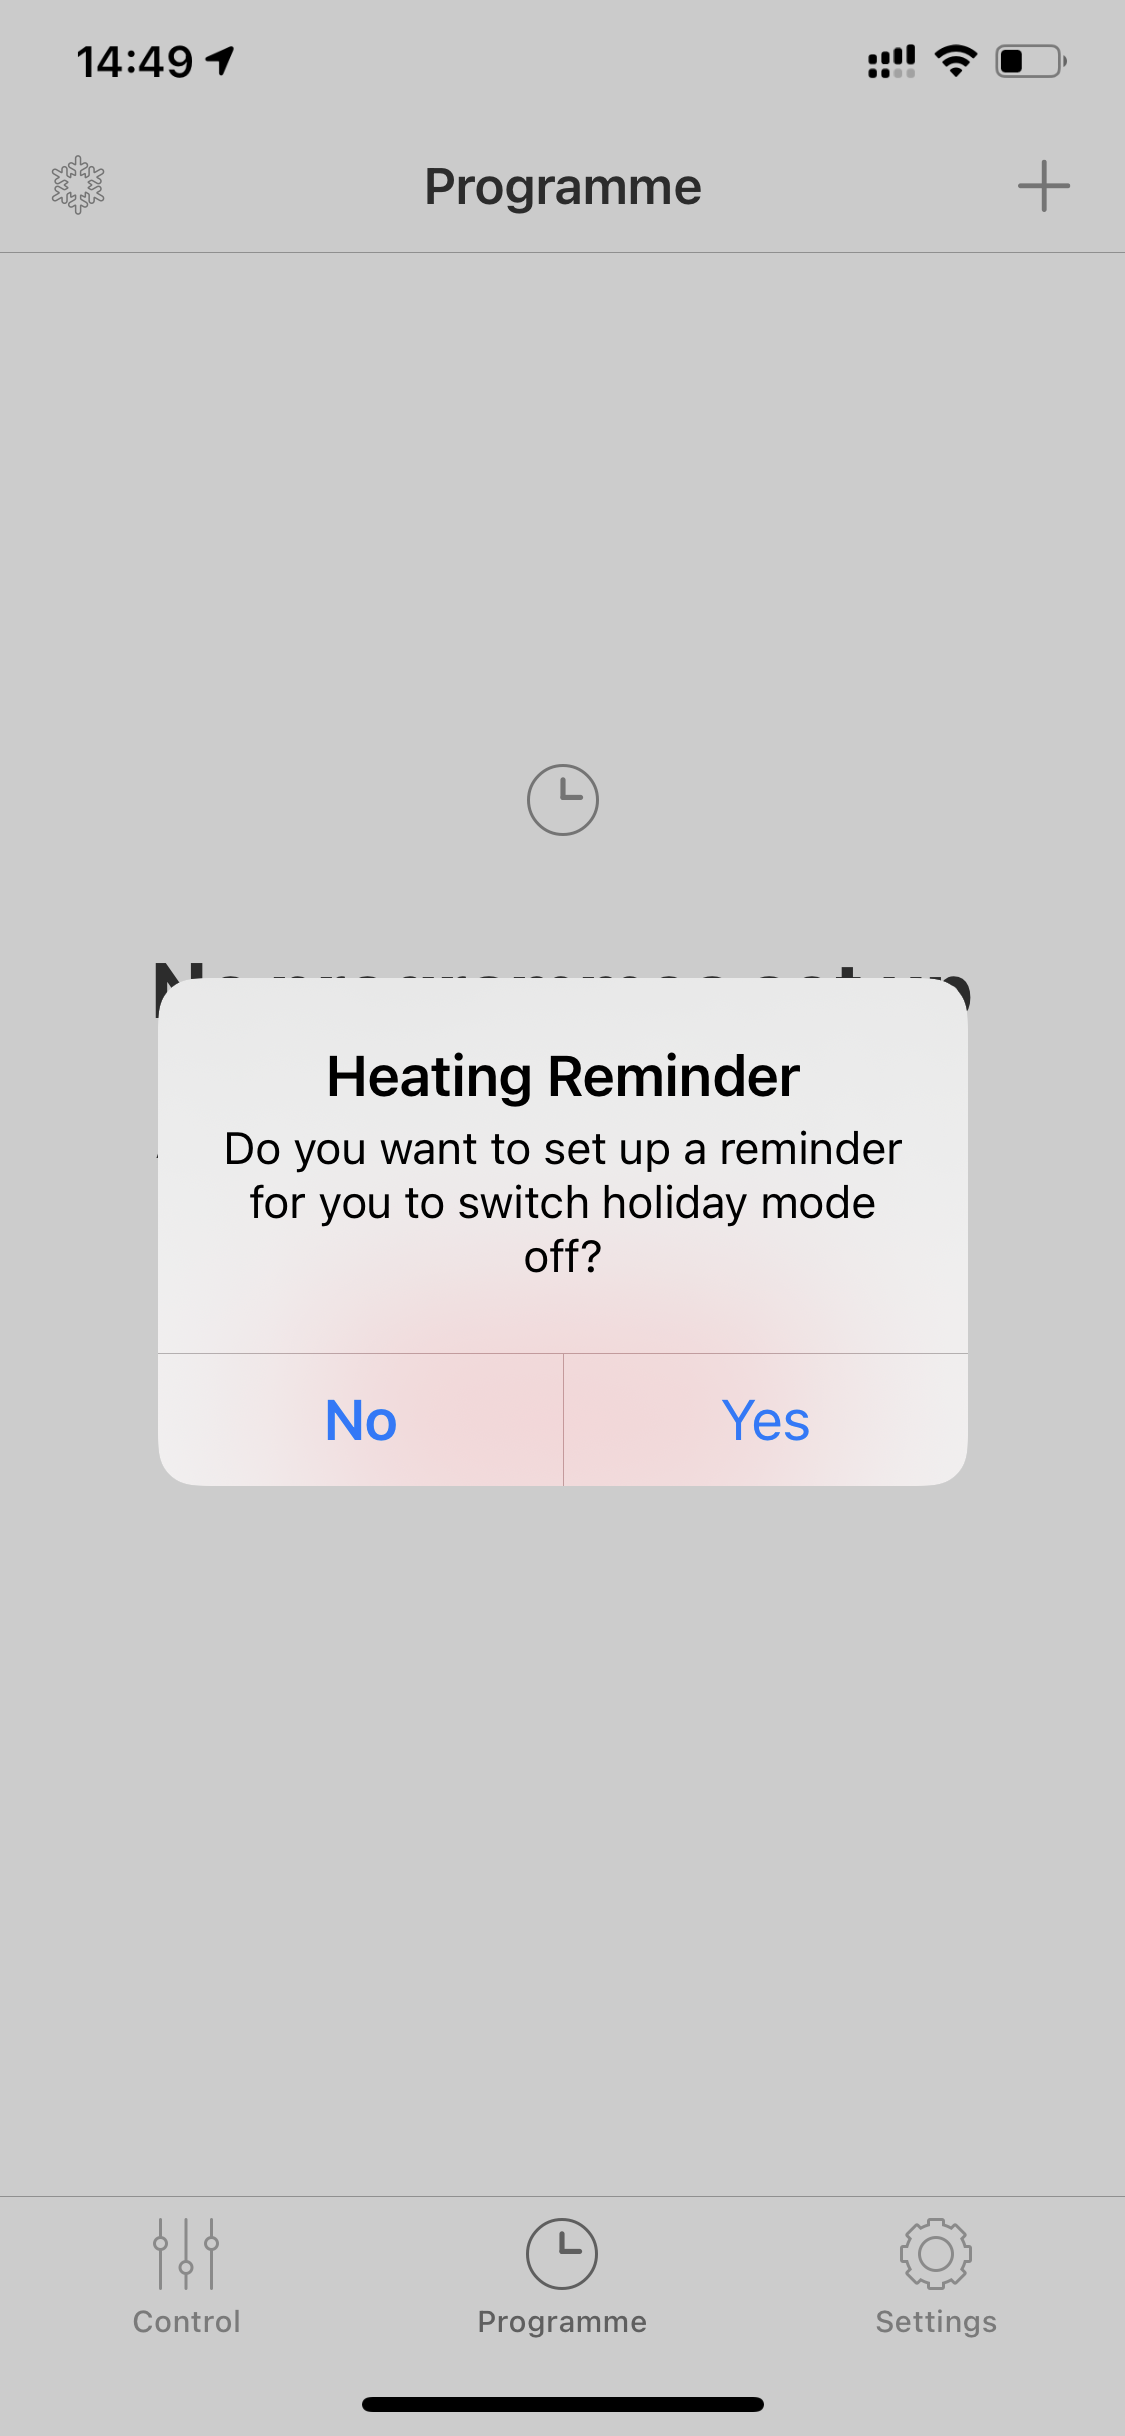

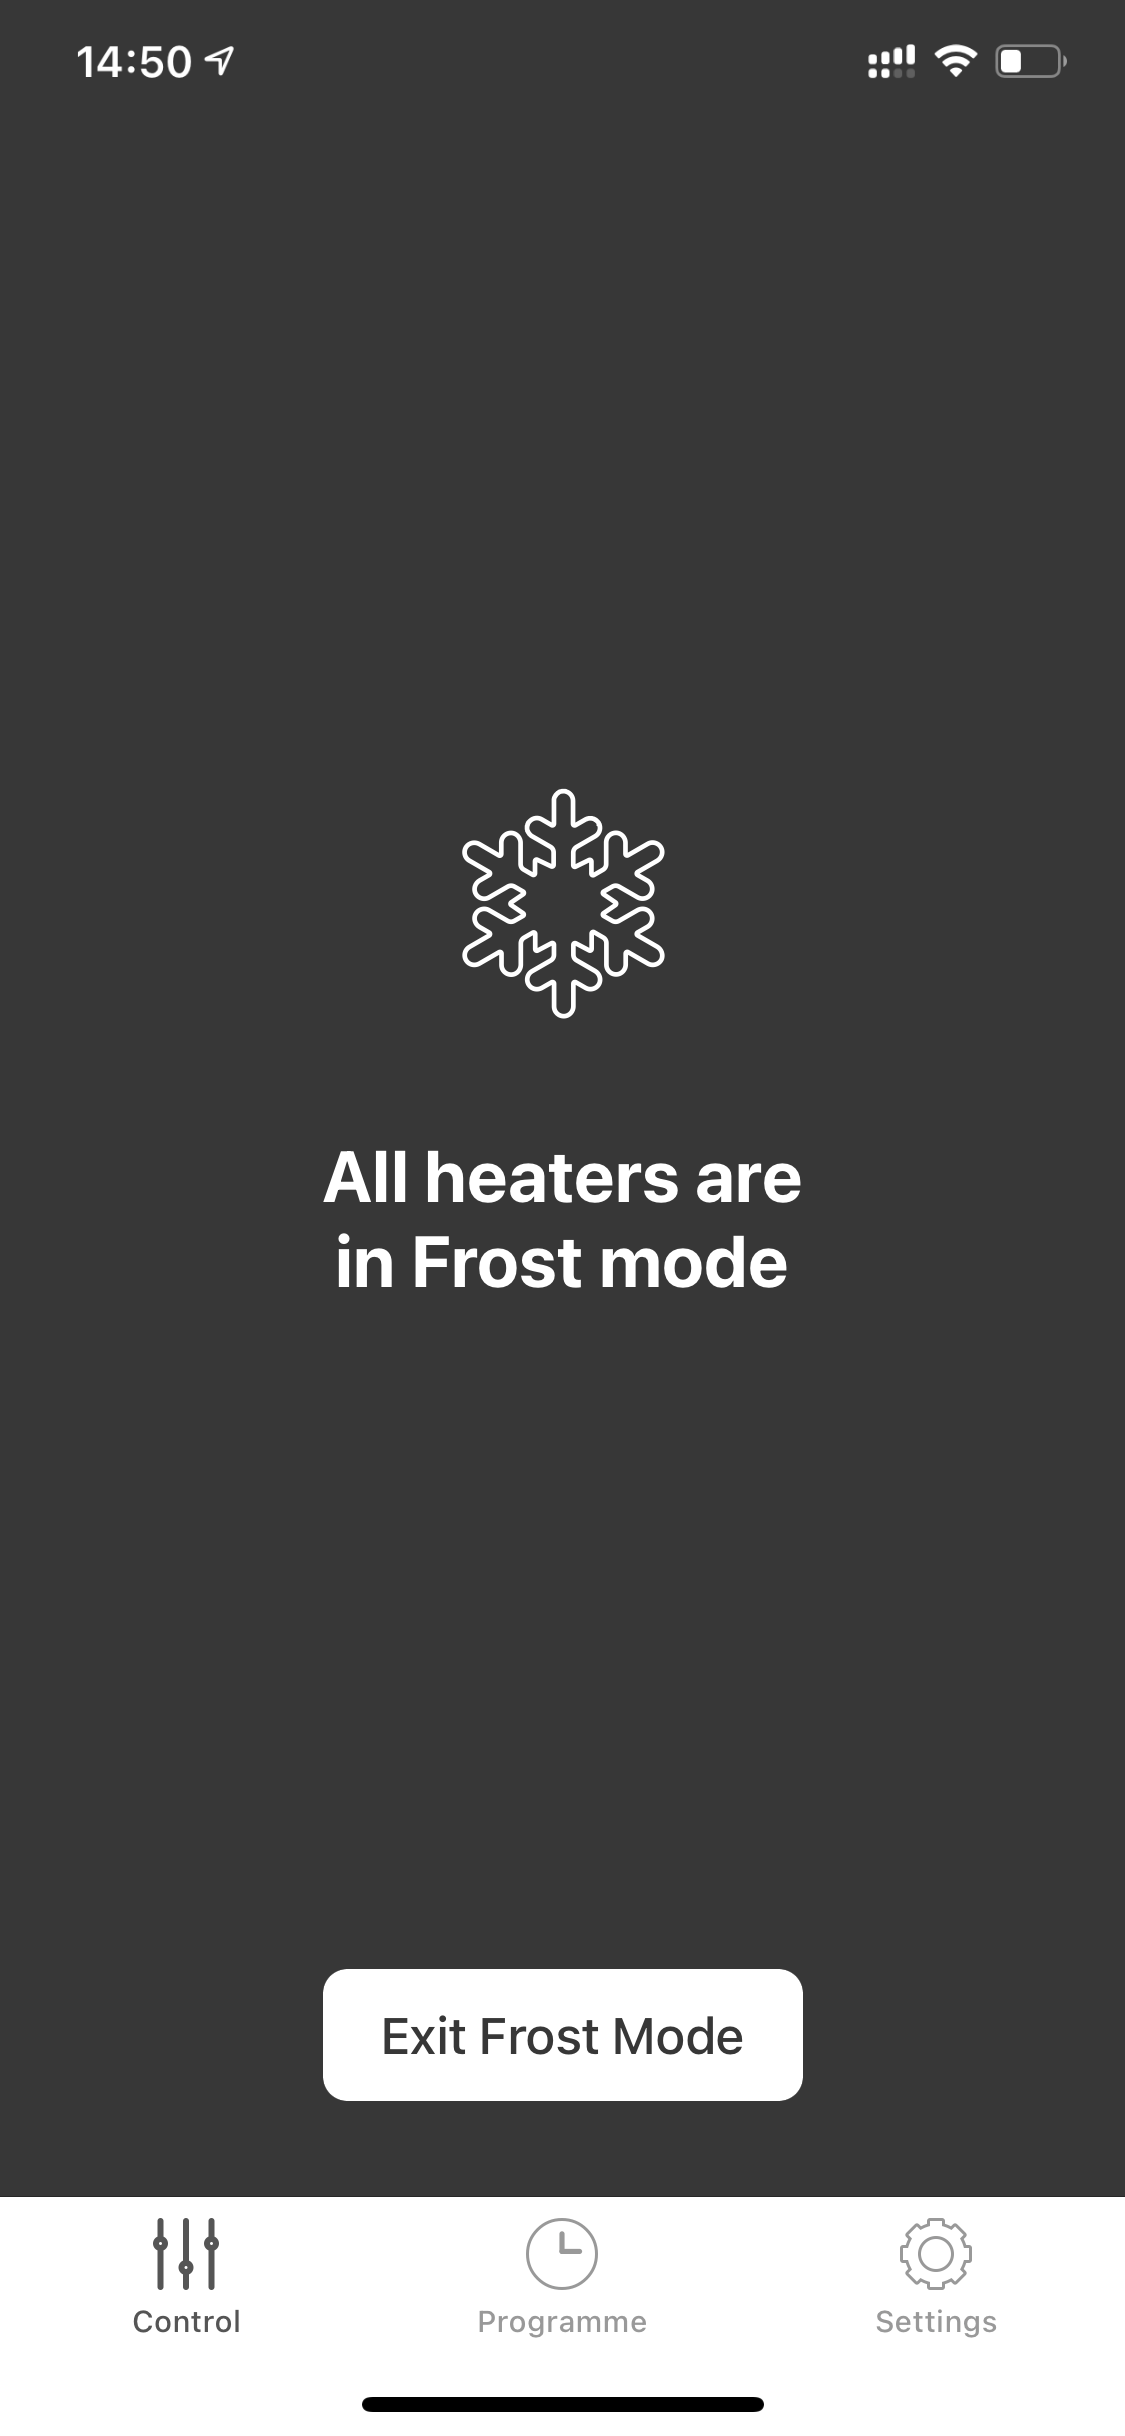
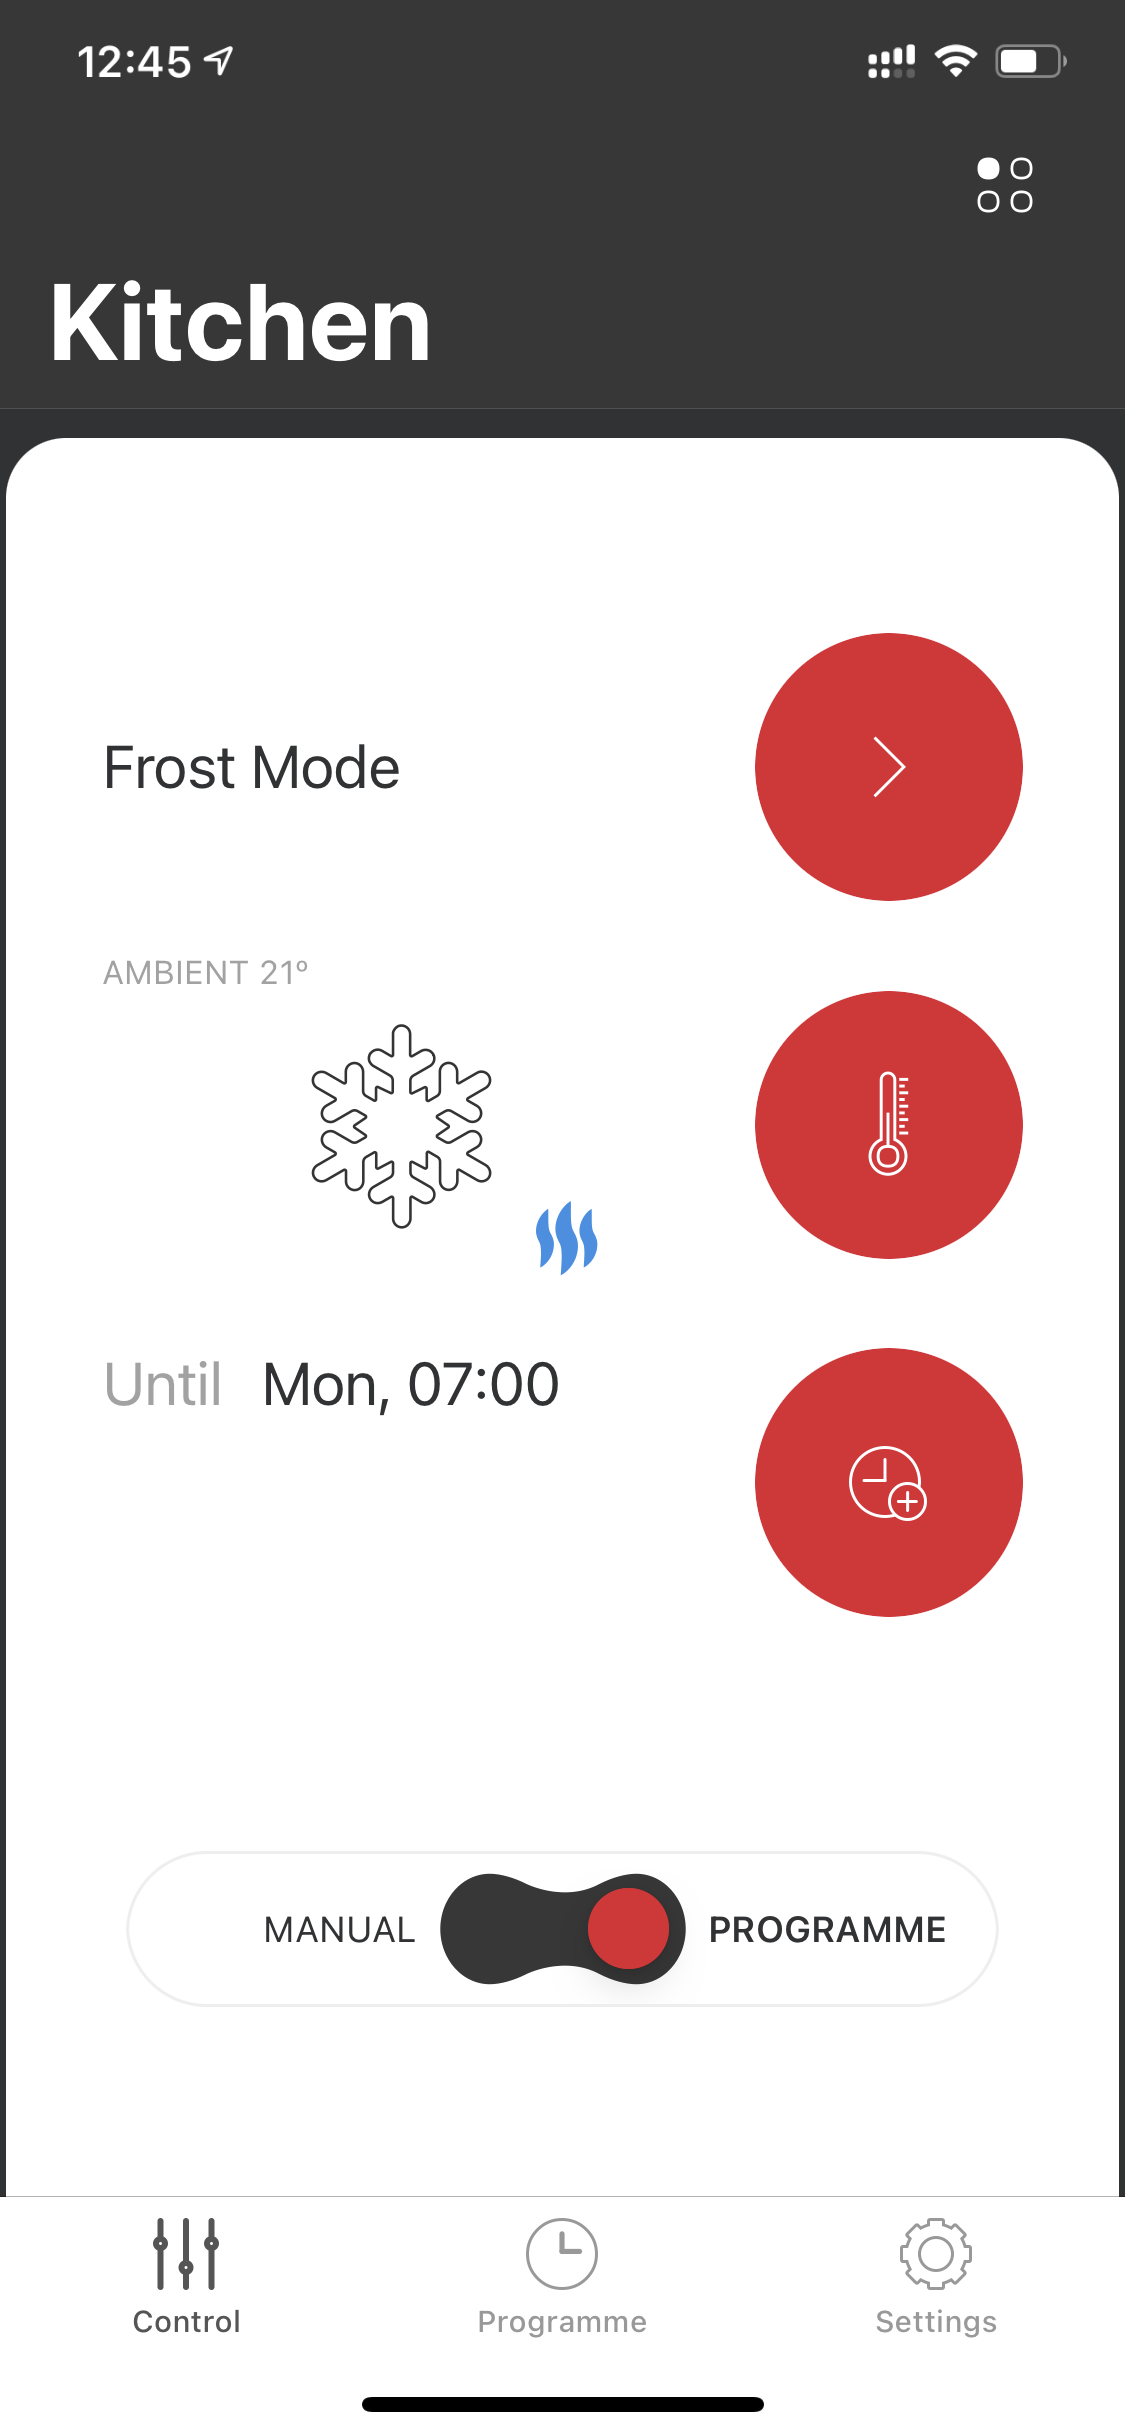
If you’re not planning to use the Rio Arc for an extend period of time, for example when we go on vacation, you can turn on the ‘Frost’ option, which literally freezes all system functions until you turn it off. It is also possible to set a reminder directly in the application to disable this function by setting the date of our return.
DAY-TO-DAY USE
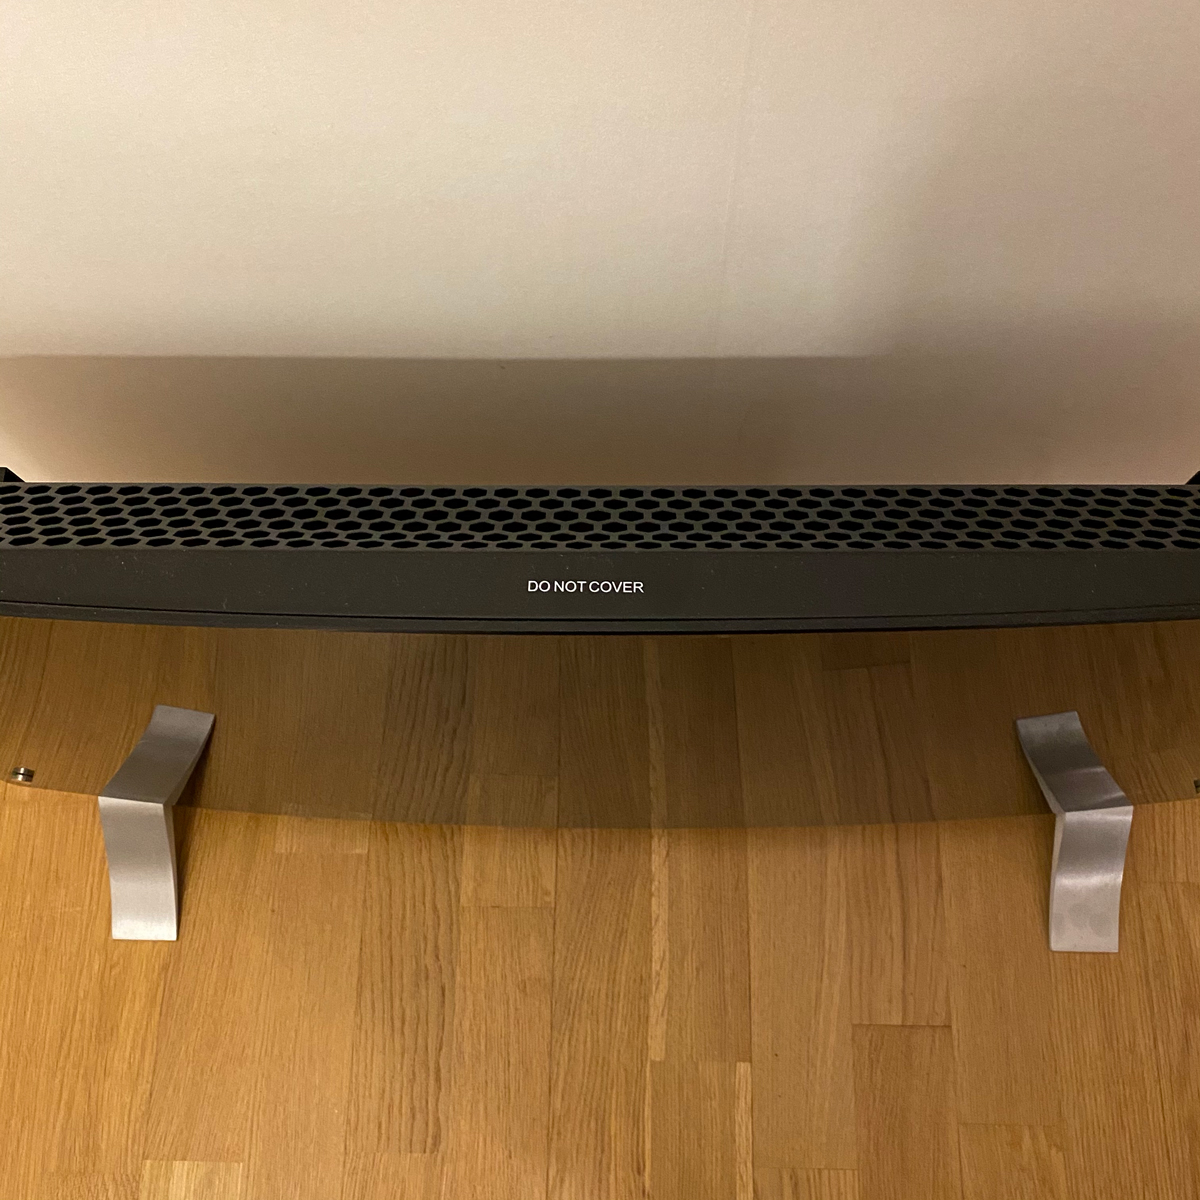
The general efficiency of the Rio Arc seems to be in line with the manufacturer’s description, and increasing the temperature by, for example, 2-3 degrees in a room of about 20m2 doesn’t take more than a few minutes to achieve. Some elements of the device may get very warm, which the manufacturer warns you of, but because warm air is distributed through the dedicated grilles on the top and bottom of the device, the front itself is covered with a glass plate and the sides of the device with buttons for manual control, they hardly heat up.
When it comes to power consumption, the Rio Arc consumes up to 2000W when it is active and heats the room, but in Standby mode or when the temperature does not require heating, then the power consumption is only 1W.
Rio Arc, in addition to integration with the HomeKit system, also works with systems from Amazon Alexa and Google Assistant. However, it is worth checking the availability of these integrations first, because as of writing this review it seems that they’re not available in every region.
In everyday use of the Rio Arc, I didn’t encounter any problems, regardless of whether it was the WiFi connection, an automation or just controlling the device. Rio Arc reacts quickly and reliably to all commands, both using the HomeKit system and its own Rio Heater system. One thing worth mentioning is that when I used the Rio Arc simultaneously with HomeKit and the Rio Heating app, unfortunately not all changes were reflected in both apps, but it doesn’t affect the operation of the device itself and Rio Heating have informed us they’re working to improve upon this soon.
For future variants, I’d definitely like to see an OLED display instead of an LCD, which stands out too much from the rest and spoils the whole impression a little even when turned off. Certainly, the option of replacing the power cable would also be useful in cases where 1.5 m is insufficient and the use of extension cords is also discouraged.
Rio Arc, apart from being the first device of this type to work in the HomeKit system, is also a very ‘Flexible’ solution for all those who do not have or cannot use thermostats in all parts of the house, or simply need a device that can be easily and quickly moved to almost anywhere in the home. What I can say is that the Rio Arc’s performance and design give the impression of a high-end device. I would say you can’t easily complain about the price either. which I think is actually quite reasonable for such a well-designed piece of equipment. Ordering the Rio Arc, via the Rio Heating website gets you free delivery within the EU and UK, at at the time of writing costs £199.00, so if you need an intelligent electric heater that does not look like a classic radiator, but in addition to heating, it can also be a nice decoration at home then I recommend it thoroughly.
Full disclosure: Rio Heating provided HomeKit News with the Rio Arc Smart Heater Panel for the purpose of this review. No other compensation was made, requested or has not in any way influenced our opinion of this product.