
Smart AC controllers are one of those rare device types that in theory, shouldn’t be supported in HomeKit, and yet are! What do I mean by that? Well, if you’re a seasoned HomeKit user, you’ll probably have had the fancy notion of a device that blasts out IR signals to all manner of devices, be they TVs, fans, set-top boxes, and of course your AC unit, and have those devices exposed to HomeKit. Unfortunately, Apple doesn’t support remotes of this type as of yet. Despite this, however, with these smart AC controllers, you essentially get a replacement for your AC’s IR-based remote control, and it’s exposed to HomeKit!
The Sensibo Air is one such device we’re looking at today, following on in the footsteps of the company’s non-HomeKit Sensibo Sky, making the ‘Air’ the first HomeKit compatible product from the company, which also make an indoor sensor and an Air Purifier (Sensibo Pure). Hopefully, the latter will also gain HomeKit compatibility in the future.
PACKAGING/UNBOXING
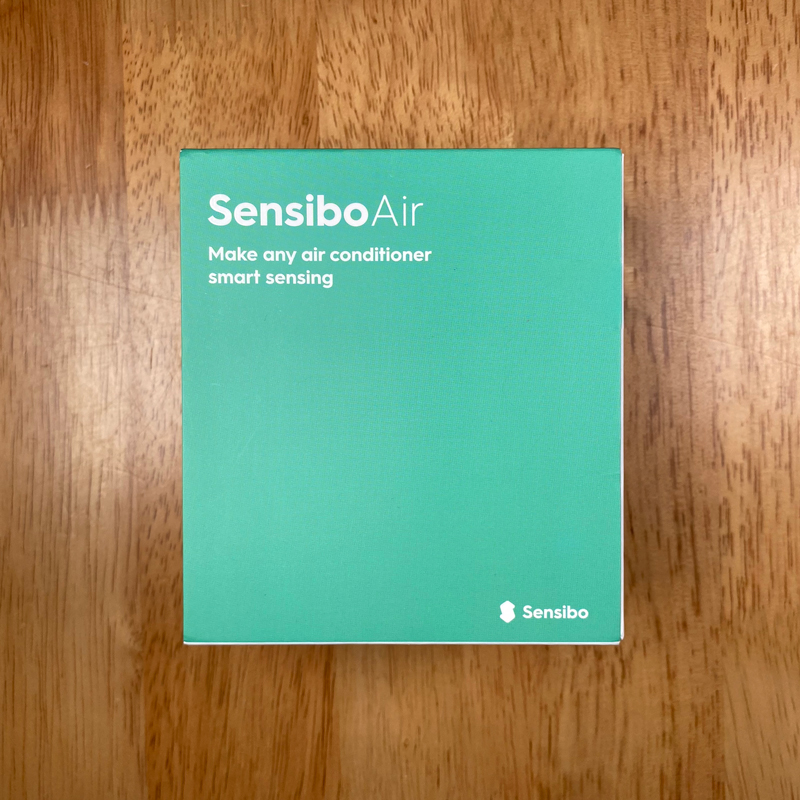

In contrast to a lot of manufacturers, Sensibo has gone for the ultra-minimal approach to their packaging, with a plain box with a turquoise colour scheme, coming across a bit like a swatch from a Pantone book. There’s almost literally nothing on the box to indicate what systems it works with, revealing no ‘works with’ type logos at all. It’s no bad thing as long as it’s made clear elsewhere I guess. Still, it protects the contents, and that’s the main thing, as I almost always make a point of checking.
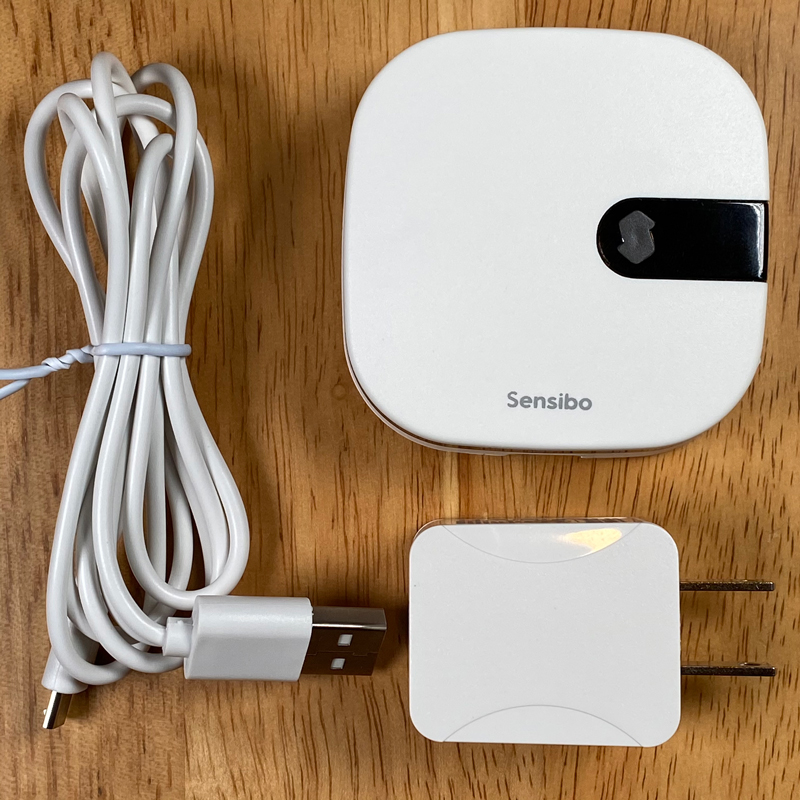
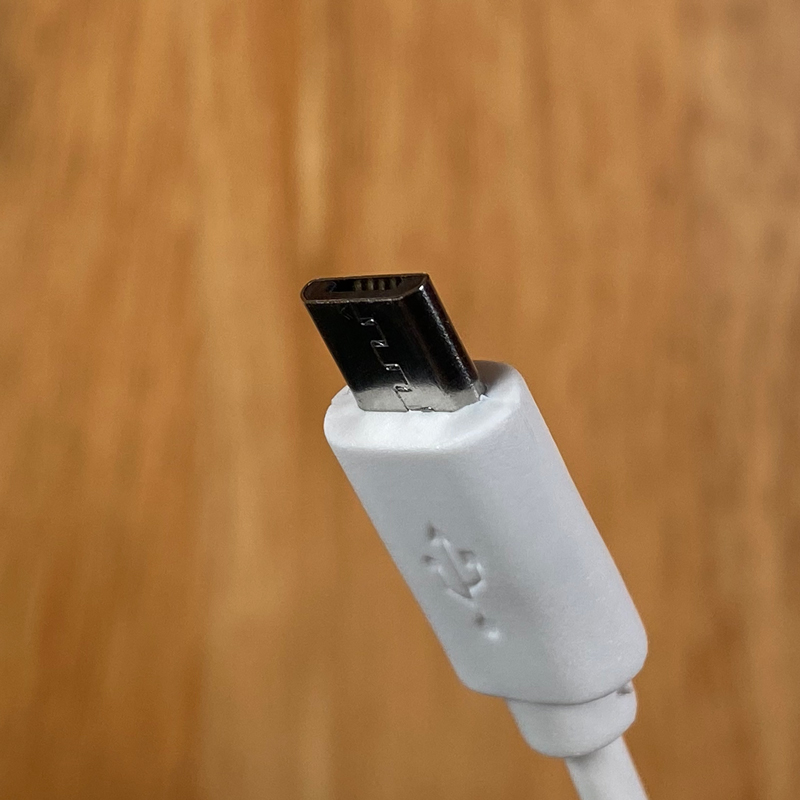
With the sleeve removed, there’s a card ‘wallet’ that hold the Sensibo Air nicely in place, with the accompanying power cable (micro-USB to USB-A), power supply (Type A, non-polarised, in my case), and a double-sided sticker (not pictured) to mount the device to a wall, although as you’ll see there’s another way of mounting it.
THE DEVICE
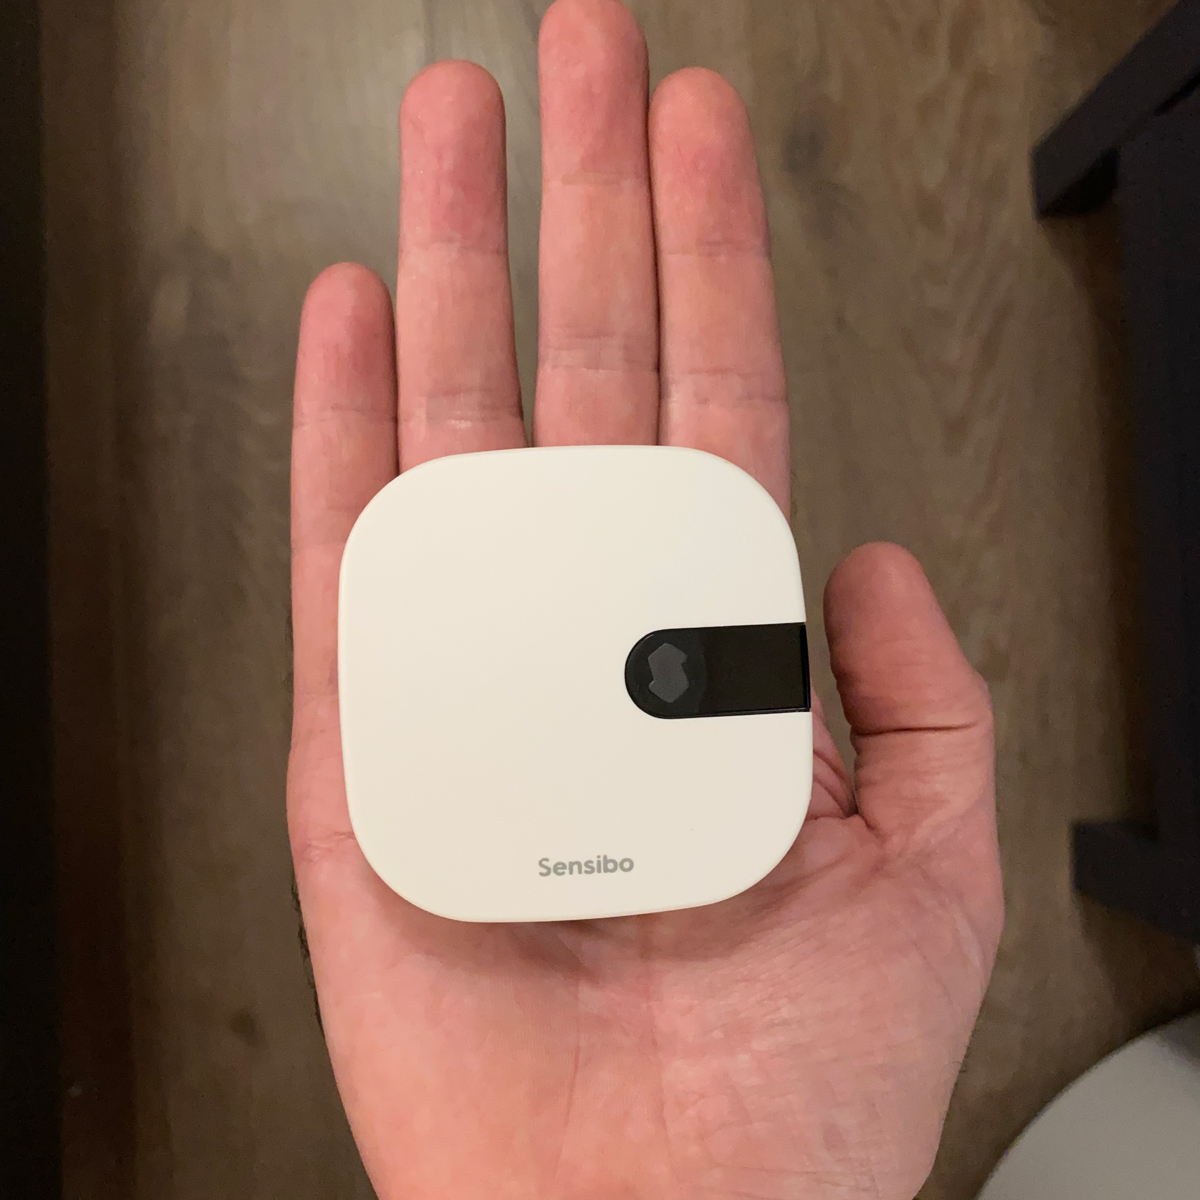
To say the Sensibo Air is small is a bit of an understatement, measuring a mere 65 x 65 x 17mm / 2.56 x 2.56 x 0.67in. Effectively it can fit in the palm of your hand and is less deep than a pack of playing cards. So, if you’re looking for something that doesn’t exactly stick out, mostly due to its size, this may be what you’re looking for.
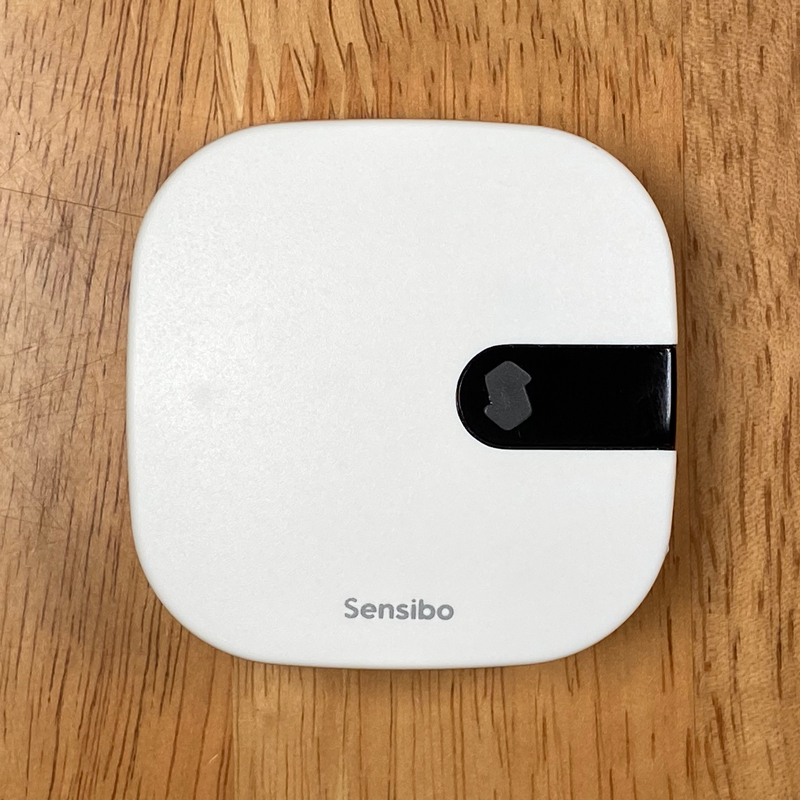
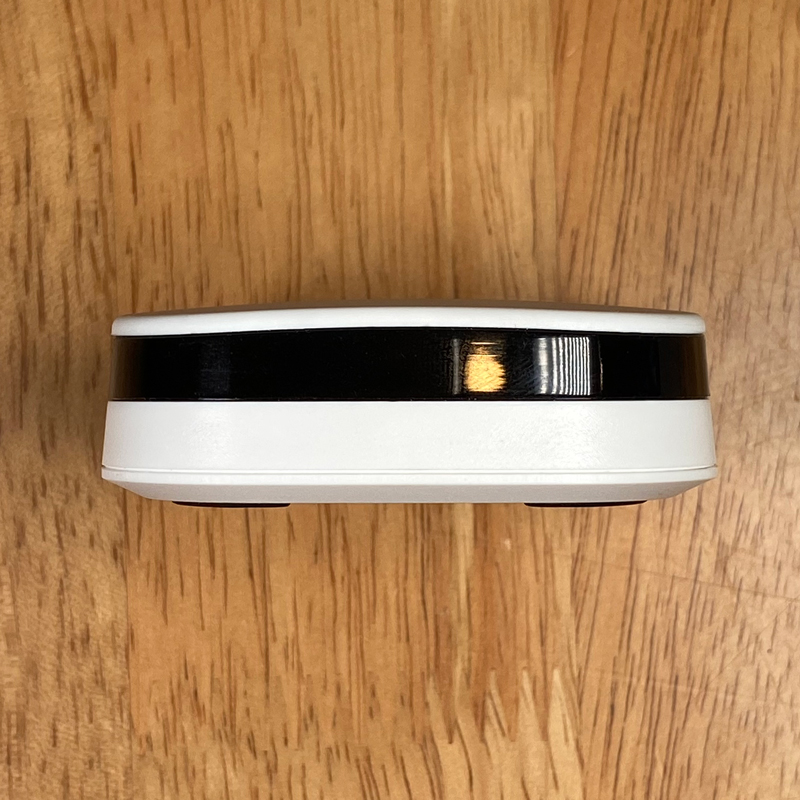
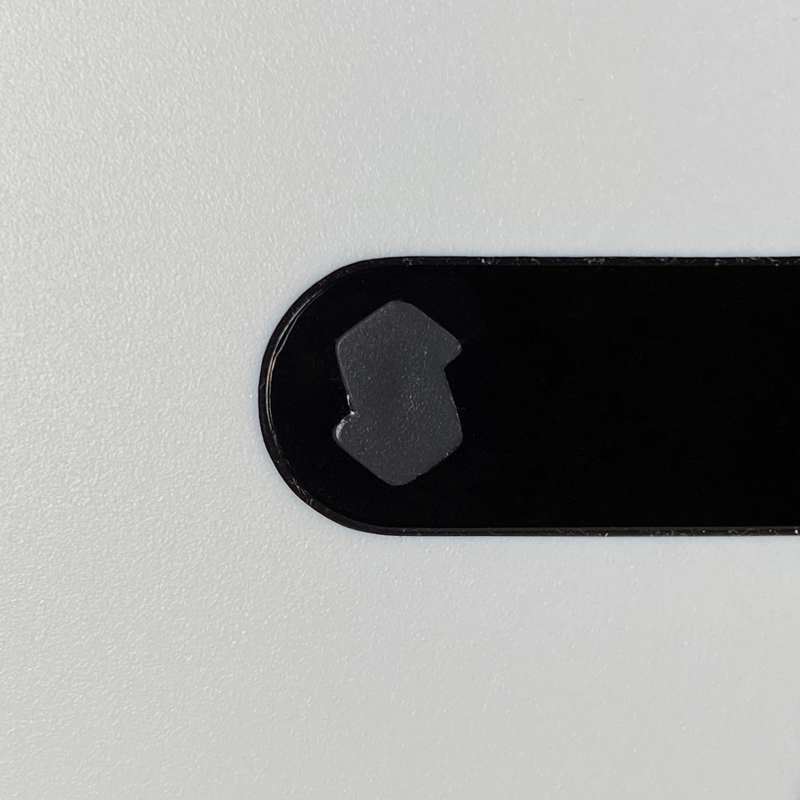
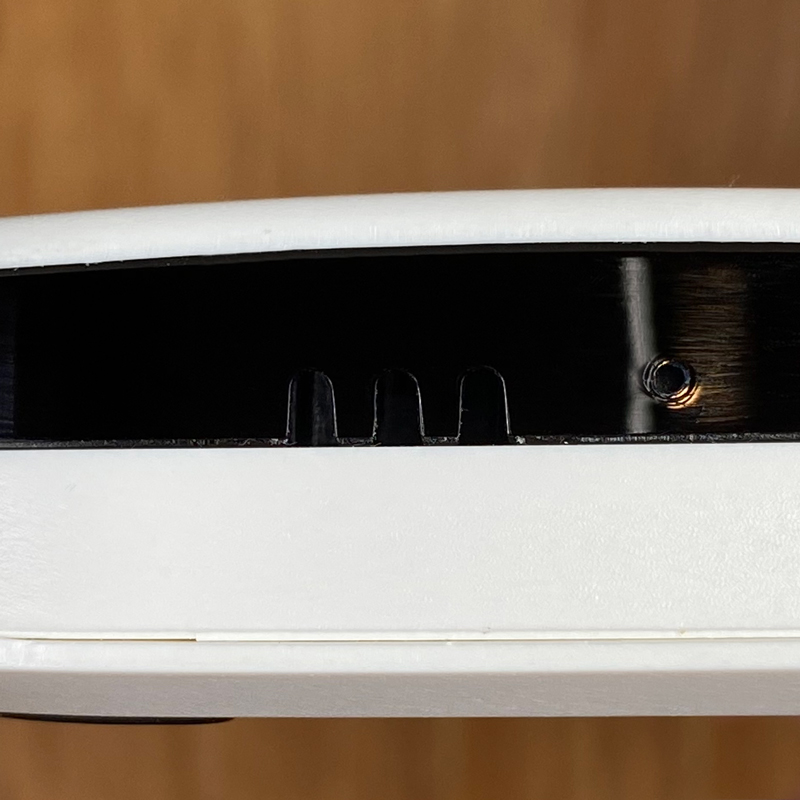
The front is solid white plastic, with a black cutout section housing the IR blaster, and the company’s logo, which lights up momentarily when the Air sends out an IR signal. It will also flash if it gets disconnected from your network, or it’s performing a firmware update, for example. On the subject of connectivity, it’s a WiFi device, using 2.4GHz, as expected, and in the time I’ve been using it, the connection has been rock solid, so that was one less cause for concern. Other than the aforementioned cutout, you only get the company’s logotype on the bottom. The sides are all surrounded by the same black plastic used in the cutout, and although you might think the IR signal was designed to go in all directions via this ring of plastic, it doesn’t, so only the part at the front is used for the signal transmissions. One edge is also home to the sensors – temperature and humidity – with small vents or a grille for the sensors to sample the surrounding air. Next to that is a small pinhole to reset the device, as needed.
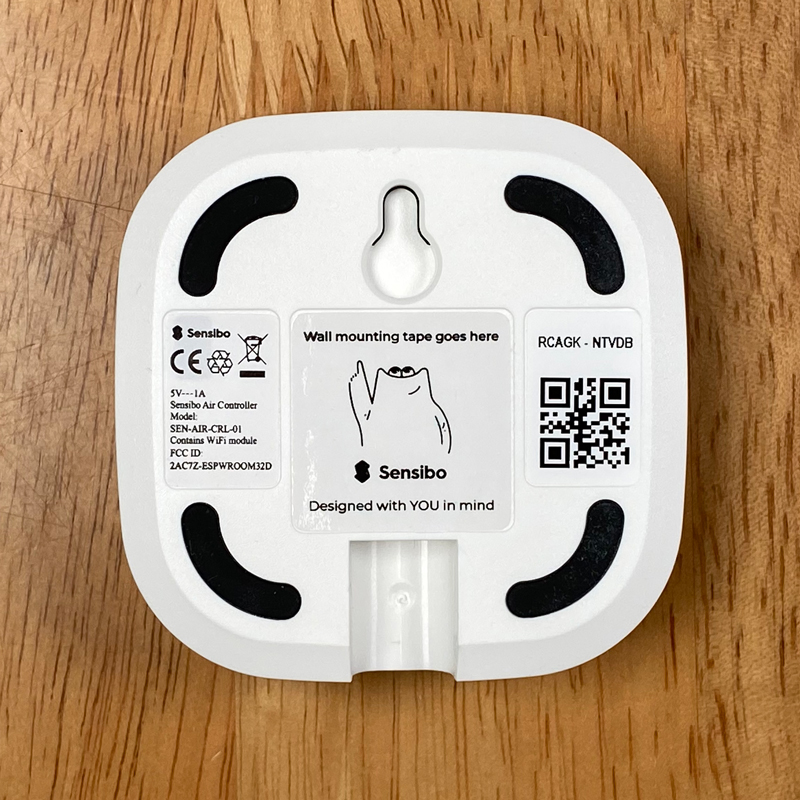
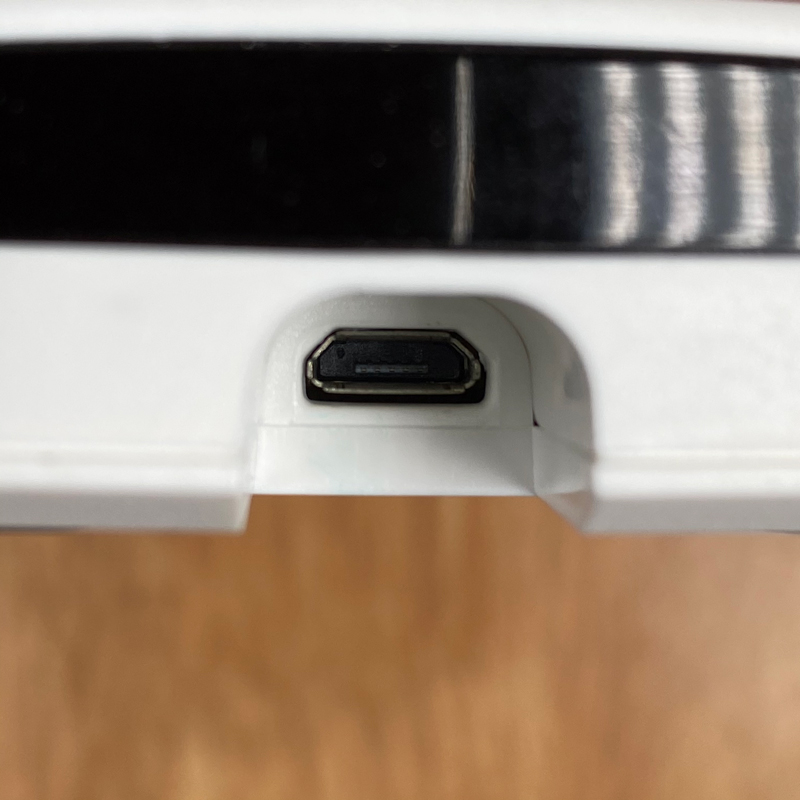
The rear of the Air has four rubber ‘feet’ so that it can be placed on a flat surface without slipping around, although I’d suggest the preferred location in most cases ould be to wall-mount it. The rear is also home to another cutout for the micro USB cable to travel along. The cable is approximately 1 metre long. The square section in the middle indicates where the provided double-sided sticker is designed to be placed.
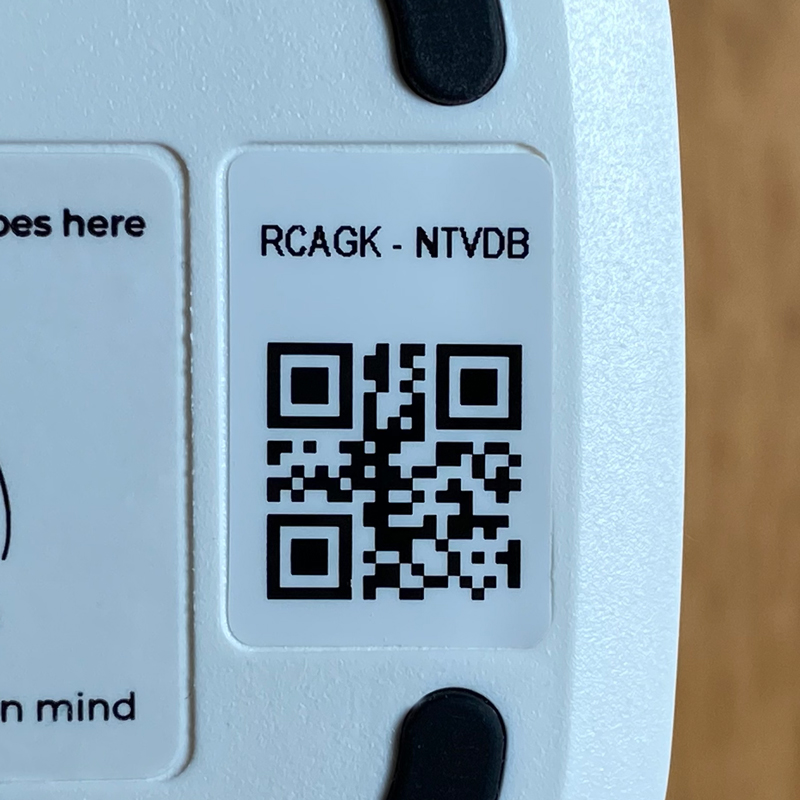
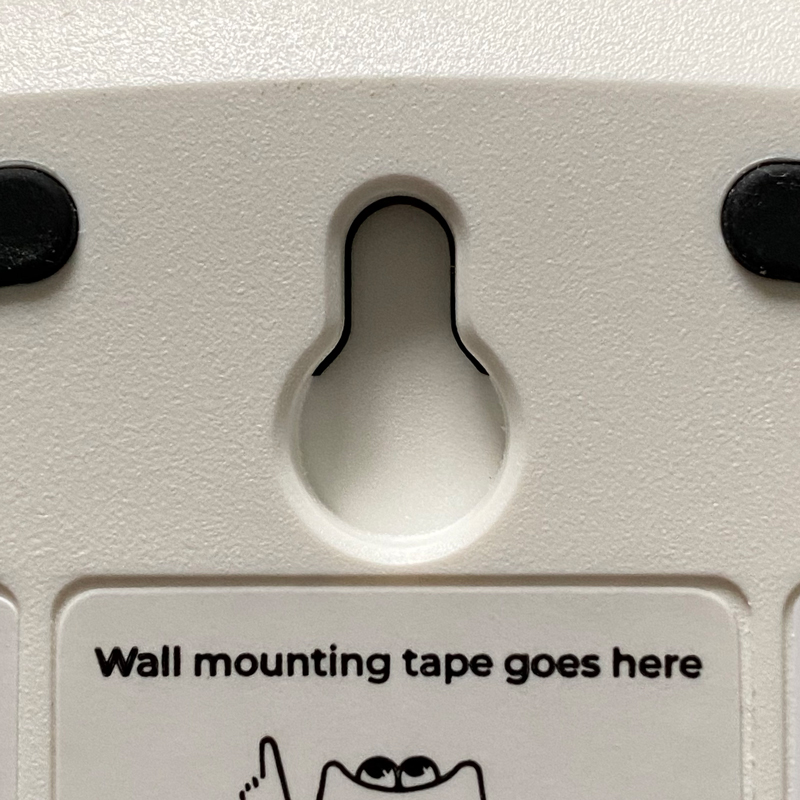
The rear also reveals a QR code, which is NOT the HomeKit code and is only for adding the device to the Sensibo app. At the top is a recess with which to hook a nail or screw, should you want to wall mount it, but not use the double-sided sticker.
ADDING TO HOMEKIT
As already mentioned, the package came with no indication that it works with HomeKit, at least on the package I was sent, so it could have been added to newer packaging perhaps. However, when it comes to a HomeKit code in order to add it to HomeKit, it’s a little more involved, as there’s no HomeKit code, let alone any paperwork for said code to be stuck to.
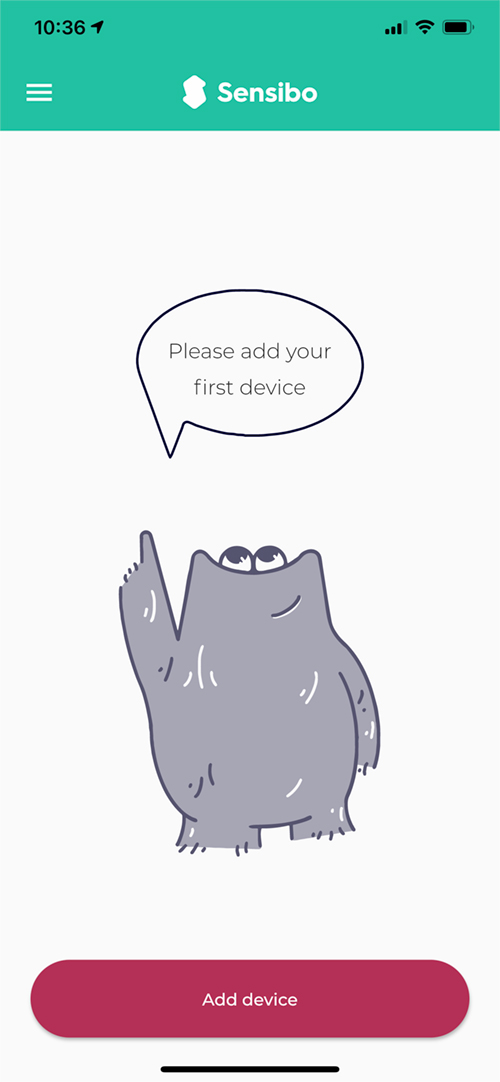
This is where the Sensibo app is needed, at least initially. Once you download the app….
- you simply add your first device
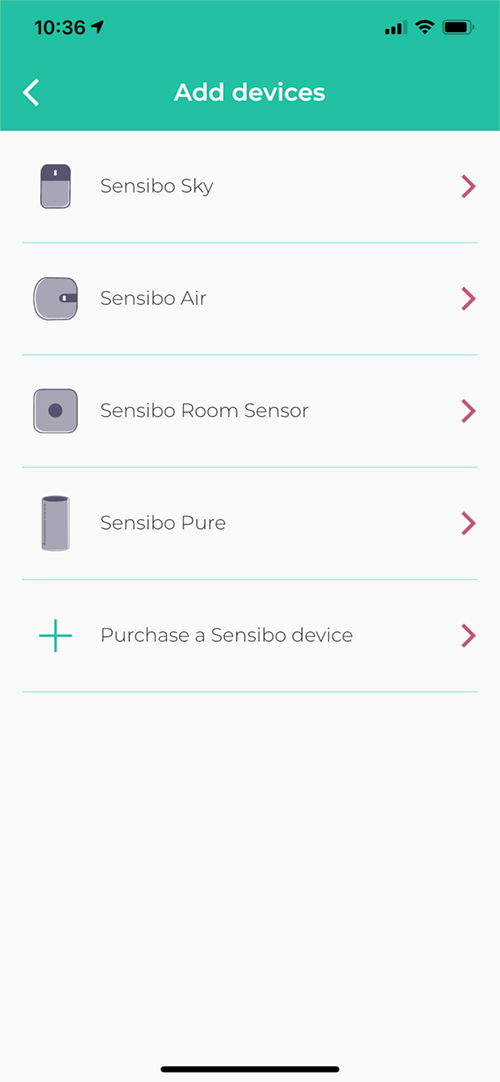
- choose the Air (in this case)
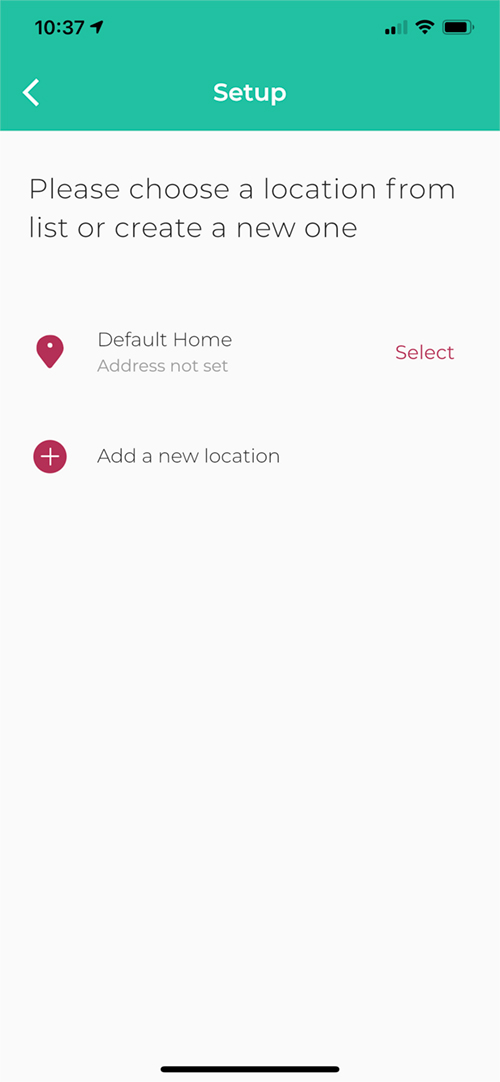
- then set up a Home and a room* for the Air to reside in.
* The home and room are totally separate from what’s already set up in HomeKit, but that’s ok.
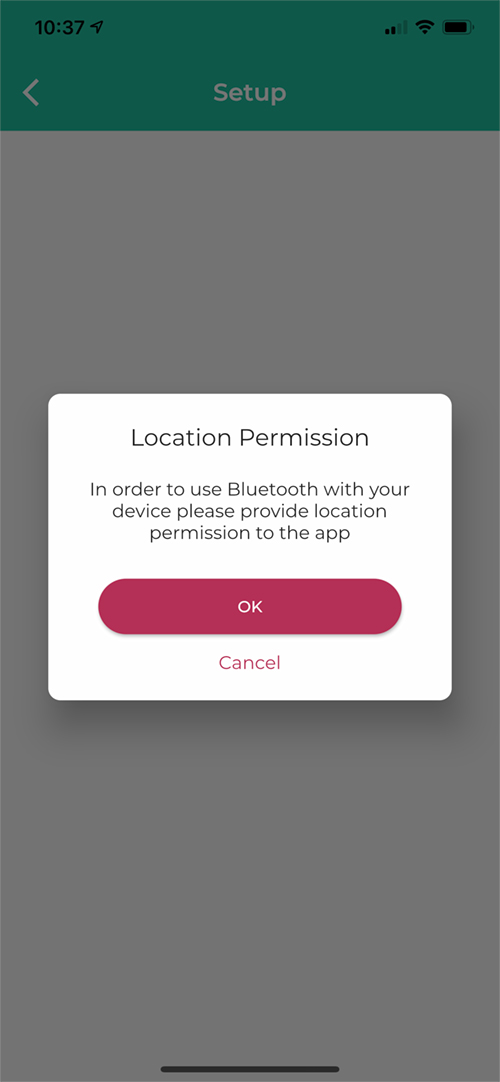

In order for the app to give you information on weather conditions…
- you need to give it access to Location Services
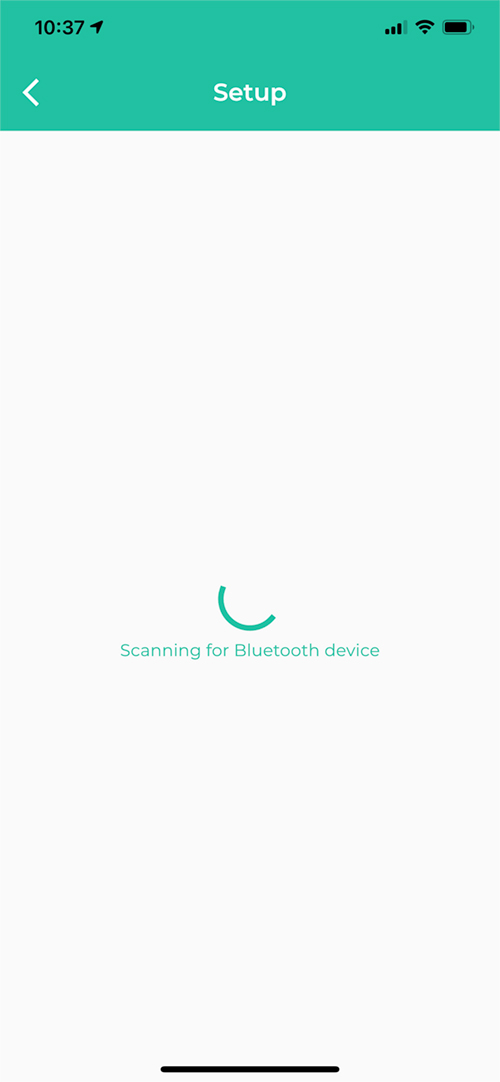
- It will then scan for Bluetooth devices, as the Sensibo Air uses Bluetooth for initial setup
- Then once it has found the Sensibo, it’ll scan for nearby WiFi Networks
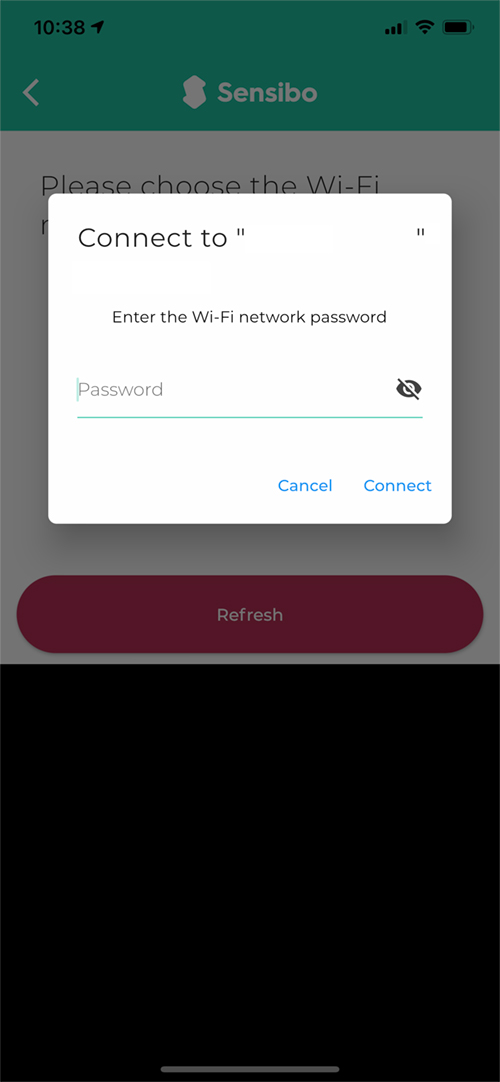
- When it has found your WiFi network, add the details for it to connect
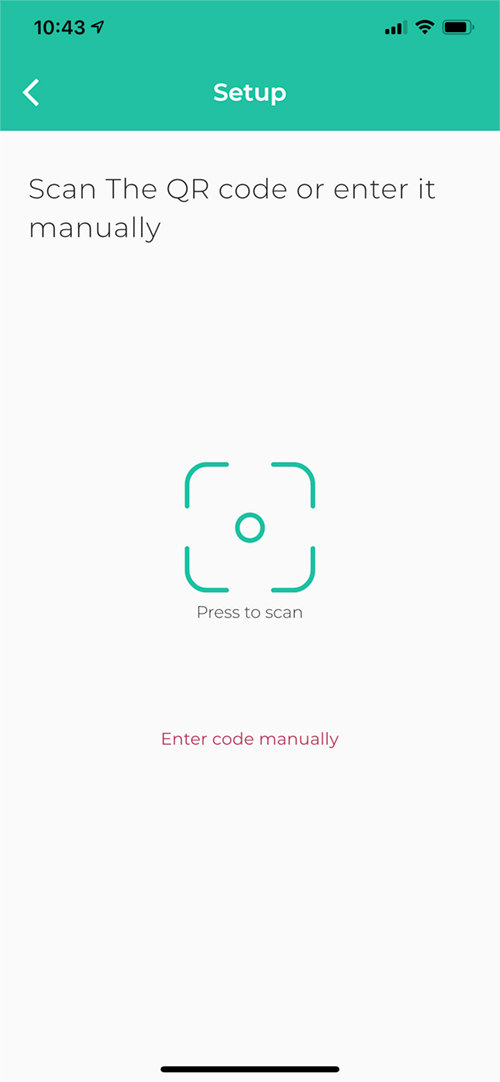
- Then scan the QR code on the back of the device
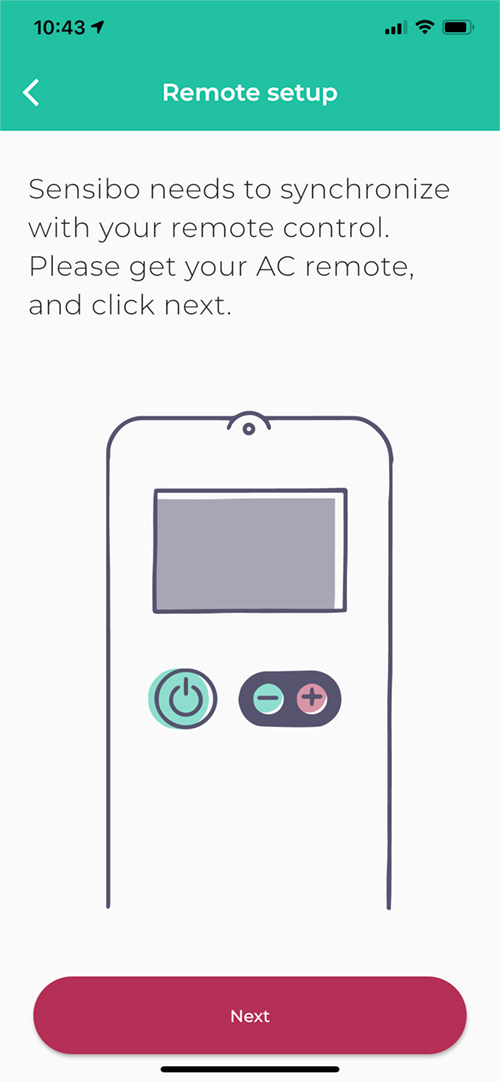
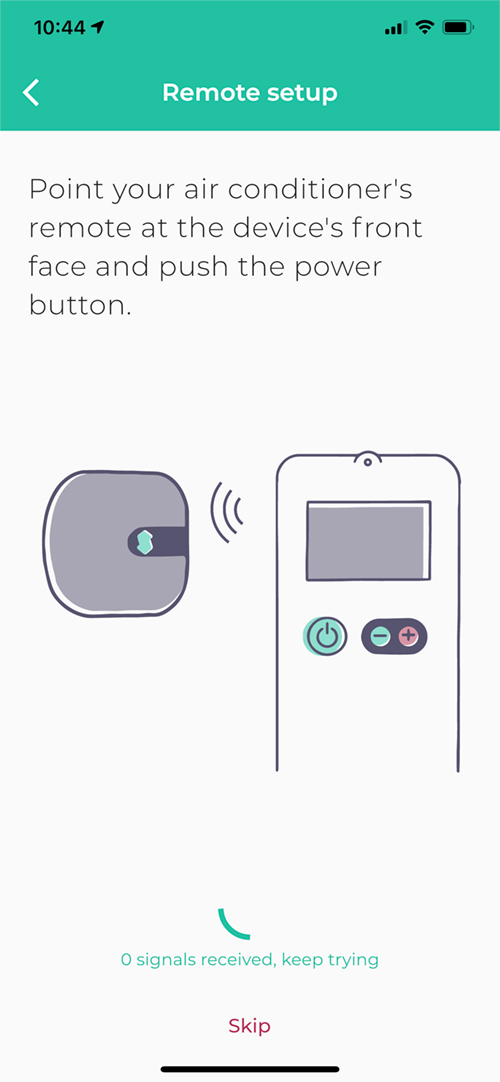
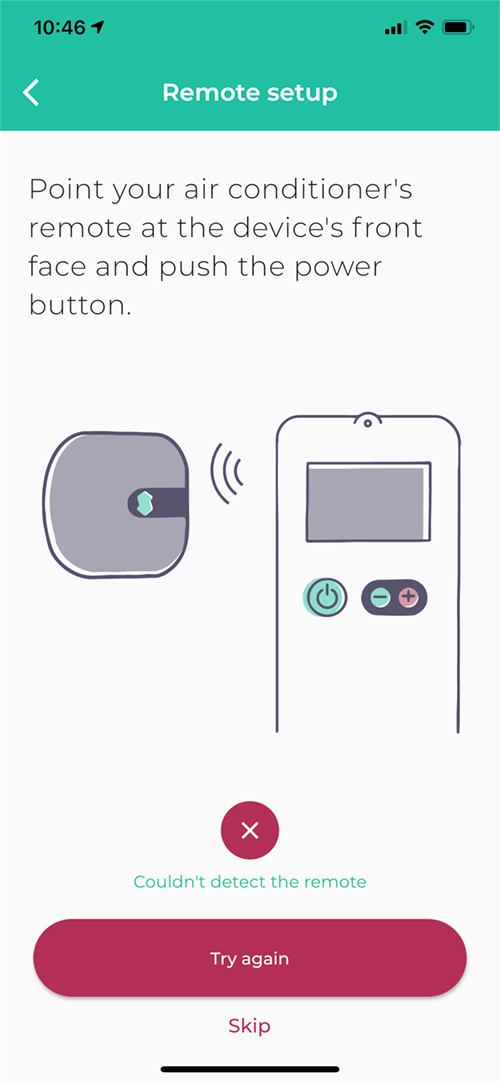
With the Sensibo now connected to your network, you need to teach it how to control your AC. This is simply done by sending a signal (usually the power button) from your remote to the Sensibo. When I initially tried this, no matter what I tried, the Sensibo wouldn’t pick up the signal from the AC remote, no matter how much I tried. I thought maybe the batteries in the remote were a bit low, so I changed them, but to no avail. I then tried the remote directly with the AC, and it worked fine, so the remote clearly wasn’t the issue.
Eventually, I decided to start over, and so remove the Air, and re-added it again. On the second attempt, there was no issue at all, and everything went smoothly, so I going to put this down to temporary gremlins, and not an inherent issue with the device itself. If anyone else has encountered this issue, please let us know in the comments though.
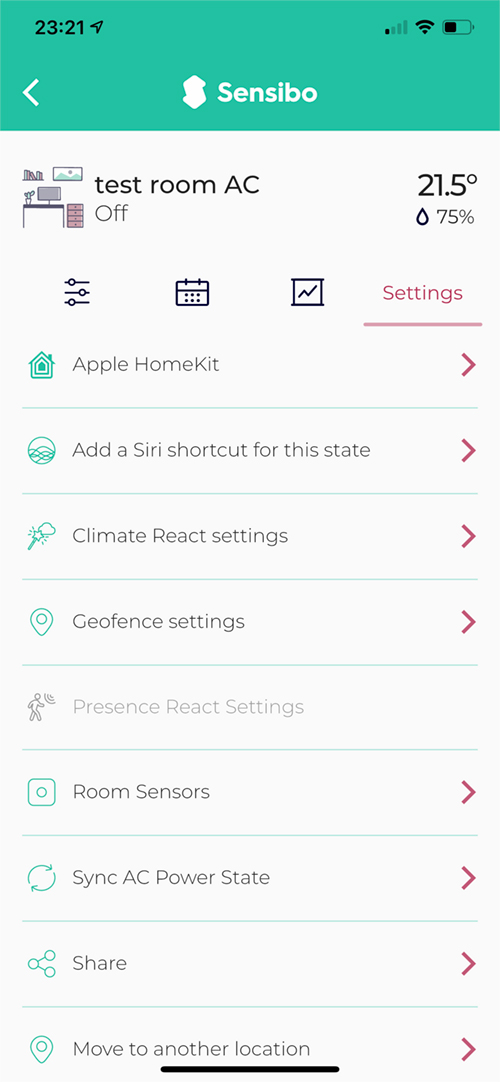

- Once we were up and running again, I was able to access the settings section, where a HomeKit option was visible
- This reveals a HomeKit QR code, which you can either scan with another device (if your phone is usually the one adding devices to HomeKit) or you can take a screengrab, or note the code itself and add it manually.
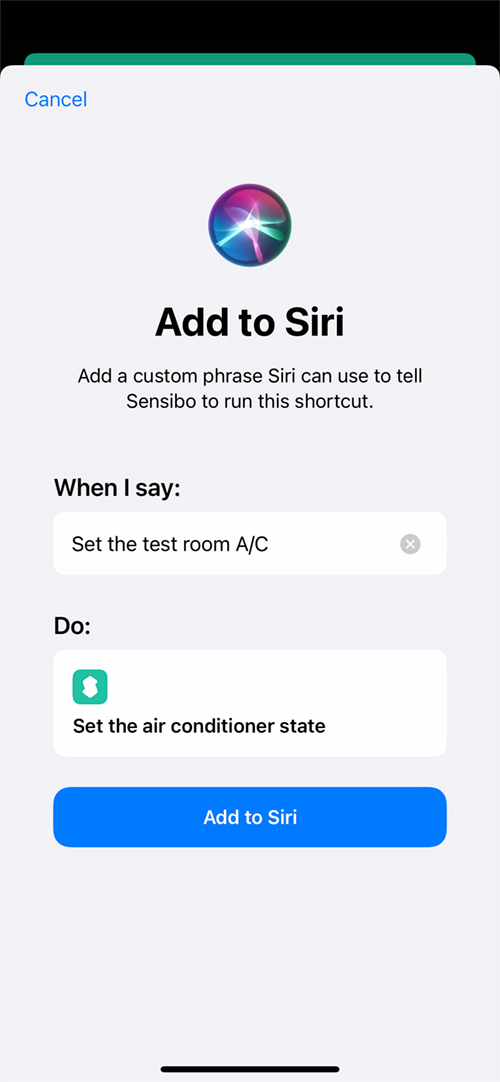
- The app also gives you the option to use Siri Shortcuts, which in this case would be largely unnecessary, but useful for other Sensibo devices.
Happily, as the device is already connected to your network, adding it to HomeKit was a quick and easy affair.
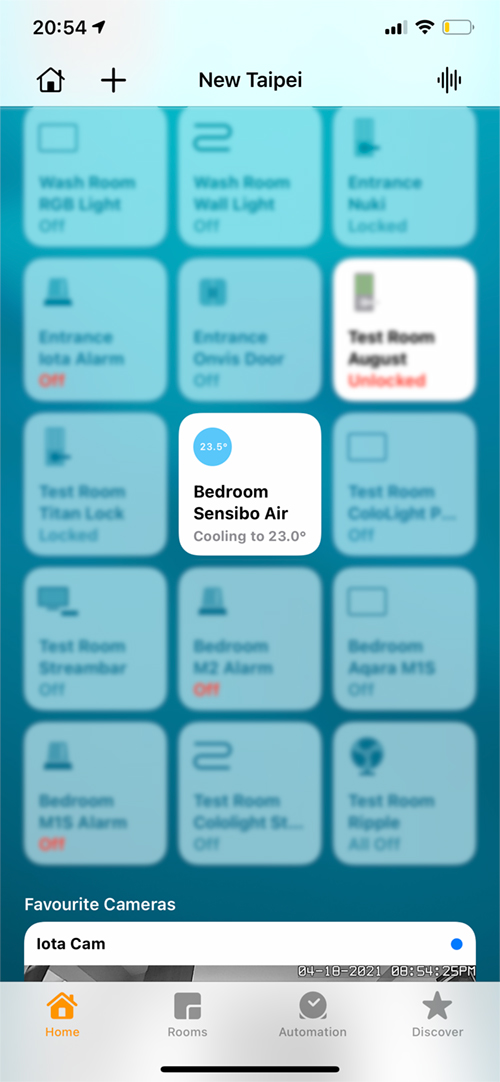
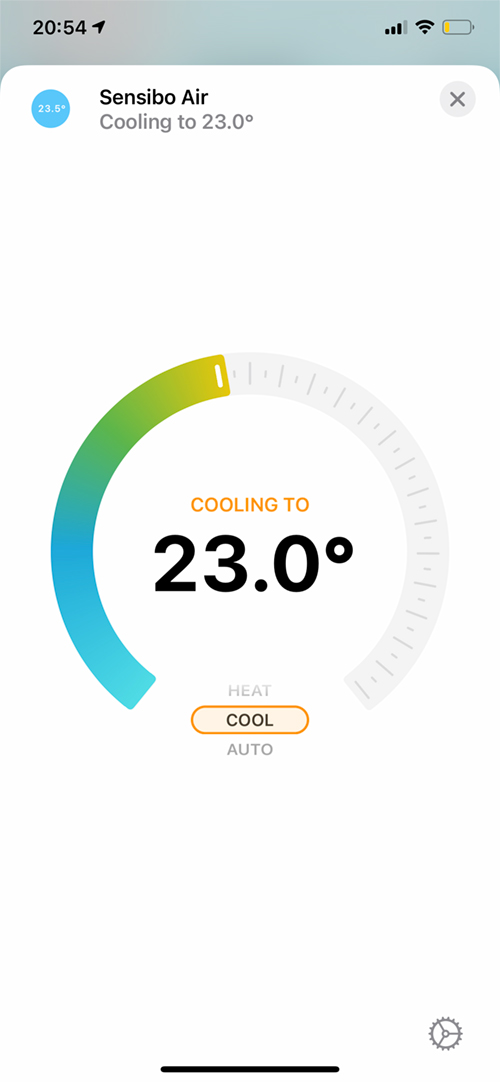
As is the way with devices compatible with HomeKit, to a large degree, you get the same experience and interface regardless of the manufacturer, which is a great thing. The Sensibo Air is no exception, and provides a tile in the Home app, just like a thermostat or any other AC controller. The tile displays the current temperature whether the device is on or off, and will show the temperature it’s set to reach along with the relevant descriptive phrase (Set to…, Heating to…, cooling to…). The Sensibo does give you the extra ‘Auto’ mode, for what it’s worth, with many other products I’ve tried in this device type generally only offering Heat, Cool, and Off.
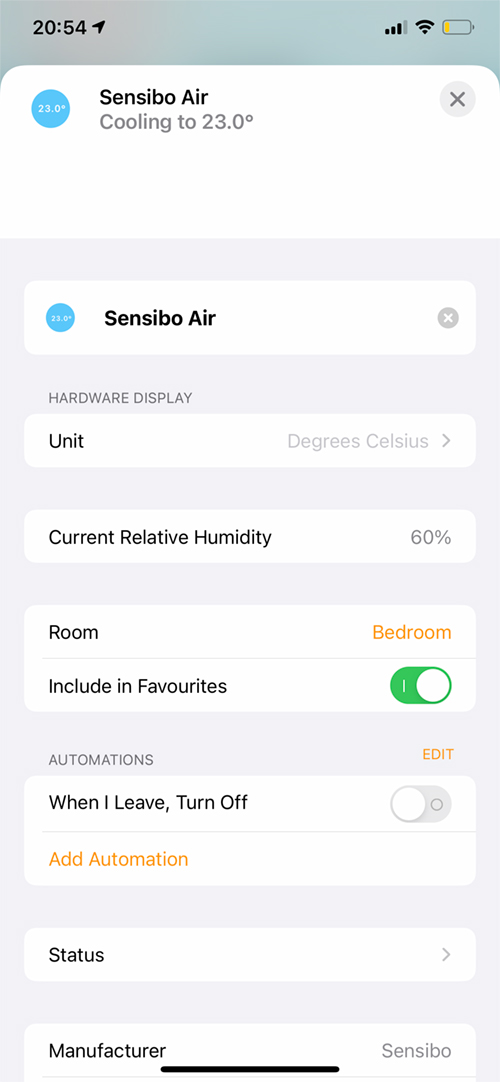
You can view the humidity levels in the Settings page for the device, but it isn’t exposed as a separate device in the Home app, although you can still use it in automations via any number of 3rd party apps of course, as well as via ‘Convert to Shortcut’ when creating an automation in the Home app.
In terms of features, that’s pretty much it in the Home app and HomeKit, but the Sensibo app does offer a bit more control, as expected.
SENSIBO APP
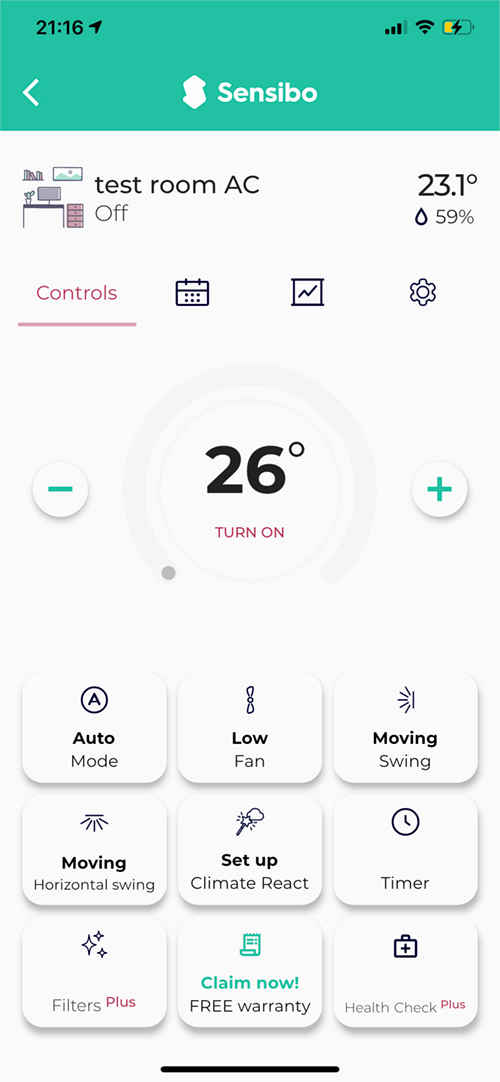

The Sensibo app gives you additional control of your AC, such as the louver (the blade that directs the air), depending on how much control your particular AC offers, and even allows for fan speed, which is something that the Aqara P3 AC companion actually exposes to the Home app natively. Additionally, you get a very well featured set of notification options, which can be enabled in addition to any notifications you have set up in HomeKit.

One specific function I do like is the Sync AC Power State option; As ACs only receive commands, and can’t send confirmation back – which is why generally remotes aren’t supported in HomeKit, the Sensibo relies on knowing the state of the AC off the back of when it was last controlled by the Sensibo. If someone comes along and changes the state of the AC with the original remote, it may be that in HomeKit the AC is shown as on, but is in actual fact off, or maybe set to cool, when previously it was set to Auto for example. Normally, you’d have to then turn the AC off, or change in the Home app, in order to get things back to being synced, but with this option, you can simply tell the Sensibo that the AC is either on or off. Now, this only goes as far as allowing you to switch between on/off and doesn’t go as far as remembering the specific mode or temperature, but it’s useful, nonetheless.
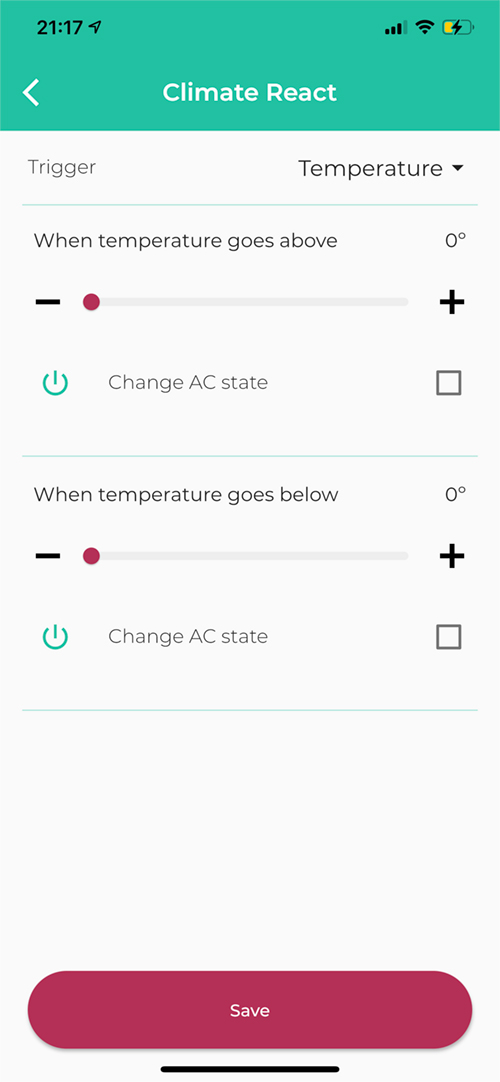
The app also has very simple controls for turning the AC on or off, based on the temperature, as well as change the AC state. This is something you can’t do in the Home app via a simple automation, so this may just be a handy way to deal with things, as long as you don’t mind the automation not being in HomeKit.
There are in fact, a lot more options within the app, some of which are part of the Sensibo Plus subscription option, which can be paid for at a monthly or yearly rate. I’ll leave those for you to dig into, should you get the Sensibo Air. Speaking of which, we’ll next look into how the device has performed in the time I’ve had it on test, and whether it’s value for money.
IN DAY TO DAY USE

Having used this for a few weeks now, with the temperature being uncommonly changeable over that time, has provided me with a lot of options to test out all the modes, including Auto, and it has been very responsive, and fast at sending the signals to my bedroom AC unit. In terms of connectivity, it has been very solid, so no real complaints there, although it does, of course, help to have a decent and sturdy network, to begin with.
The look of the device appeals to me, and it’s small enough to not be a distraction, if you prefer uncluttered walls, although with the cable hanging down if you’ve wall-mounted it, you may want to think of a way in which to hide that. Having tested out a couple of products from Ambi Climate (the AmbiClimate 2, and AmbiClimate Mini), what wins over these is simply the official HomeKit integration. I’ve also had the Tado AC Control V3+ for the longest time, and I’m very happy with it, mostly due to the fact it has a physical interface. Whilst physical control shouldn’t matter in a smart home, there are always times when you need to use your hands, and so this is one thing I miss with the Sensibo, although to be fair, this is so small, it’s really designed to not really be seen, so it’s not really the fault of the device as such.
The only main gripe I would say, if I was looking to buy it, is the price. On Sensibo’s website, the list price is US$169.99, but it’s on sale for $139.99. It’s also listed on Amazon.com for $149.99. To me, this is quite pricy, especially when you consider that the Tado I previously mentioned, is about US$99.00, and comes with physical control. However, the Tado is not available easily outside of Europe, so until they do sell in North America, it’s a case of importing, which is a hassle for some, not to mention the cost of shipping and potential import fees. On the other hand, the Ambi Climate offerings are roughly the same price, but without official HomeKit support, so I’d suggest if Sensibo can bring the price down to $129.00 they’d have a more compellingly priced product.
Despite all this, it’s nice to see Sensibo biting the bullet and adding HomeKit support – hopefully Ambi Climate will do the same one day…!
You can also find more information on the Sensibo Air and the company’s other products on their website.
Full disclosure: Sensibo provided HomeKit News with the Sensibo Air for the purpose of this review. No other compensation was made, requested or has not in any way influenced our opinion of this product.